*GET AN EXTRA 10% OFF ENCLOSURES WITH CODE: GLASS10
**FREE DELIVERY TO MOST OF THE UK ON ORDERS OVER £499
how to install a shower tray
How to Install a Shower Tray
Find out how to fit a shower tray in our step by step guide below. Installing a shower tray may seem like a really difficult task, but our easy instructions will help you make sense of it!
● What type of tray are you shower installing?
● How to install a height adjustable shower tray
● How to install a low profile shower tray
Jump to a section of this post by clicking a link above.
How to Fit a Shower Tray
Shower trays are an essential aspect of your shower enclosure and while it’s vital that you choose one that’s well-built in order to avoid any issues, it doesn’t matter how good the tray itself is if it’s installed badly! Now, it’s true that fitting one requires a bit of skill and patience, but although they can be a little bit tricky it’s nothing someone with decent experience in DIY should be too daunted by. Feeling confident? Then read on for Victorian Plumbing's expert step-by-step guide to safely installing a new shower tray.
What Type of Shower Tray Are You Installing?
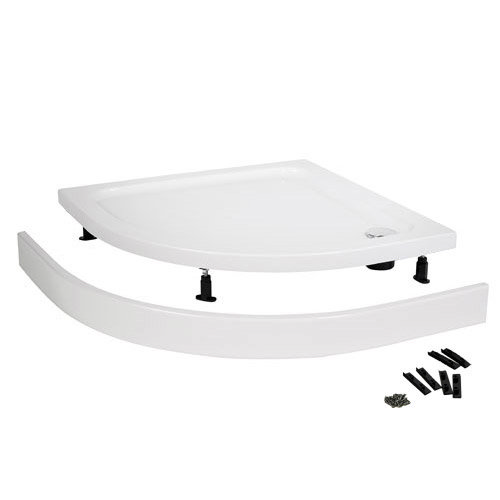
Before we go any further, you need to know whether you’ll fit a height adjustable tray or a low profile one as their installation methods will differ slightly. Basically, height adjustable shower trays use legs that are situated underneath the tray itself, raising its profile. These are really popular as they allow you much easier access to the pipes if anything needs replacing in the future. We’ll cover both options in this guide.
How to Install a Height Adjustable Shower Tray
Step 1 - Place the Tray
Firstly, place the tray loosely where you want to eventually install it to check for any fitment or clearance issues. Screw the legs into position and adjust the height to the level you require at this point. Briefly fit the shower tray waste and check everything lines up correctly.
Step 2 - Attach the Waste
If you’re happy with the general fitment, you then need to establish the best possible route for your waste pipe if this isn’t already in place. Attach the waste to your tray then connect this to the trap.
Step 3 - Level the Tray
You then need to use a spirit level to make sure that the tray is completely level. Check all angles just to be sure. This is an important stage that shouldn’t be skipped over as a tray that isn’t level can cause you quite a few problems when you come to take a shower…don’t say we didn’t warn you!
Step 4 - Attach to Waste Outlet Pipe
With the shower tray level, it’s time to attach the underside of the waste to the waste outlet pipe. This obviously needs to be as secure as possible so make sure everything fits snugly and double check there’s no gaps or loose pipework anywhere. A great tip here is to use a watering can or kettle (full of cold water of course!) and pour some water into the waste. You’ll soon know if there’s something wrong!
Step 5 - Attach Side Panels
To tidy things up, attach your shower tray side panels to the tray to create a flush look. These should be really easy to attach, just pay attention to any instructions you get with the product.
Step 6 - Seal It!
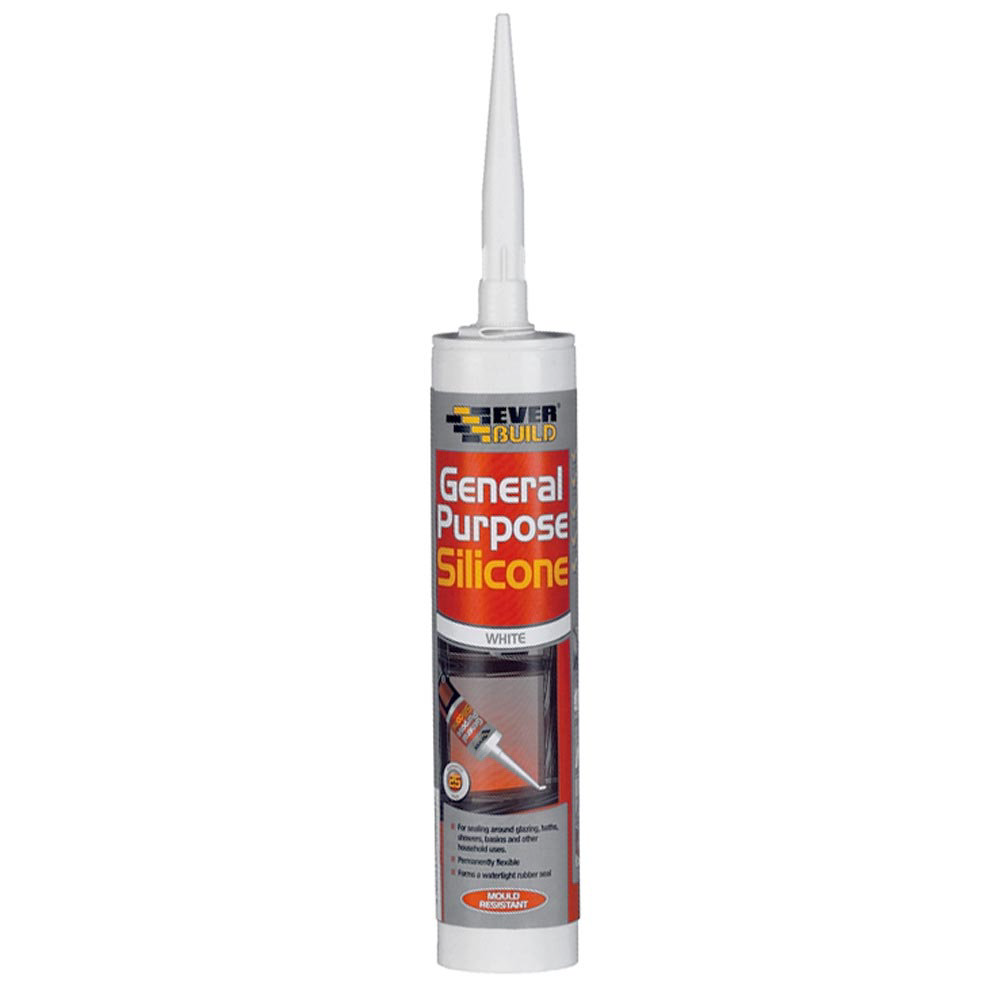
The final thing you need to do is take a good quality silicone sealant and carefully seal around the edges of the tray, creating a bond that will keep everything sturdy.
How to Install a Low Profile Shower Tray
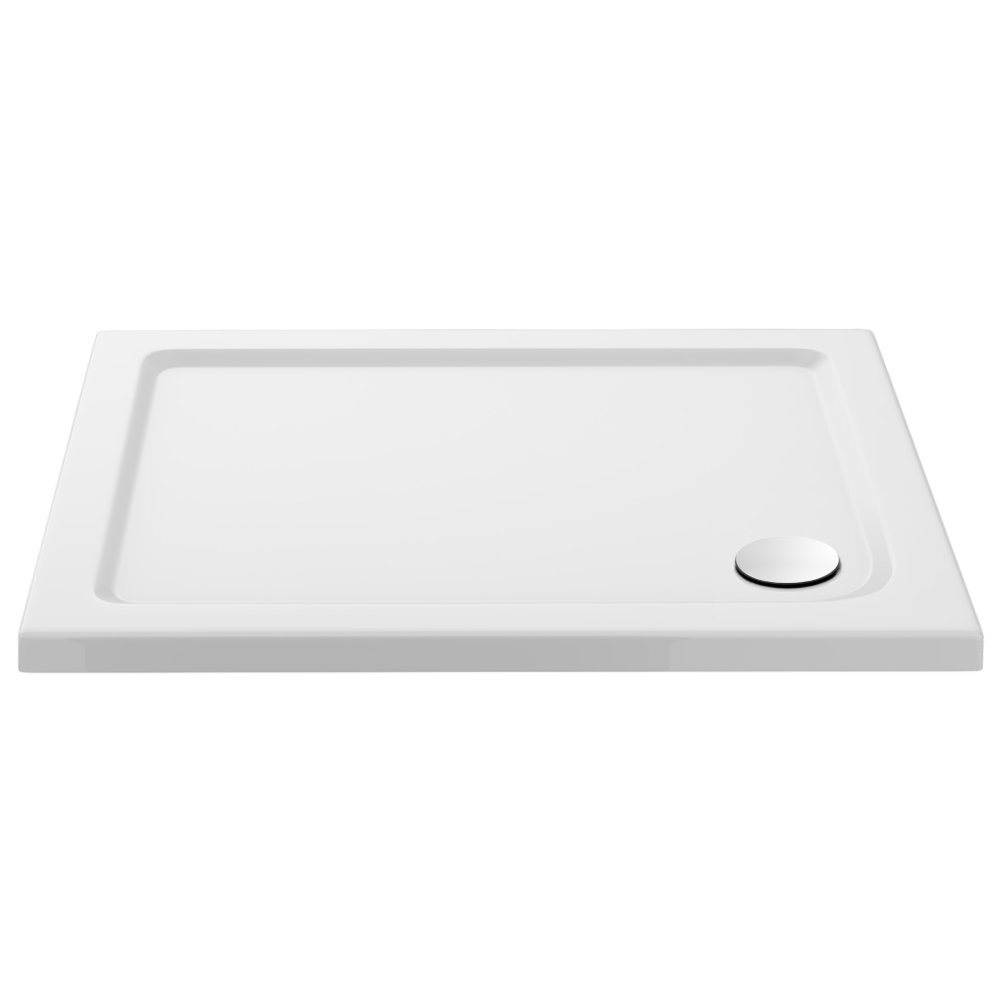
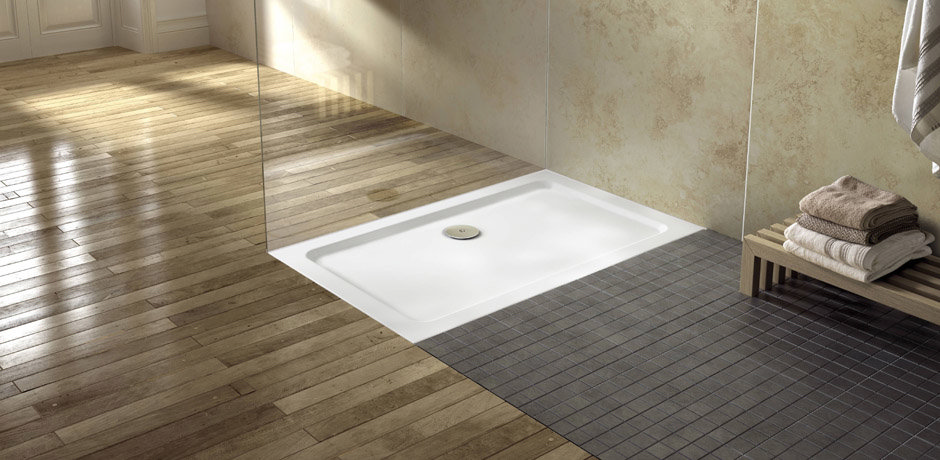
Of the two designs, these are generally a bit more complicated to install because they fit directly onto the floor with no gap in-between.
Step 1 - Check the Floor Beneath
Before you start, you need to make sure that the floor beneath the tray is capable of supporting it. It needs to be completely firm, with no flexibility as this can cause problems. Mark out where the tray is going to go and replace any floorboards in this area with marine plywood that is at least 18mm.
Step 2 - Cut Access Hatch
You’ll need to cut out an access hatch in the floorboards next to the tray as this will allow you to reach the waste. A jigsaw is the ideal tool for this as it’ll allow you to be more precise with your cutting.
Step 3 - Cut Waste Hole
A hole will also need to be cut for your shower tray waste so take some accurate measurements and very carefully start creating the space you need. Once this is done you can go ahead and assemble the waste itself.
Step 4 - Lay Mortar
Now it all gets a bit messy! Using a mixture of building sand and cement (5 parts sand, 1 part cement), mix up some mortar and apply a relatively thin layer to the area beneath the tray. Gently press the tray onto the mortar before using a spirit level to check everything is as it should be. Once you’re happy, allow the mortar to dry for a 24 hour period.
Step 5 - Connect to Outlet Pipe and Seal
Use the hatch you made earlier to connect the waste trap and outlet pipe together (this can also be used later if you need to do any maintenance) You can now apply silicone sealant around the edges of the tray to finish things off.
So there you have it! All being good you should have installed your new shower tray successfully. Do keep in mind that certain designs may need a slightly different approach so always read the manufacturer’s instructions. Fitting a tray (especially a low profile one) can be a challenge mind, so if you’re having any doubts about your abilities then we strongly recommend calling a plumber for this one.
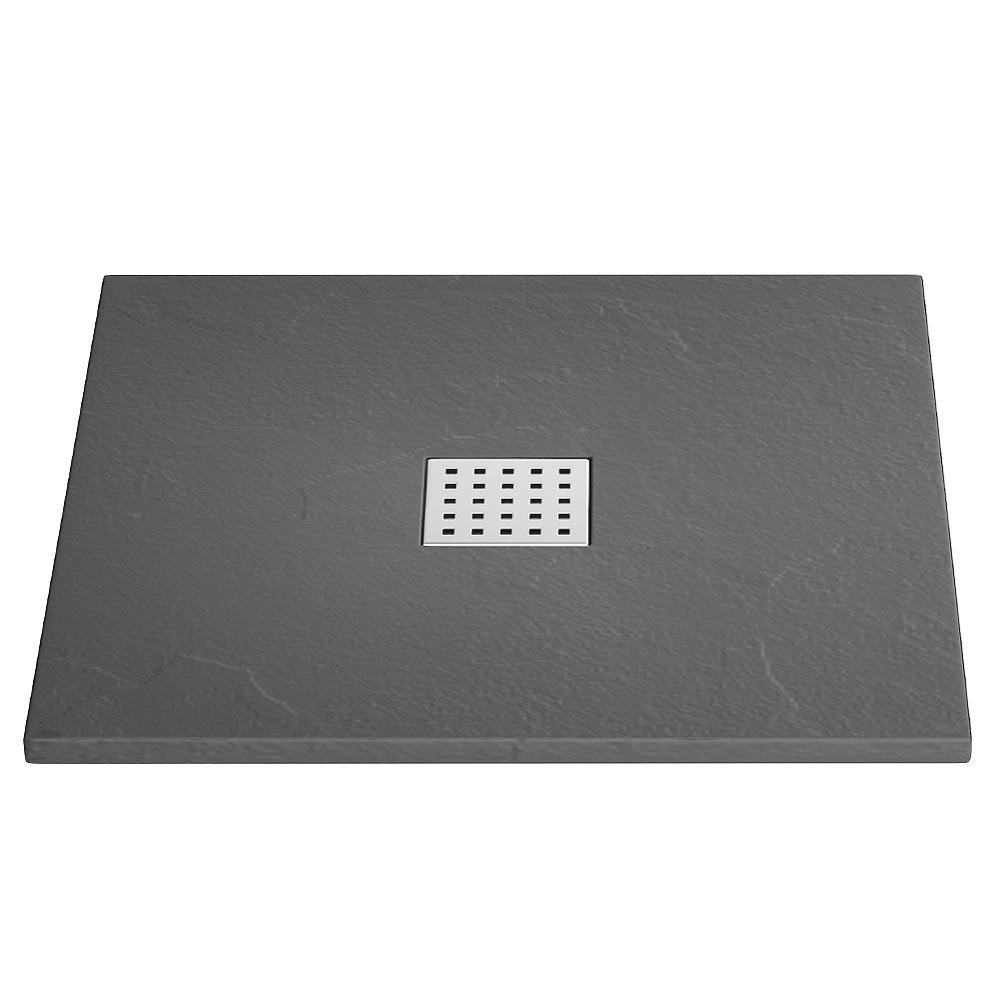
Don’t forget, if you’re looking to upgrade you can always take a look at our range of shower trays and discover something that’s just right for your bathroom!
