OUR WINTER SALE ENDS SOON!
*Boxing Day deals coming soon. Free delivery on orders over £499
How to Drill Through a Tile Without Damaging It
How to Drill Through a Tile Without Damaging It
Welcome to this Victorian Plumbing guide, where we’re going to show you how to drill through tiles with confidence and without leaving a cracked, unsightly mess behind.
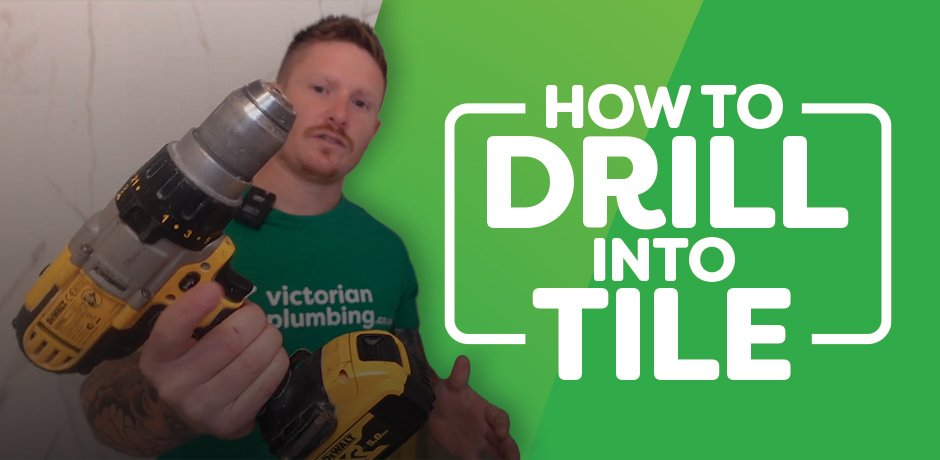
Tiles bring style and durability to your bathroom, but they don’t take kindly to mistakes. One wrong move, and you’ll find yourself sweeping up shards of tile, wondering if your DIY ambitions were a bit too ambitious. Fear not — by following these steps, you’ll master this task with the precision of a seasoned pro.
What You’ll Need:
- Essential tools: Electric drill (combi drill with hammer action turned OFF), 6mm diamond drill bit (ideally with a wax insert), masonry drill bit
- Safety gear: Safety goggles, gloves
- Additional helpers: Tape, a small pot of water, and a stud detector (to avoid pipes and wires)
Before we get into the nitty-gritty of marking, drilling, and not cracking your prized tiles, here’s a quick video demo to show you exactly how it’s done. Watch, take a deep breath, and then scroll down for the step-by-step instructions.
How to Drill Through a Tile: Step-by-Step Guide
1. Prepare Your Mark
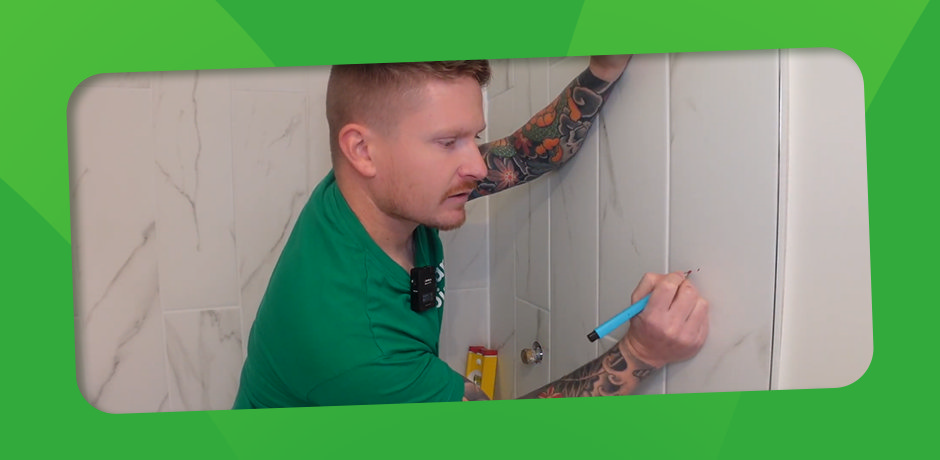
Before you even think about firing up the drill, you’ll need to mark the exact spot where the hole is going. Precision is key because, unlike wallpaper, you don’t get a do-over with tiles.
- Use a pencil or marker to place a clear, accurate dot where you’ll drill.
- Extend the mark slightly larger than the hole itself to help center the drill bit.
- Double-check the area with a stud detector to ensure there are no lurking pipes or wires behind the tile.
Pro Tip: Tile drill bits can “wander” across smooth surfaces, so getting that mark perfect gives you the best start.
2. Choose the Right Drill Bit
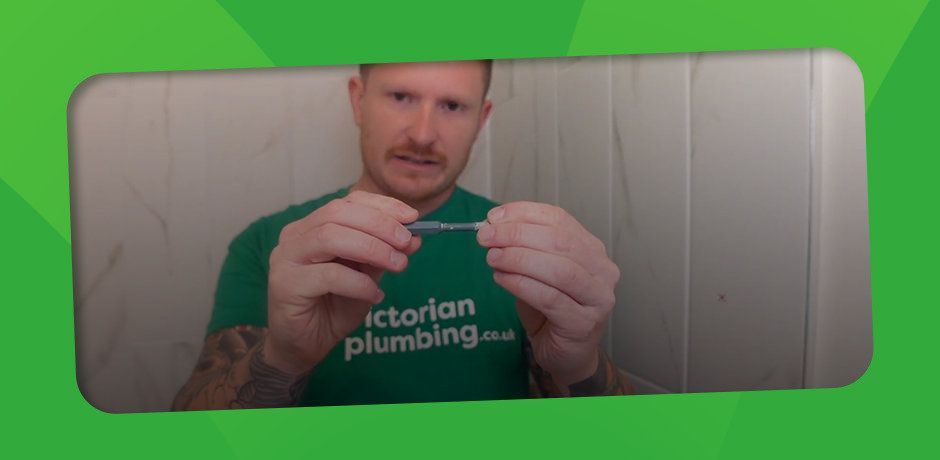
Not all drill bits are created equal. For tiles, a diamond drill bit is your MVP — strong, precise, and designed to glide through the surface without cracking it.
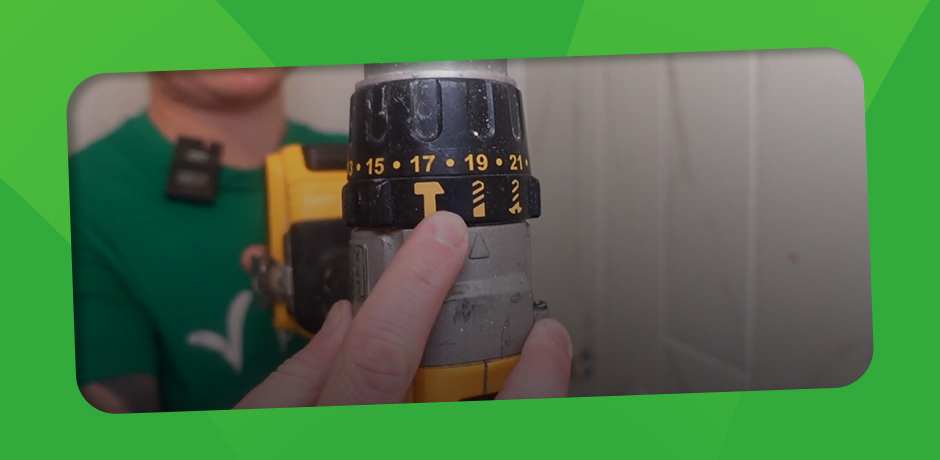
Make sure the hammer function on your drill is OFF. Hammer action is the mortal enemy of tiles and will likely leave you with a mess rather than a clean hole.
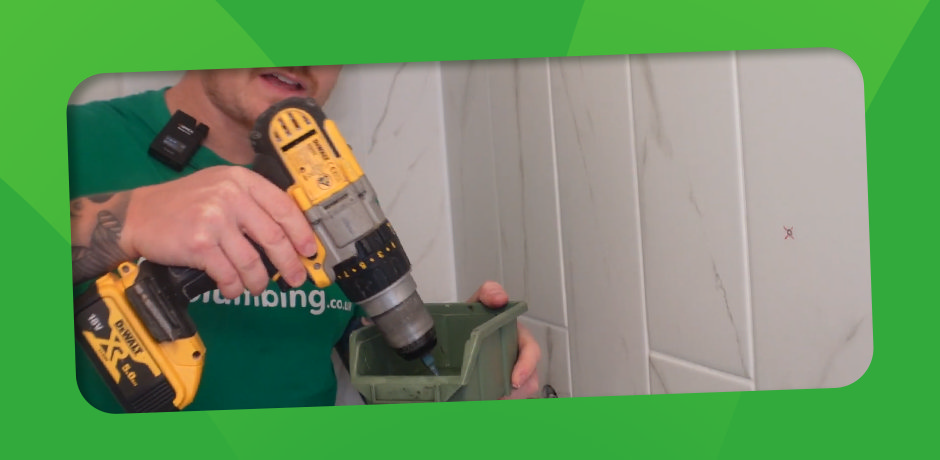
If your drill bit has a wax insert, great! If not, keep a small pot of water handy to dip the bit in regularly. Keeping the bit cool prevents overheating and extends its lifespan.
3. Start at an Angle
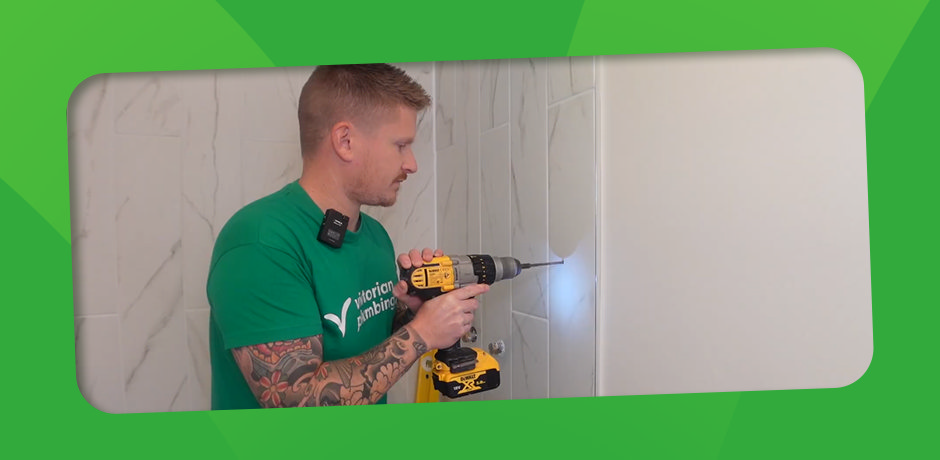
To begin drilling, lean the bit slightly so that it’s at the bottom edge of your mark. This creates a small indentation and prevents the bit from slipping.
- Press gently on the drill trigger and start slowly, using light pressure. Let the drill do the work—don’t force it.
- As you create the indentation, gradually straighten the drill until it’s perpendicular to the tile.
Pro Tip: Dipping the drill bit in water every few seconds keeps it cool and ensures a smoother finish.
4. Drill Through the Tile
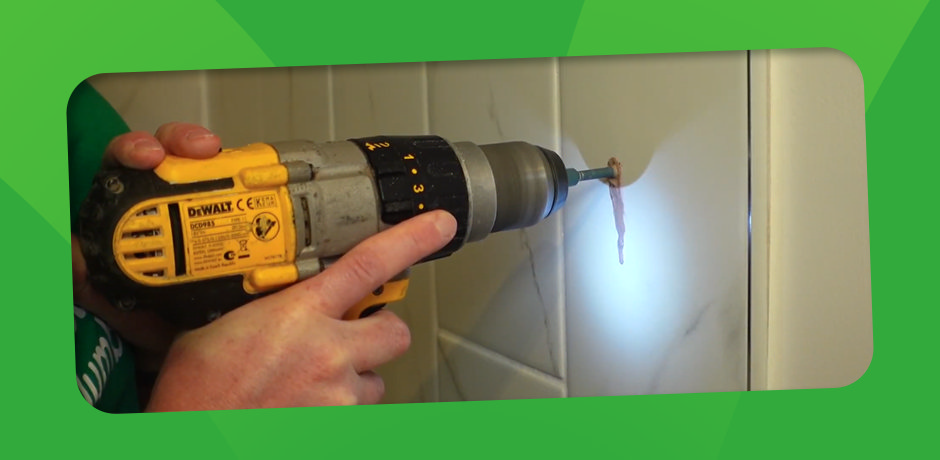
Once the drill bit is stable in the indentation, continue drilling with gentle, consistent pressure. Avoid rushing—it’s a marathon, not a sprint.
- As soon as you break through the tile, stop immediately. Don’t keep going into the substrate behind the tile with your diamond drill bit—it’ll wear down and cost you an expensive replacement.
5. Switch to a Masonry Drill Bit
Now that you’re through the tile, it’s time to swap your diamond drill bit for a masonry bit. This is essential for drilling into the wall behind the tile.
- Use the masonry bit to continue drilling into the substrate if needed, but remember to keep the drill straight and steady.
- If the wall requires a wall plug, ensure the hole size matches the plug’s dimensions for a secure fit.
Key Takeaways for Success
- Always turn off the hammer function on your drill when working with tiles.
- Use a diamond drill bit for the tile itself and a masonry bit for the wall behind it.
- Keep the drill bit cool with water or lubrication to ensure smooth, precise drilling.
- Light pressure is all you need—force is more likely to crack the tile than speed up the process.
If in Doubt, Consult a Professional
Drilling tiles isn’t the most forgiving DIY task, so if you’re unsure, don’t hesitate to reach out to a professional. The cost of getting it right the first time is far lower than replacing damaged tiles (or worse, hitting a hidden pipe).
Your Next Bathroom DIY Challenge
Now that you’ve mastered the art of drilling through tiles, you’re ready to take on your next bathroom DIY challenge. Whether it’s fixing storage units, adding accessories, or tackling a full renovation, Victorian Plumbing has the tools and tips to help you every step of the way. Share this guide with a fellow DIYer or explore our full range of how-to articles to level up your skills!

Jack
Jack is part of the resident bathroom bloggers team here at Victorian Plumbing. As a bathroom décor and DIY expert, he loves writing in depth articles and buying guides and is renowned for his expert 'how to' tutorials.
