EXTRA 10% OFF TAPS WITH CODE: TAPS10
Free delivery on orders over £499*
How to Install a Bath Panel
How to Install a Bath Panel
Whether you are looking to replace a current bath panel, or installing a brand new bath. The panel you choose can change the whole style of your bathroom. So it is important that you know how to install it correctly.
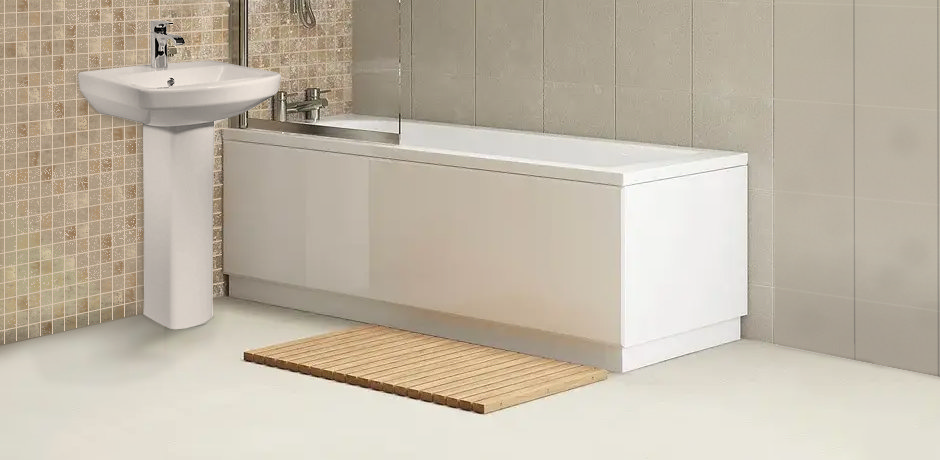
If you are giving your bathroom a major makeover, it may be time to rip out that old bath panel that is looking worse for wear. Or maybe you are adding a bath to your bathroom for the first time. Whatever renovation you are tackling, if you need to fit a bath panel for the first time, let our step by step guide help you through the process.
It is important to note that you can buy bath panels which can be cut to a desired length, but we recommend buying the right size for your bath for a clean and tidy finish.
Installing an Acrylic Bath Panel
Acrylic bath panels are lightweight, durable, and they look great! They come in all different shapes and sizes, so you will definitely find the perfect panel for your bathroom. Follow these steps to learn how to install a bath panel.
What You Will Need
Before you begin, there are a few things that you will need to install your acrylic panel correctly.
- Electric drill
- Handsaw
- Screwdriver
- Spirit level
- Pencil
- Tape measure
- Wooden battens
- Wood Screws
How to Install an Acrylic Bath Panel - Video
How to Install an Acrylic Bath Panel - Written Method
Step 1 - Measure and Align
Using your tape measure and handsaw, measure the length of your bath and carefully cut your wooden batten so that they are the same length.
Align your bath panel to the side of your bath, using the spirit level to ensure that the panel is perfectly straight from top to bottom.
Using your pencil, make markings where the panel sits on the floor. This will be used as a guide for your wooden batten.
Step 2 - Safe and Secure
Remove the panel and align your wooden batten to the markings that you made.
Then, you can secure your batten to the floor using your electric screwdriver and wood screws, ensuring not to screw the batten down too tight as the bottom lip of your panel will need to slide just under. Take extra care when you are doing this to ensure that the batten does not move out of place.
Step 3 - Place your Panel
Now that your batten is securely in place, all that you need to do is add your bath panel.
Place your panel under the top lip of your bath and then slide it into place. The panel will ‘hook’ under the batten and stay in place.
Installing a Wooden Bath Panel
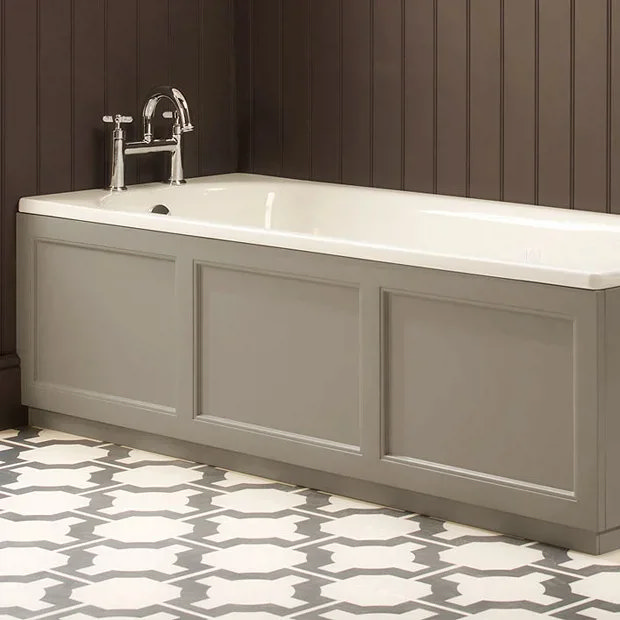
Wooden bath panels also look great, however they are slightly more difficult to install. They are heavier and difficult to manoeuvre, so you will need extra support for your panel.
What You Will Need
Make sure that your wooden panel has a wooden plinth. This allows you to adjust the height of your panel if needed and also assists with any slanting. This can be fitted either behind the panel to add more depth. Or in front to create a “skirting” look.
There are a few things that you will need to install your wooden panel correctly.
- Electric drill
- Handsaw
- Screwdriver
- Spirit level
- Pencil
- Tape measure
- Wooden batten
- Wood screws
As you are installing a wooden bath panel, there is extra equipment that you will need to buy.
- Sealant gun
- Silicone sealant
- Wood varnish
- Wood adhesive
How to Install an Wooden Bath Panel - Video
How to Install a Wooden Bath Panel - Written Method
Step 1 - Measure
Take your tape measure and measure from the top rim of the bath down to the floor. This will tell you what height you need to fit your panel at.
If you are fitting a panel with an end piece, you will need to join the two sides using a wooden batten and L shaped metal brackets. Using wood adhesive, glue the wooden batten along the inside edge of your panel where the two sides will meet. Glue the end piece to the other side batten and secure using the L shaped Brackets and wood screws.
You might find that your wooden plinth needs to be trimmed if you have skirting boards in the way. If you need to trim your plinth, ensure that you seal any cut edges with wood varnish to protect from water damage.
Step 2 - Support
Next, you need to align your bath panel along your bath and mark where the inside edge meets the wall. This is where you will install your supporting batten.
Then you want to cut your wooden batten so that it is the same height as your bath. Do this carefully with your hand saw.
Using your electric drill and wood screws, drill your wooden batten into the wall using the markings that you made previously.
If you are installing a panel with an end piece, repeat this process for the other side.
Step 3 - Sealant
You will need to use wood adhesive on the inside of the panel where the panel and the batten meet. Then you can fit your panel into place.
Now, use a silicone sealant and sealant gun along all of the joints. This will make the edges around your panel waterproof and prevent any water damage.
And You're Done
Alternatively, if you do not feel comfortable drilling into your floor or wall, you can always use a Bath Panel Fixing Kit for a quick and easy bath panel installation.
And there you have it! Your bathroom looks great with a new bath panel installed, and those pipes and supports are no longer an eyesore.

Megan
Megan is an expert bathroom blogger, she enjoys writing helpful DIY articles and bathroom inspo blogs. As well as specialist bathroom advice, Megan also shares expert how-to blogs with step by step guides.
