EXTRA 10 % OFF AREZZO WITH CODE: AREZZO10
*Free delivery on orders over £499
How to Remove a Radiator
How to Remove a Radiator
Removing a radiator is pretty simple, but it’s important you do it right! Check out our easy guide on how to remove a radiator for step-by-step instructions.
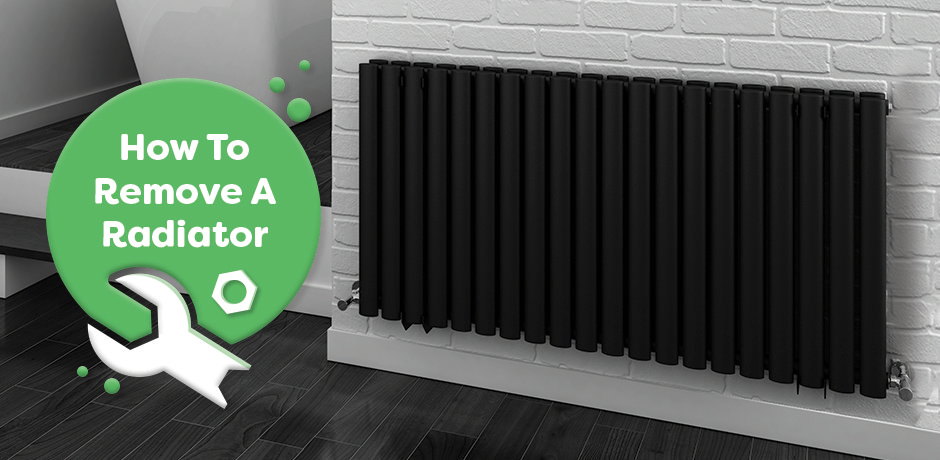
So, why would anyone want to remove a radiator? There are a few reasons that might result in you needing to remove one or all radiators from your home. They may be old and rusty, making them susceptible to leaks and other performance issues. You may decide that you are in need of a radiator with a higher BTU output. Or this simply might be for redecorating reasons, such as wanting to paint the wall behind the radiator or because you’ve upgraded your style since their installation.
Regardless of the reason, the process is pretty much the same. So let’s get going on how to remove a radiator.
Before you begin
Equipment needed:
- Radiator Key
- Adjustable wrench
- Container to catch water
- Sponge/Towel
Removing the Radiator
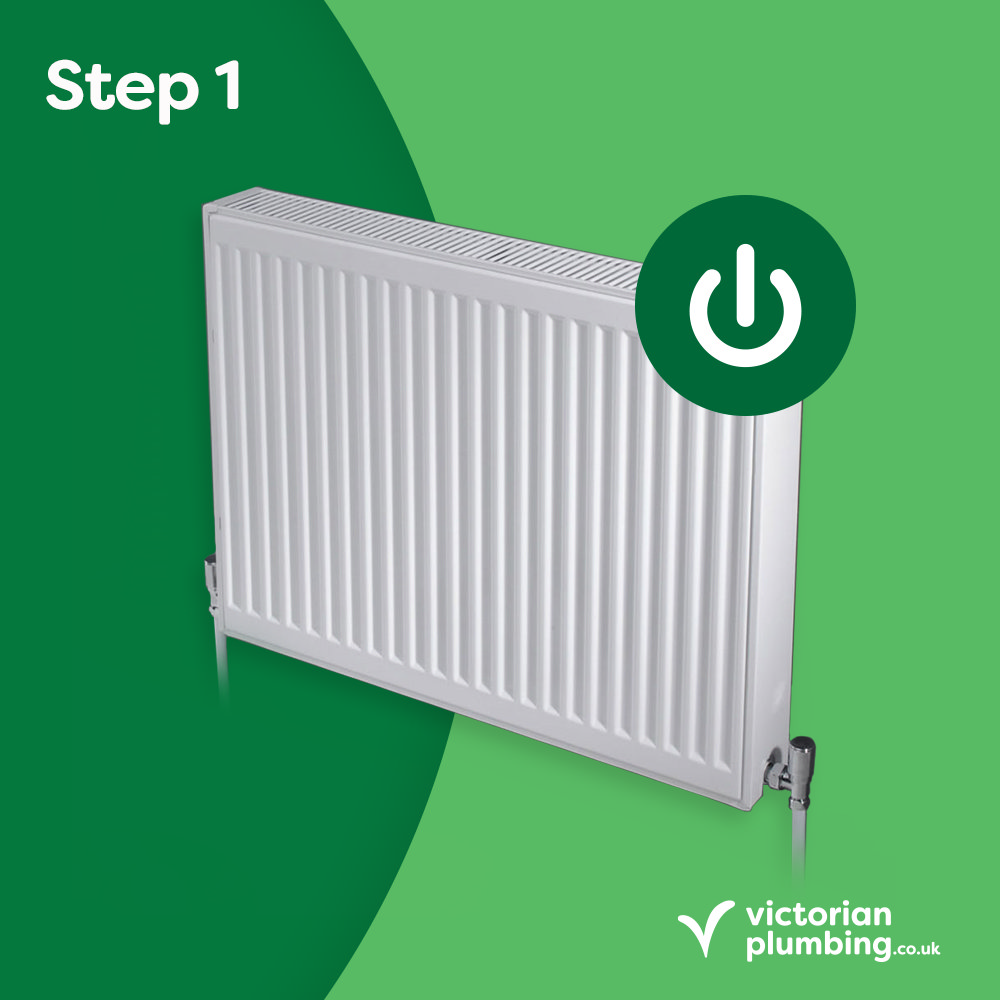
Step 1: Turn off the heating
Before you begin removing your radiator, you must turn off the heating and allow all of the pipes to cool down. This is an important safety step in the process, and removing a radiator should not be attempted until the heating pipes are cool to the touch.
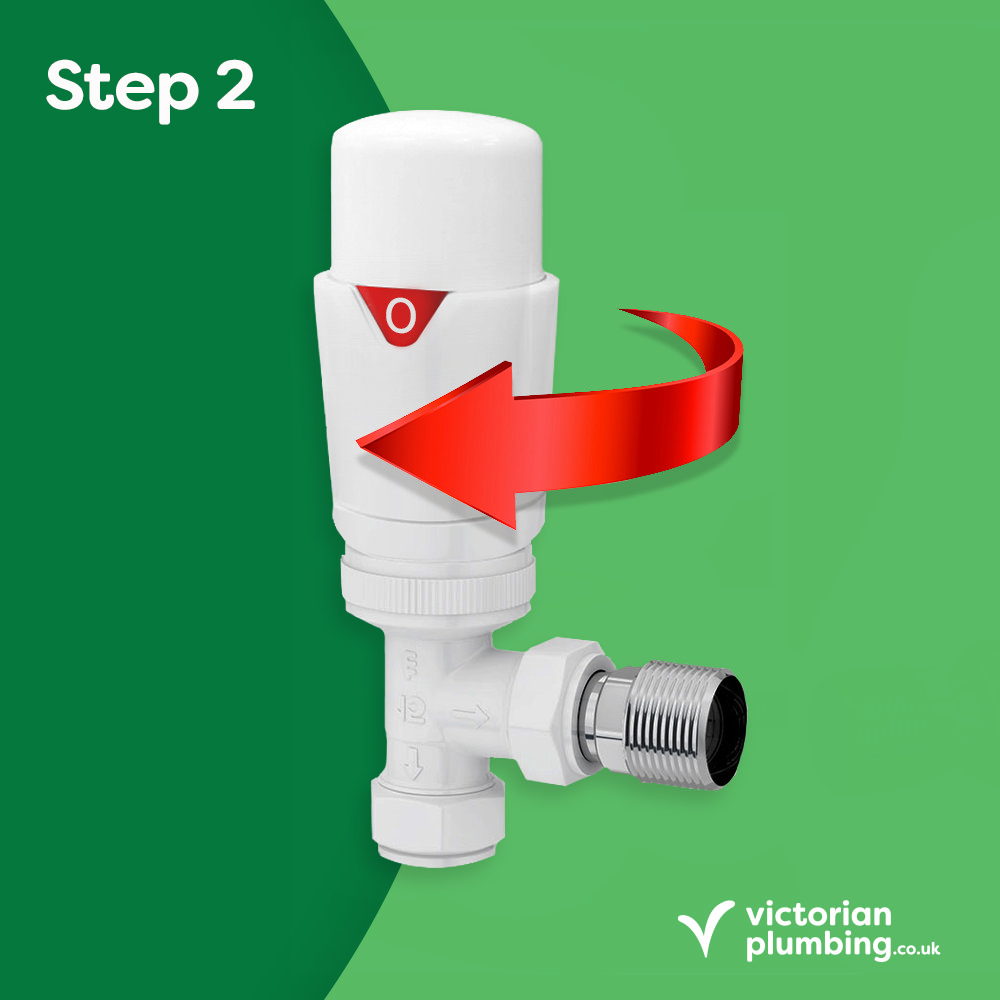
Step 2: Turn off the radiator valve
Next, you need to turn off the radiator itself. Make sure that the Thermostatic Radiator Valve on your radiator is turned off by turning it all the way down to 0.
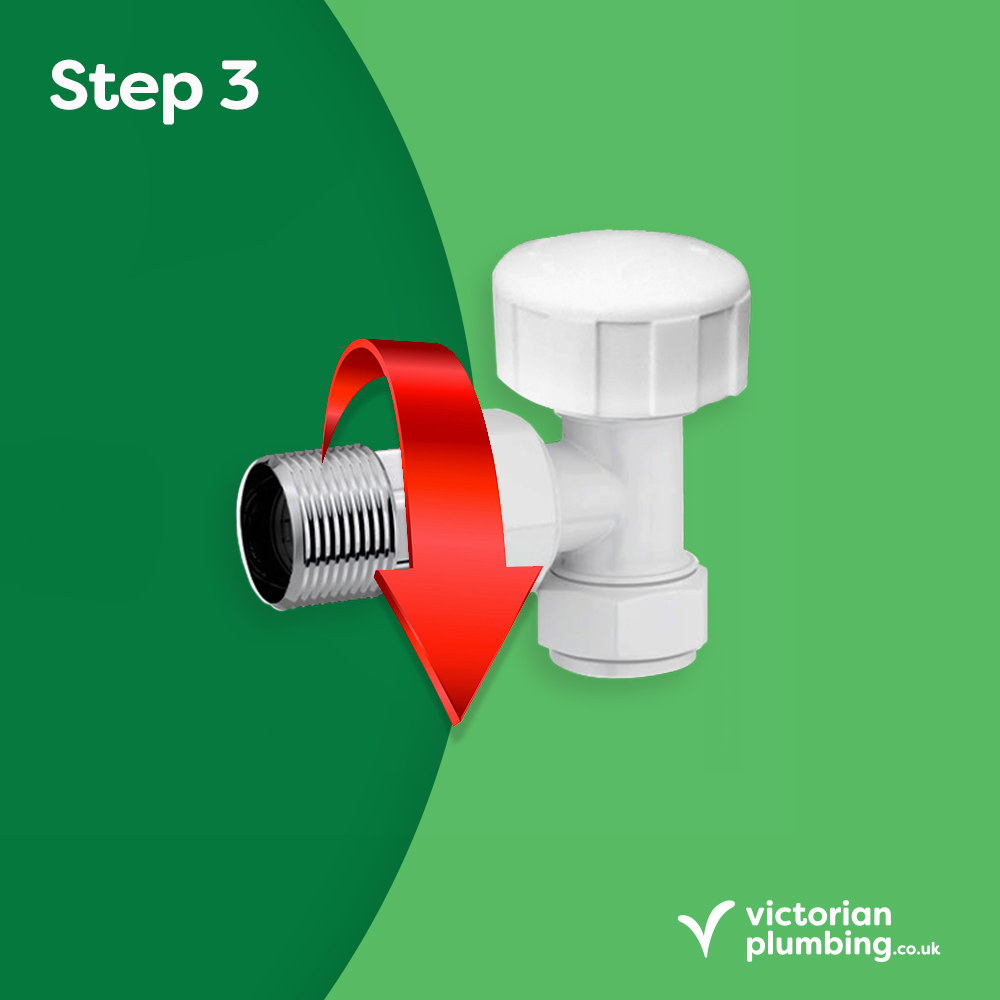
Step 3: Turn off the pressure
Now that your radiator is off, it’s time to remove the plastic cover on your TRV. This should come off without too much force and reveal a lockshield valve. Using your wrench, turn the lockshield valve clockwise until it is closed. Remember the number of turns it takes to close this off, as it will come in handy when reconnecting the radiator.
Step 4: Drain the radiator
Grab your containers and a sponge or towel for this step, as it could get a little messy. Place your container under the valve you just closed. Using your wrench, loosen but do not remove the union nut. This joins the radiator to the valve. Don’t be alarmed when water begins to drain out, this is what the containers are for! Drain the radiator until there is no more water.

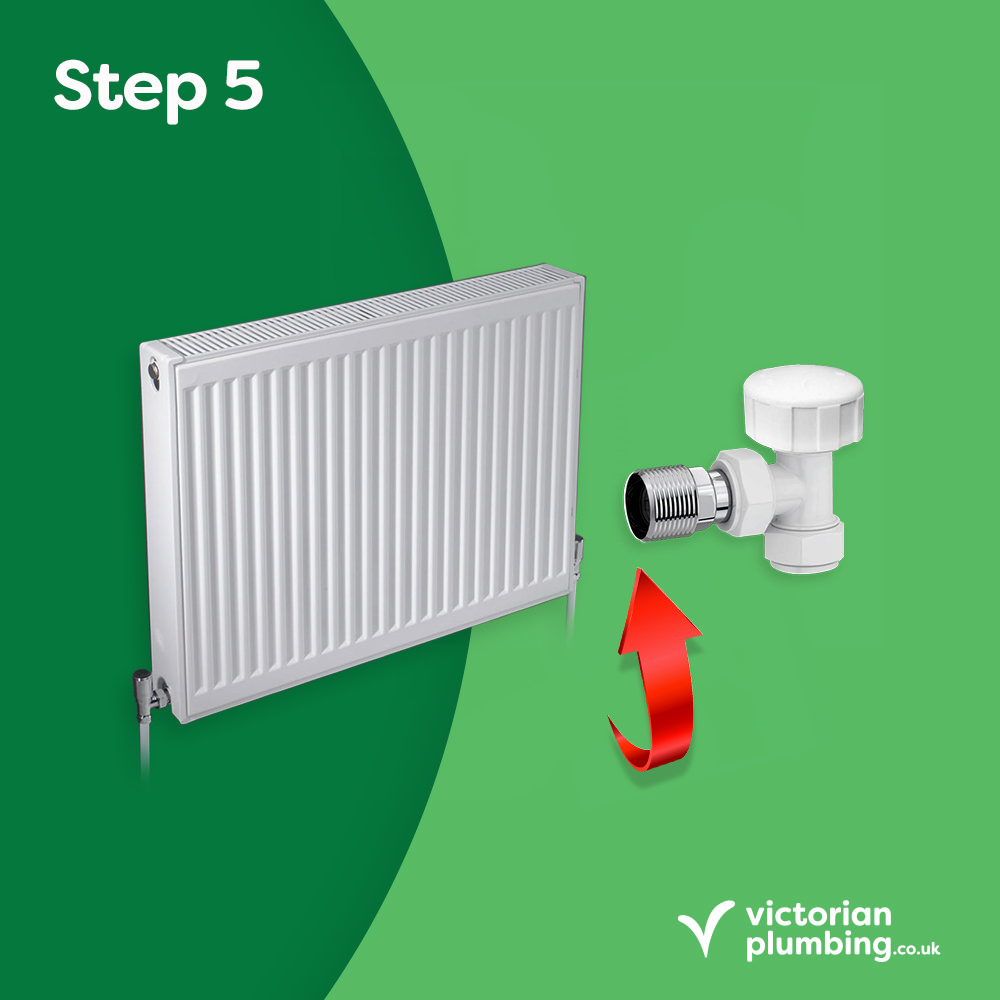
Step 5: Disconnect the radiator
Remove the union nut from the radiator completely. There should also be a second union nut located on the other side, remove this one too. Once both have been removed, it’s a good idea to tilt the radiator to help any remaining water completely drain out.
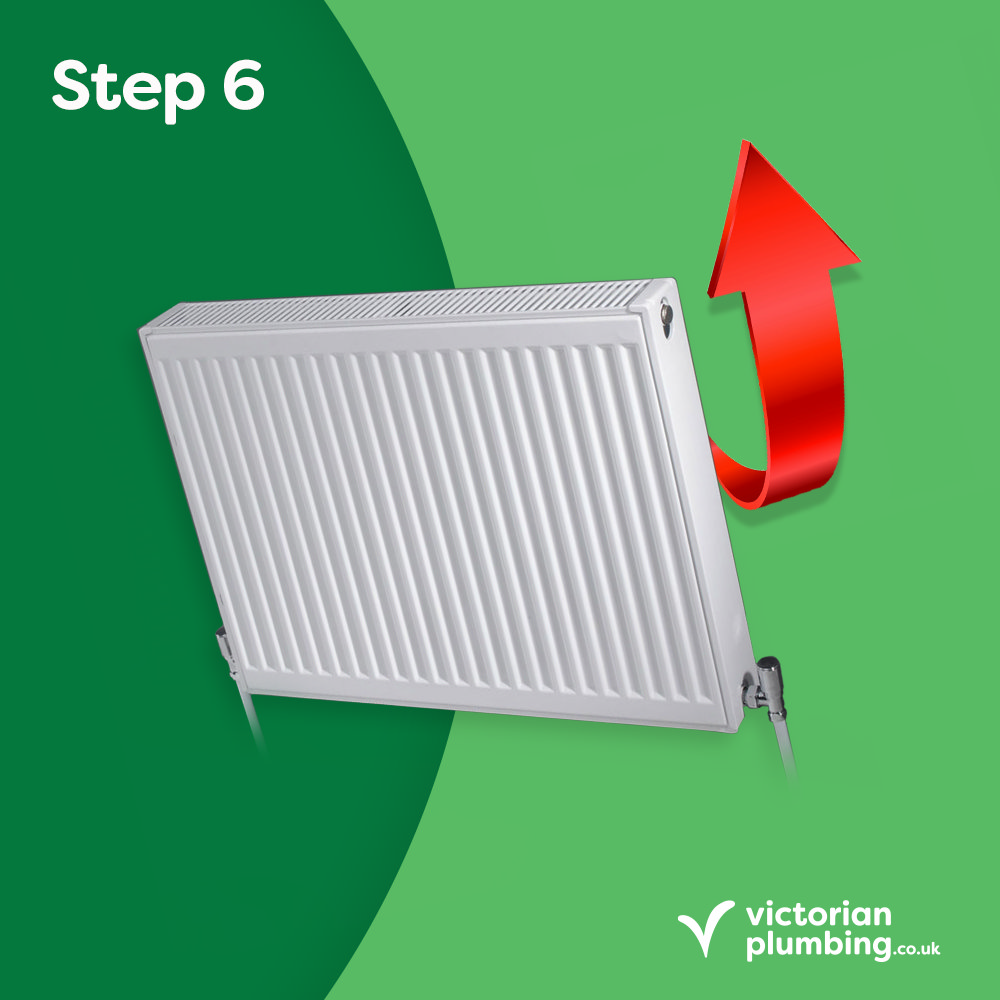
Step 6: Remove the radiator
If you have quite a large radiator, we recommend you have someone to help you with this next step. Lift the radiator up and away from the brackets that attach it to the wall.
How to reconnect your radiator
Step 1: Place the radiator
Take your radiator and place it on the brackets on the wall. If you’re fitting a new radiator, you might need to replace the brackets or adjust your radiator placement. Then make sure you attach and tighten your union nuts.
Step 2: Open the Valves
Using your wrench from earlier, retighten the lockshield valve and then replace the plastic cover. Next, open the bleeding valve and allow the radiator to refill with water. You’ll know when it’s full once the radiator has stopped making a gurgling noise.
Step 3: Restart the Heating
All that’s left to do is open the lockshield valve. Hopefully you can remember how many turns this took to close!
Once the lockshield valve is adjusted, all that’s left to do is restart the heating and check that your radiator heats up without any issues.
Cost of Removing a Radiator
When planning to remove a radiator, it's essential to consider the associated costs to effectively manage your budget. Here’s a detailed breakdown of potential expenses:
DIY Costs
- Tools and supplies: If you opt for a DIY approach, you'll need specific tools, including an adjustable spanner, a radiator key, and containers for catching water. These items can generally be purchased or borrowed from hardware stores and may cost between £20 and £50, depending on quality and availability.
- Potential repairs: Be prepared for unforeseen costs. If issues arise during the removal process, such as leaks or damage to the radiator or pipework, additional materials or repairs may be necessary. This could add extra costs ranging from £30 to £100 or more, depending on the complexity of the problem.
Professional Costs
- Basic removal: Hiring a professional plumber for radiator removal typically costs between £80 and £150. This price generally covers the disconnection of the radiator, including draining and capping off pipes, as well as basic cleanup.
- Comprehensive services: If your radiator removal is part of a more extensive service, such as flushing the central heating system, costs will be higher. For example, a service that includes removing and refitting multiple radiators, or performing a system flush, can cost around £350 for six radiators. This may also include additional checks for leaks or potential issues.
Prices can vary based on geographical location and the cost of living in your area. Urban areas may have higher rates compared to rural locations. If you need the work done urgently or outside of normal working hours, additional charges may apply. Also, if you require extra services, such as replacing old radiator valves or performing pipework modifications, these will add to the overall cost.
FAQs
Do I need to turn off the heating before removing a radiator?
Yes, it is crucial to turn off the heating system before starting radiator removal. This step ensures that the system cools down, reducing the risk of burns from hot water and minimising the risk of water spillage. Allow the system to cool completely before proceeding with the removal process.
What should I do if the valve nuts are stuck and difficult to unscrew?
Apply a penetrating oil, such as WD-40, to the valve nuts and allow it to sit for several minutes. This helps loosen any rust or debris that may be causing the valve nuts to stick. After applying the oil, use an adjustable spanner to gradually loosen the nuts, turning them counterclockwise. Be cautious to avoid using excessive force, which could damage the nuts or the pipework. If the nuts remain stubborn, try tapping them gently with a hammer to help break the seal.
What should I do if water continues to leak from the radiator or valves after shutting them off?
First, double-check that both the thermostatic radiator valve (TRV) and the lockshield valve are fully closed. Ensure that no water is left in the radiator by thoroughly draining it. If leaks persist, check for any residual pressure in the system. You might need to carefully loosen the valve nuts to release any remaining water and then tighten them again. Using a container or bowl under the valve during this process can help contain any residual leakage.
Can I reinstall the radiator later?
Yes, you can reinstall the radiator later if needed. When reinstalling, ensure that you place the radiator back in its original position or adjust the brackets if necessary. Reattach the union nuts securely and follow the proper procedure to bleed the radiator and check for leaks. It is helpful to make a note of the radiator’s original position and any settings on the valves before removing it to ensure a smooth reinstallation process.

Trinity
Trinity is one of our expert bloggers in bathroom design and DIYs. Read her blog posts for the latest coverage of style trends and easy-to-follow guides.
