OUR BOXING DAY SALE ENDS SOON!
Free delivery on orders over £499*
How to Drain a Radiator
How to Drain a Radiator
Draining a radiator is important to ensure that it is well maintained and working efficiently. Follow our step-by-step guide, to learn how to safely and correctly drain your radiator.
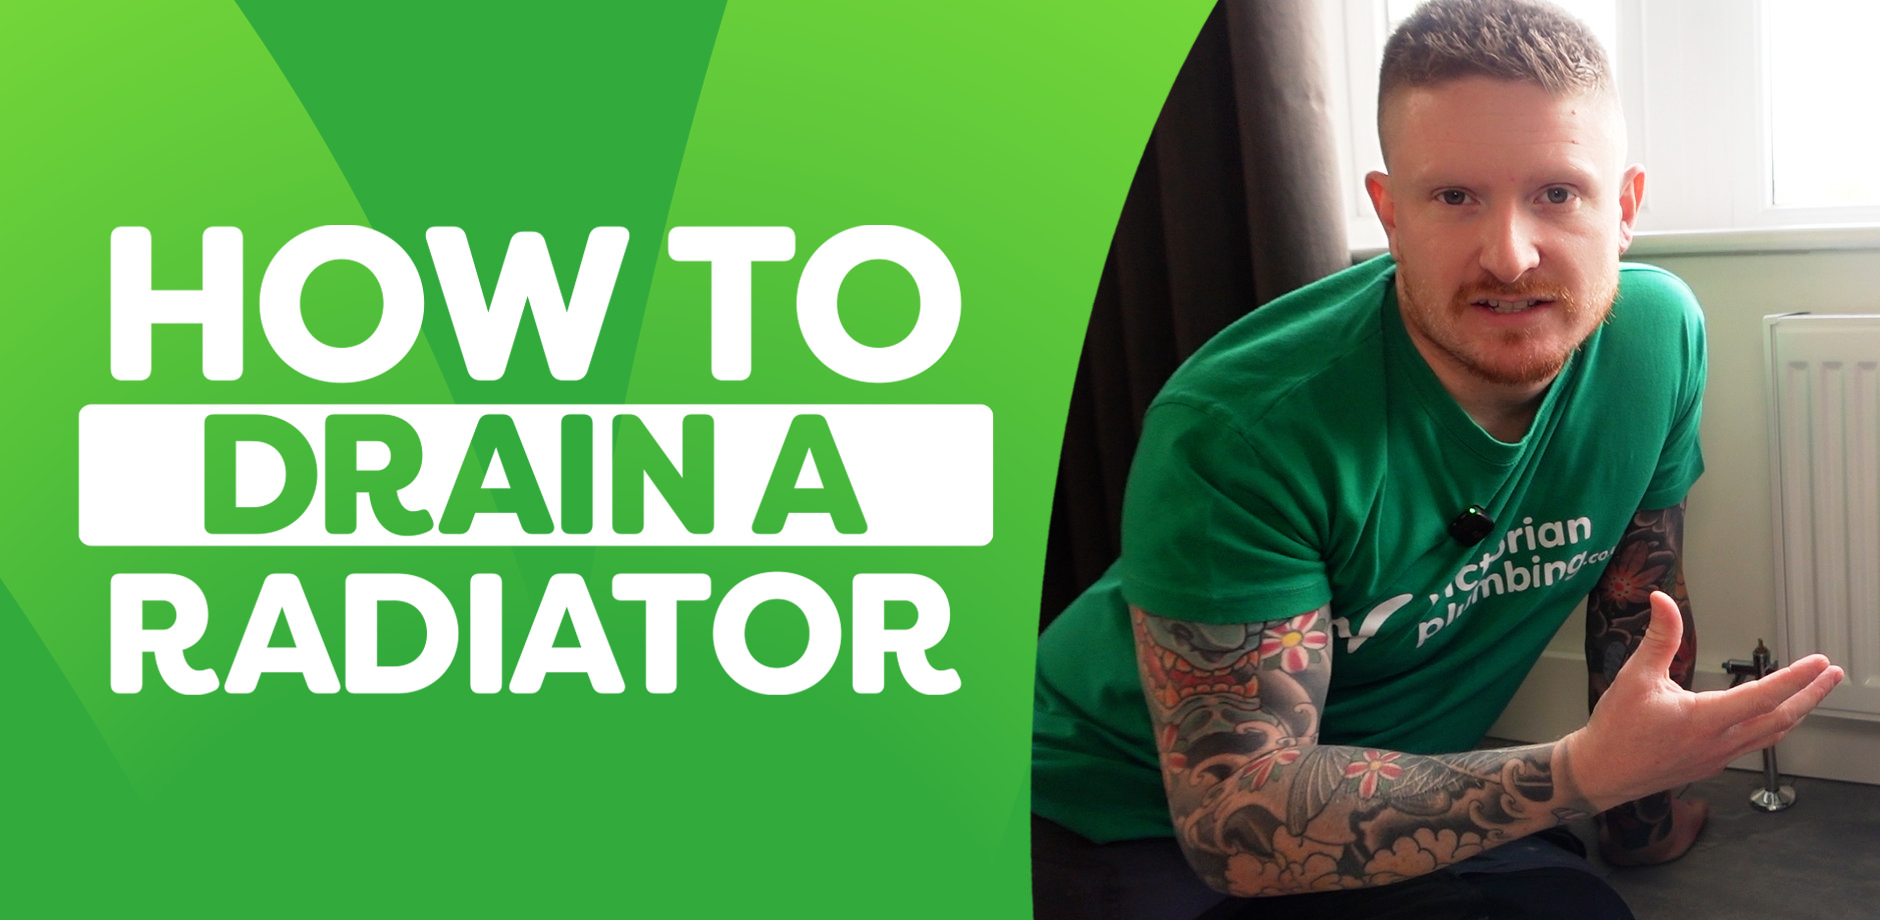
Draining your radiators is one of the best ways to maintain them and ensure that they are working as efficiently as they should. It is recommended that you drain your radiator once a year to remove any sludge or debris that may be in the water. Doing this in the summer months, when you do not need to switch the heating on, is the best way to ensure that you have efficient working radiators by the time winter rolls back around.
However, you should also drain your radiator if you are planning to move it for painting or replace it entirely. That is why it’s important that you know how to drain your radiator safely and correctly to avoid any big messes or potentially damaging your radiator.
By following our useful guide and step-by-step video, you will be able to drain your radiator successfully and safely.
Before you begin, make sure that your heating is switched off and the radiator is cool. Otherwise, you might scald yourself with very hot water. It is also a good idea to place old towels under each pipe, then place shallow buckets or containers under both pipes to catch any water that might spill out.
What you Need
Before you begin, there are a few things that you will need :
- Shallow buckets
- Old towels
- Pliers or grips
- Adjustable spanner
- Radiator bleed key
How to Drain a Radiator in 4 Simple Steps
Step 1 - Isolate the Radiator
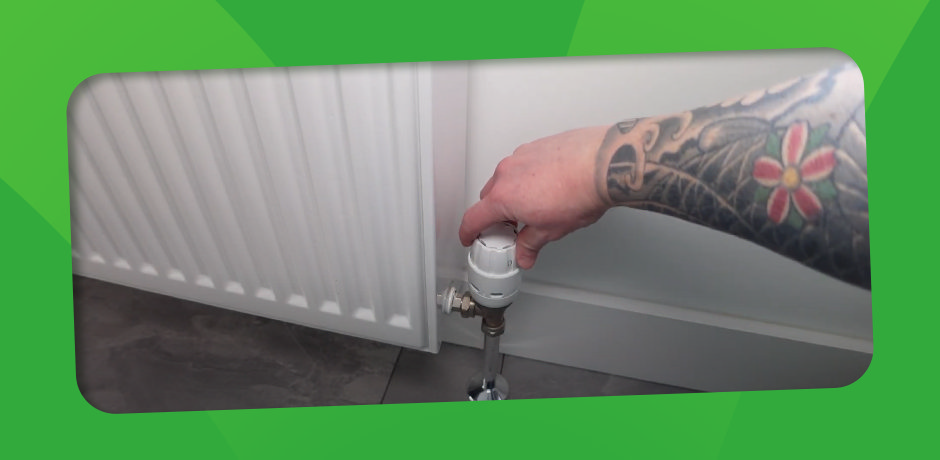
The first thing you need to do is isolate the radiator from the heating system. To do this you will need to turn off the valves. First, turn off the thermostatic radiator valve. You want to make sure that this is closed by turning the valve until it reaches zero. This will completely shut off the TRV.
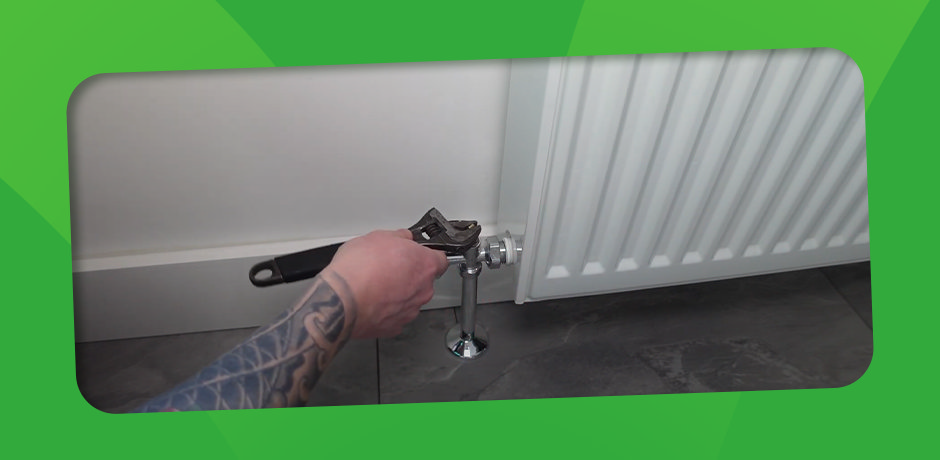
With the TRV switched off, you can shut the lockshield valve. You will need an adjustable spanner or a pair of grips to turn the lockshield clockwise. Once the pin stops rotating, the lockshield valve will be fully switched off. Make sure that you count the amount of turns it takes to turn the lockshield valve off. This will be important when you switch the lockshield valve back on at the end of this job so be sure to make a note of this.
Step 2 - Open the Bleed Valve
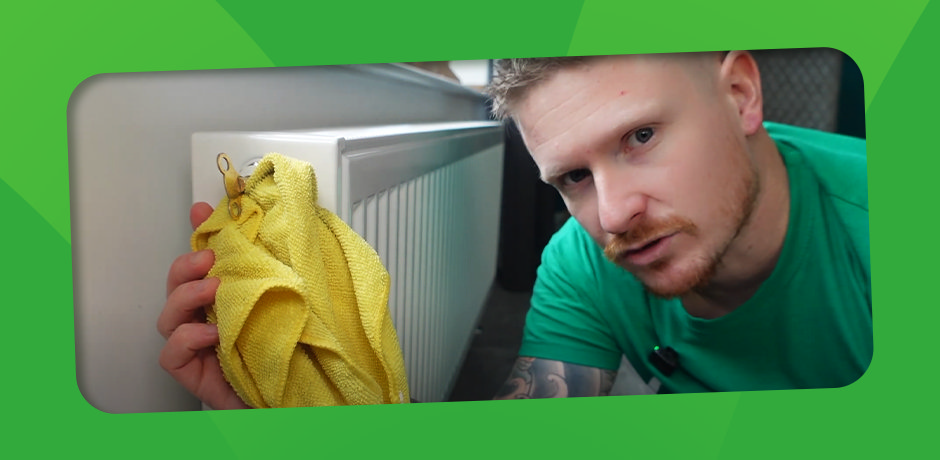
The next step is to relieve pressure from the radiator. You do this by opening the radiator bleed valve. To open the bleed valve you will need the radiator bleed key and a cloth to catch any water. You are only relieving the pressure from the radiator, so you don’t need to take a lot of water out of the radiator when doing this.
Step 3 - Drain The Radiator
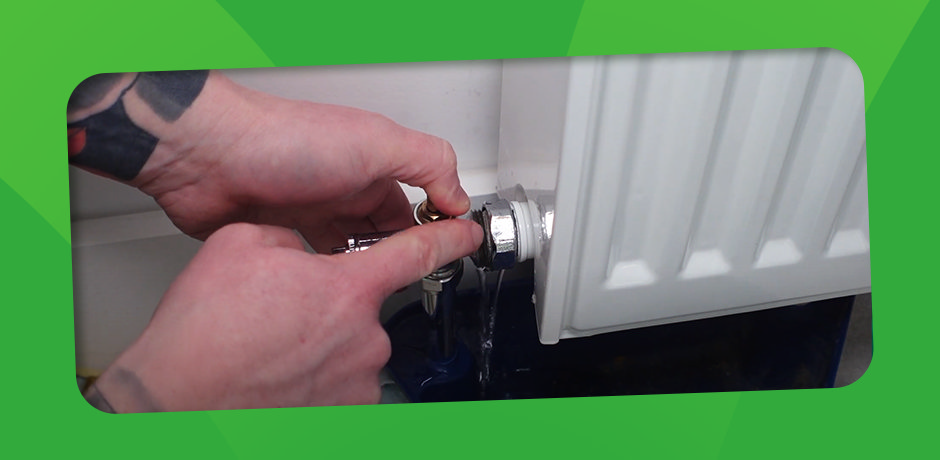
Once the pressure has been relieved, you can drain the water from the radiator. Do this by loosening the lockshield valve nut with your adjustable spanner. Once the nut is loosened you will see water starting to seep from the valve. You can speed the draining process up by slightly pulling the valve away from the radiator to create a small gap which will allow the water to drain faster.
You will notice the water water flow showing down, which means you need to introduce some air back into the radiator. Do this by opening up the bleed valve using the radiator bleed key, and the water flow will start to increase.
Step 4 - Repeat
You will need to repeat step 3 for the other side of the radiator to drain the rest of the water from the radiator.
And there you have it, you have drained your radiator!
With the radiator empty, you can safely remove the radiator from the wall. Bear in mind that some water may be left over at the bottom of the radiator. To remove this, tilt your radiator up from one side and allow the water to run out into the bucket. If your radiator is heavy make sure to ask for assistance to avoid a nasty injury.

Megan
Megan is an expert bathroom blogger, she enjoys writing helpful DIY articles and bathroom inspo blogs. As well as specialist bathroom advice, Megan also shares expert how-to blogs with step by step guides.
