OUR BOXING DAY SALE ENDS SOON!
Free delivery on orders over £499*
How to Tile a Bathroom Wall
How to Tile a Bathroom Wall
Tiling a bathroom wall can seem daunting. If you're in need of a simple breakdown, follow our easy step by step guide on how to tile a bathroom wall.
Click on a link below to jump to the section
- The First Time I Tiled a Bathroom Wall…
- Watch and Tile Along with Our YouTube Guide
- Equipment Needed for DIY Bathroom Wall Tiling
- Step 1: Surface Preparation
- Step 2: Setting Out Your Tiles
- Step 3: Cutting Tiles
- Step 4: Mixing and Applying Tile Adhesive
- Step 5: Laying Your Tiles
- Step 6: Adding Tile Trim
- Step 7: Grouting the Wall
- Step 8: Finishing the Grout
- Step 9: Sealing the Edges with Silicone
- FAQs & Final Thoughts
Whether you’re a new homeowner designing your dream bathroom or tackling a long-overdue DIY renovation, bathroom tiling can seem intimidating. But with the right tools and a little know-how, you’ll achieve a polished, professional look in no time.
Follow this easy step-by-step guide to learn how to tile a bathroom wall like a pro…
The First Time I Tiled a Bathroom Wall…
When I first decided to tile a bathroom wall, I was brimming with confidence. I thought, “How hard can it be? Slap on some adhesive, stick on the tiles, and voilà!” Ten minutes in, I found myself staring at a crooked tile, muttering, “You’ve won. You’ve beaten me.”.
If you’ve ever felt the same, don’t worry. Tiling doesn’t have to be a battle. With proper preparation, the right tools, and this expert bathroom wall tiling guide, you’ll tile like a pro (and maintain a friendly relationship with your spirit level).
Watch and Tile Along with Our YouTube Guide
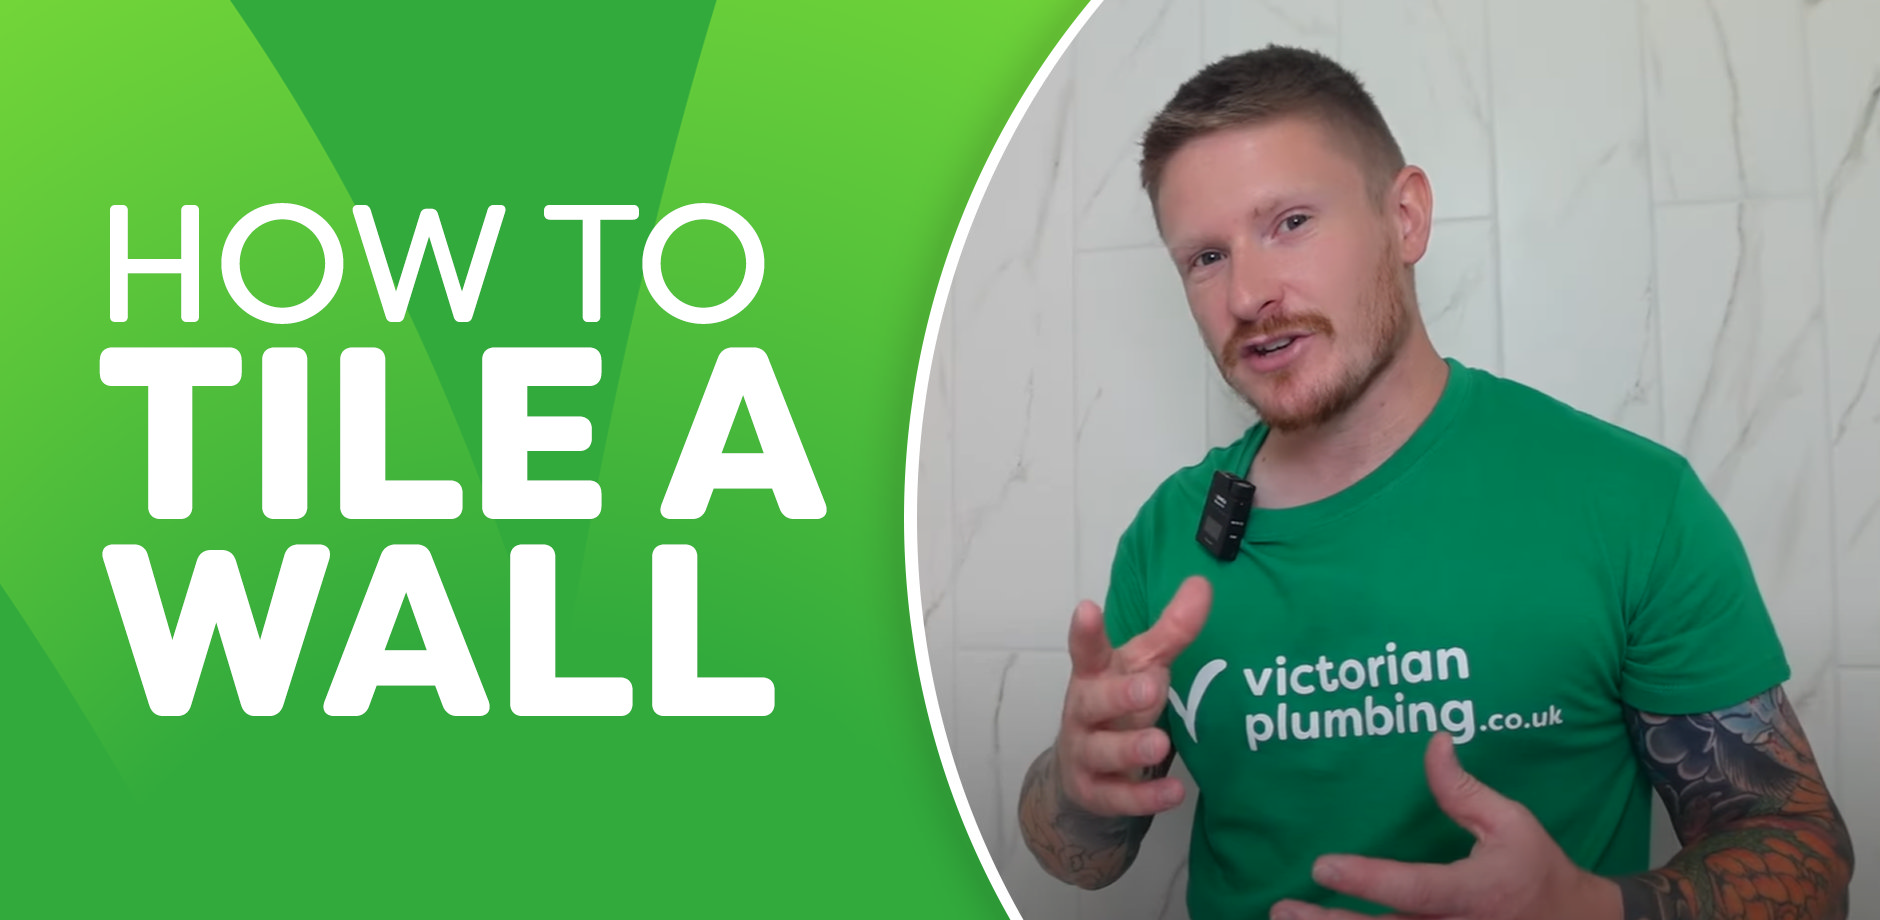
Why just read when you can watch? Follow our easy step-by-step YouTube tutorial right here and tile along with us. Perfect for visual learners and first-time tilers!
Step By Step Guide: Tiling a Bathroom Wall For Beginners
Quick reminder: this bathroom wall tiling guide is for general advice only. We always recommend seeking professional help if you’re unsure at any stage. Now, let’s get tiling!
Equipment Needed For DIY Bathroom Wall Tiling:
Preparation Tools
- Spirit Level: For perfectly straight lines and alignment.
- Tape Measure: To calculate tile placement and wall dimensions.
- Pencil: For marking guides and measurements on the wall.
- Tile Cutter: Essential for straight, clean tile cuts.
- Bucket: For mixing adhesive and grout.
- Paddle Mixer or Drill Attachment: For a smooth, even adhesive consistency.
Tiling Tools
- Notched Trowel (6mm): For spreading tile adhesive evenly.
- Tile Spacers (3mm): To maintain consistent grout lines.
- Laser Level (Optional): For precise vertical and horizontal guides.
- Hacksaw with Mitre Block: For cutting tile trim to fit edges perfectly.
Grouting Tools
- Float: For applying grout and filling joints.
- Sponge: To wipe off excess grout and smooth lines.
- Microfiber Cloth: For removing grout haze from tiles.
Finishing Tools
- Silicone Applicator or Tool: For neat, professional edge sealing.
- File: To smooth rough edges of cut trim or tiles.
- Protective Gear: Safety goggles, gloves, and a mask for cutting and grouting.
Tip: Double-check your supplies before starting to avoid interruptions during your tiling project. Everything on this list will help you achieve professional results!
Step 1: Surface Preparation
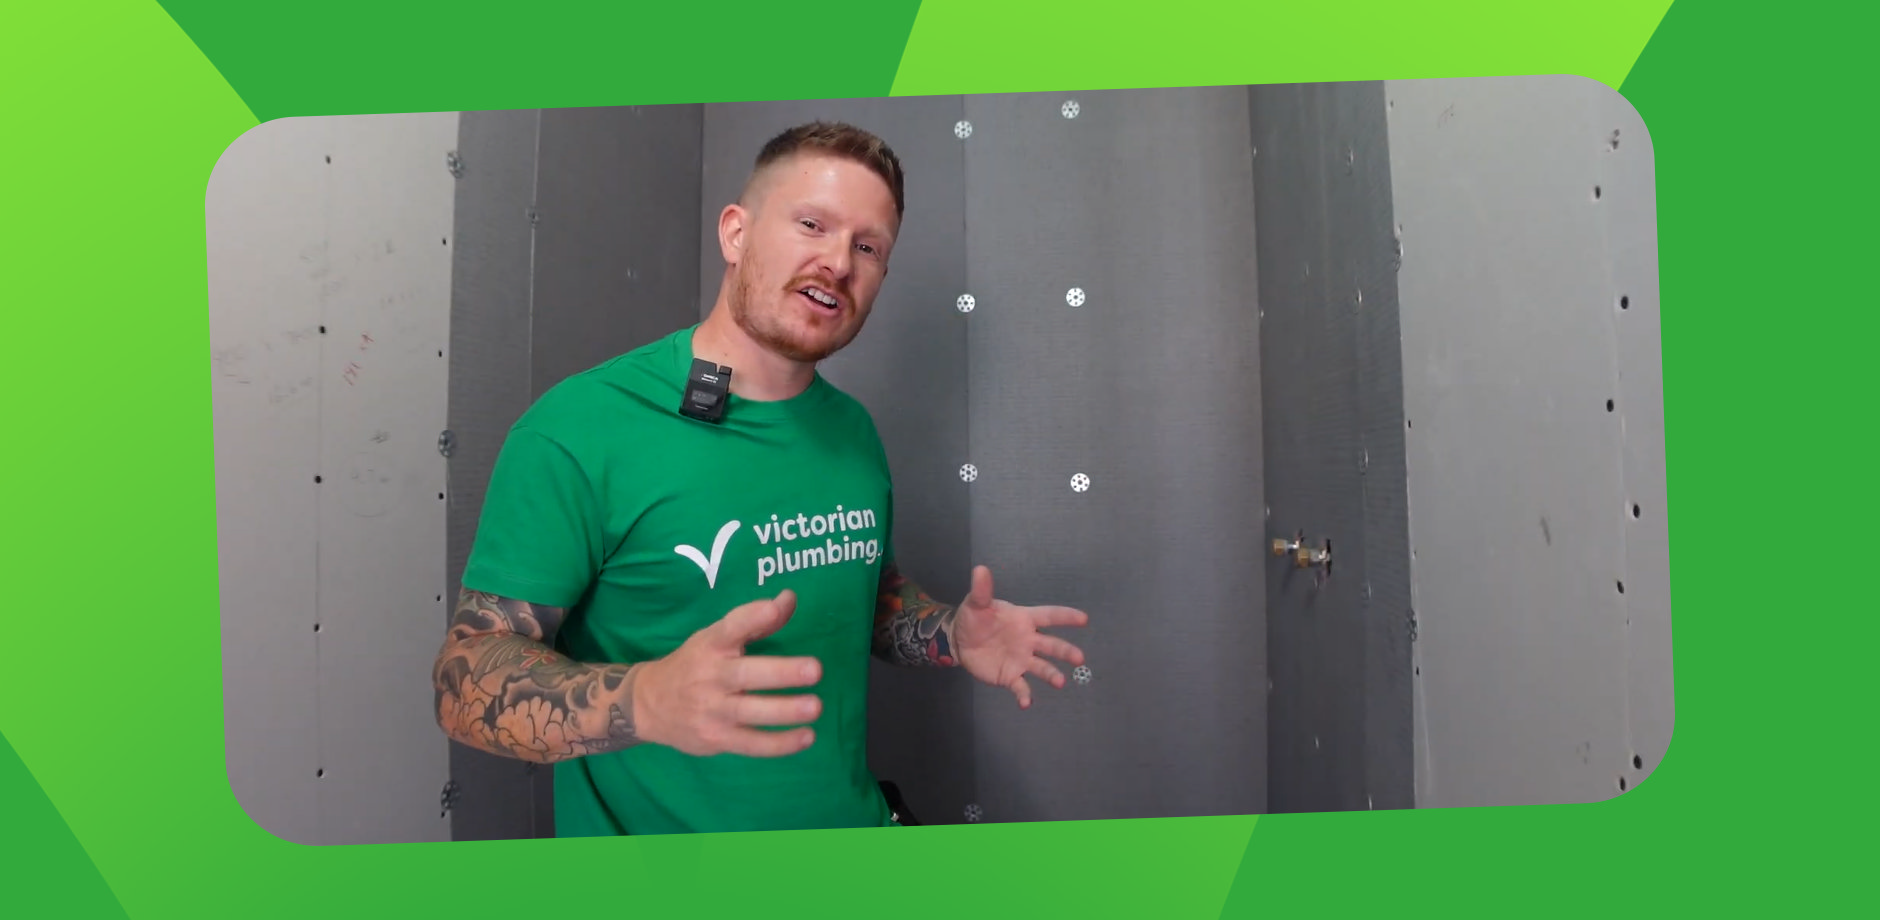
The first step in any tiling job is preparing the surface. In this example, we’re tiling onto Jackoboard tile backer board, which is purpose-built for tiling. With this type of backer board, no primers or additional preparation are required—you can tile straight onto it.
If you’re tiling onto a different bathroom surface, check the instructions on the back of your tile adhesive for specific priming and preparation steps.
The key is to make sure the wall is:
- Flat and level: Any lumps, bumps, or holes will affect the final look.
- Clean and dry: Dirt or moisture can reduce adhesion.
A smooth, even surface is essential for achieving a professional finish for your bathroom wall.
Step 2: Setting Out Your Tiles
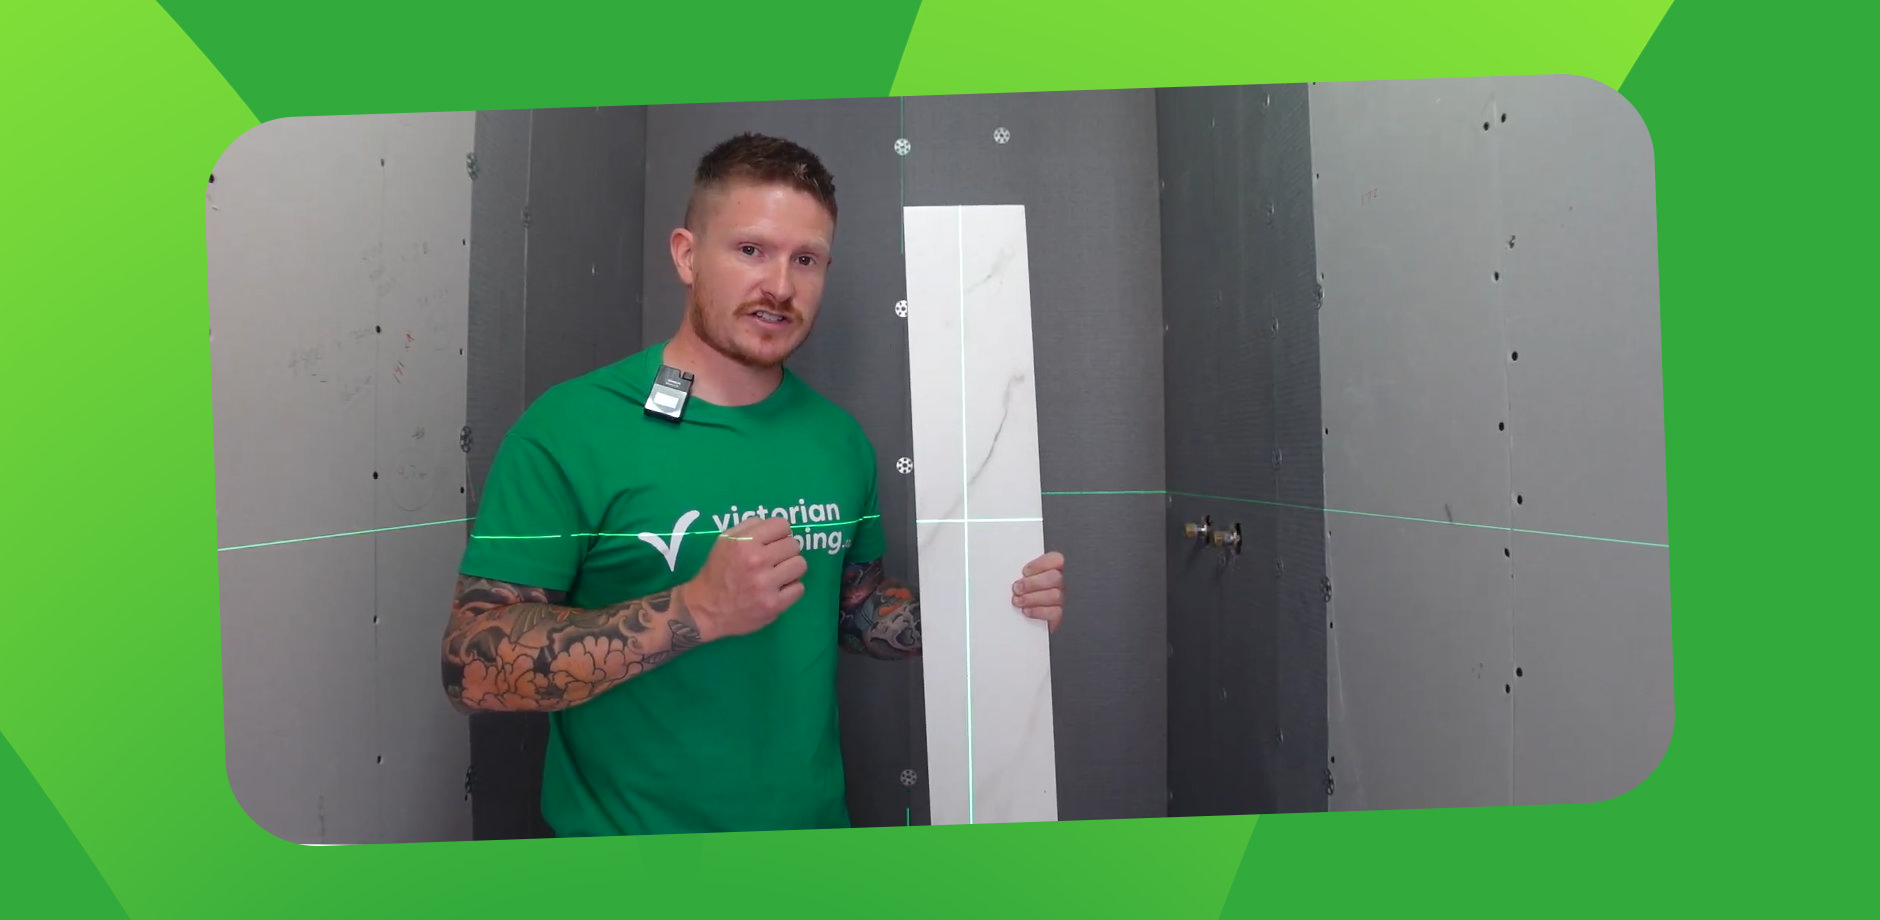
Proper planning is critical for a visually appealing tile layout. The goal is to find the most balanced pattern, so when you step back, everything looks just right.
Finding the Centre
- Use a tape measure to find the centre of your bathroom wall and mark it with a pencil.
- Extend this mark vertically using a spirit level or, if you have one, a laser level. A laser level is especially helpful for keeping lines visible throughout the job.
- Repeat this process for the wall’s height to get a true cross-section of the centre.
Dry-Laying Your Tiles
- Place the first tile with its edge aligned to your centreline.
- Dry-lay the tiles outward to plan the cuts at the edges. This gives a visual representation of how the tiles will look once fixed in place.
- Avoid small slivers of tile at the edges, as they can look messy.
- If you find small cuts are unavoidable, adjust by moving the first tile to straddle the centreline.
Disclaimer: While this process works for bathroom wall tiles of all sizes, smaller tiles may require more precise alignment, while large-format tiles may need adjustments to avoid awkward cuts at the edges.
Step 3: Cutting Tiles
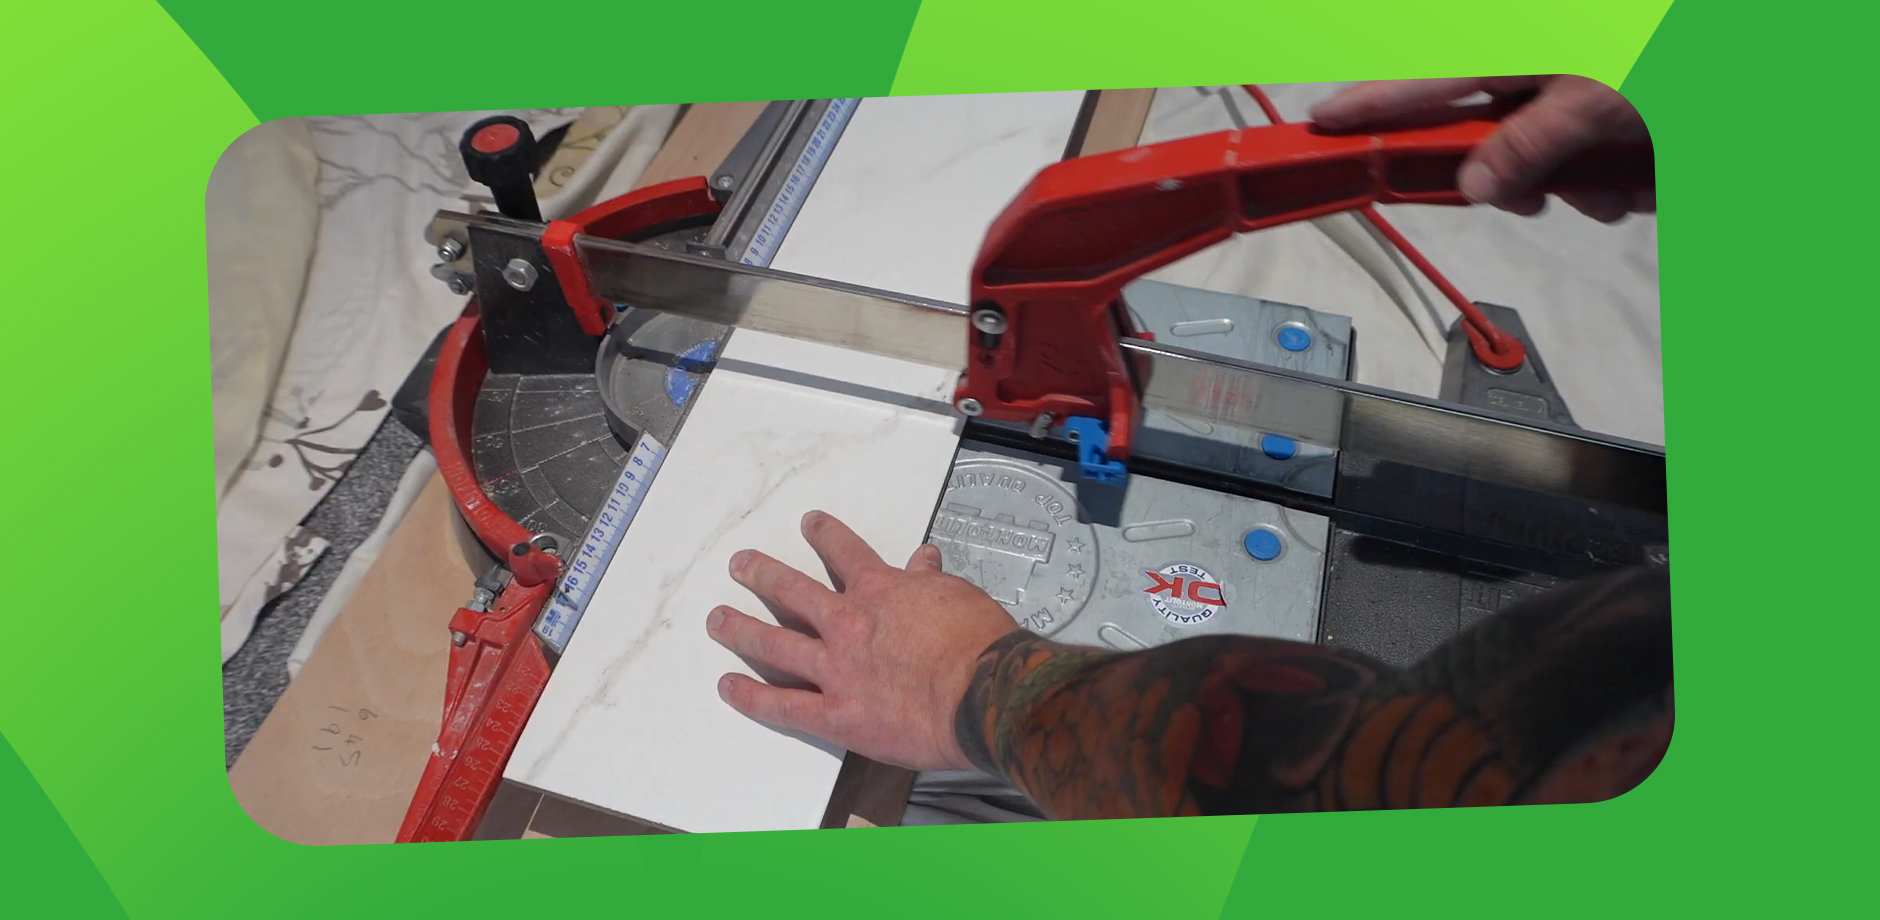
For straight cuts, use a manual tile cutter. These tools work by scoring the tile surface before snapping it cleanly.
For more intricate cuts, such as around pipes or corners, you’ll need a grinder with a tile-cutting disc. Always test cuts on a spare tile and wear proper safety equipment.
Step 4: Mixing and Applying Tile Adhesive
Use a flexible bathroom tile adhesive suited to your tiles and surface. Always check the technical instructions on the adhesive packaging to ensure compatibility.
Mixing the Adhesive

- Add a couple of inches of water to a flexible bucket.
- Gradually add the adhesive, mixing with a paddle mixer. A drill attachment works just as well if you don’t have a large mixer.
- The adhesive should be thick and creamy—firm enough to hold its shape but not so stiff that it’s hard to spread.
Applying Adhesive
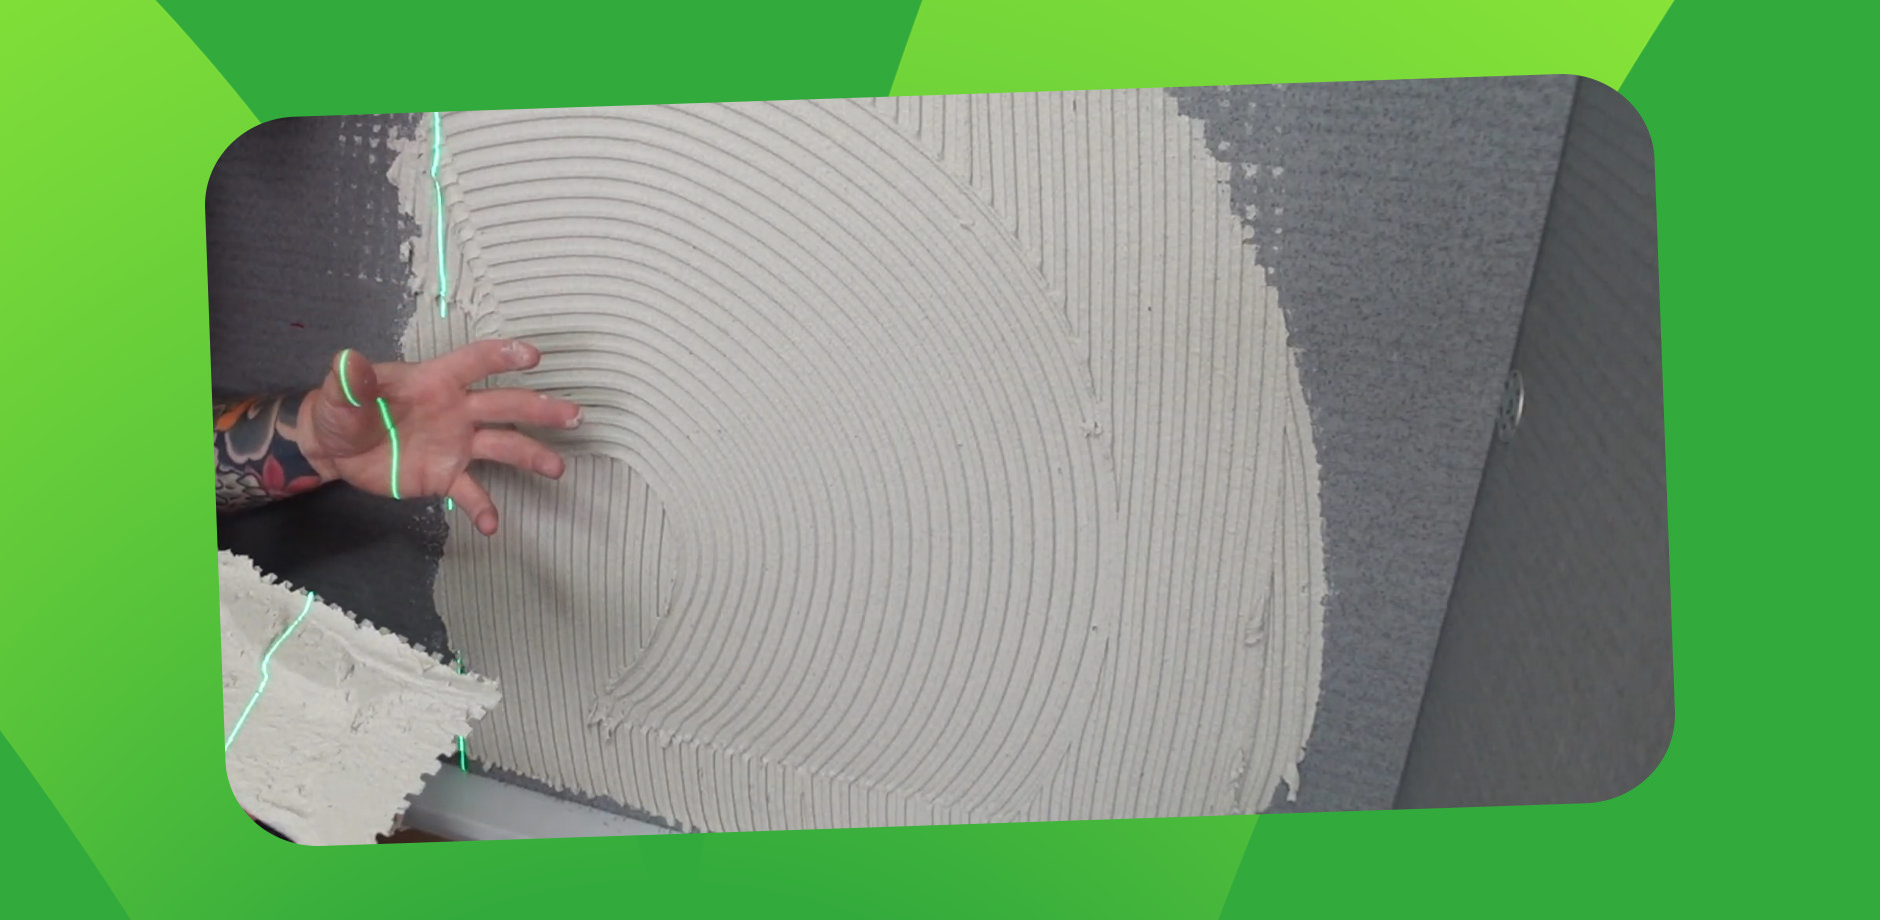
- Use a 6mm notched trowel to spread adhesive evenly on the wall.
- Drag the adhesive in one direction to create uniform ridges. Avoid circular motions, which can trap air bubbles and reduce adhesion.
Back-Buttering
For large format bathroom wall tiles, apply a thin layer of adhesive to the back of each tile before placing it on the wall. This ensures maximum adhesion.
- For smaller tiles, this step is usually unnecessary as wall-applied adhesive provides sufficient grip.
Step 5: Laying Your Tiles
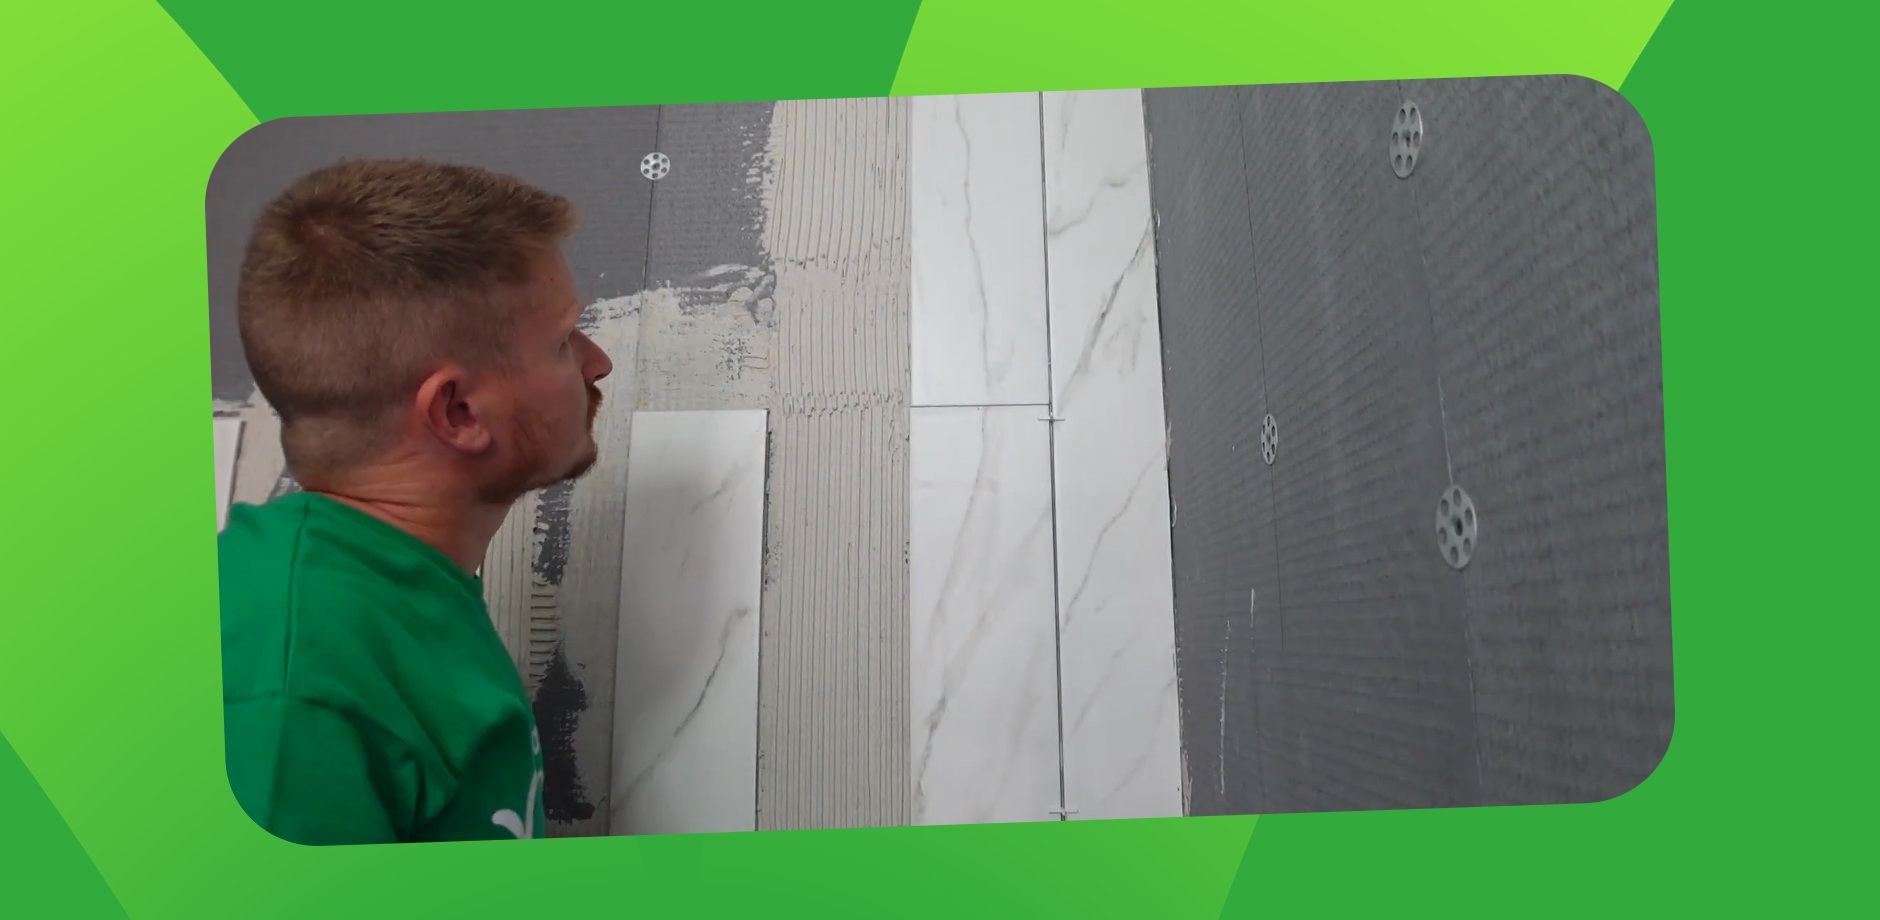
With the adhesive in place, start laying your tiles:
- Begin at the centreline and place the first tile carefully, ensuring it’s aligned.
- Use 3mm tile spacers between each tile for consistent grout lines.
- Continuously check alignment with a spirit or laser level.
Once the first row is complete, continue upward, working one row at a time. Ensure the first row is perfectly level, as it sets the foundation for the rest of the wall.
Disclaimer: Tile spacers come in various sizes, so choose the size that complements your tiles and desired grout line thickness.
Step 6: Adding Tile Trim
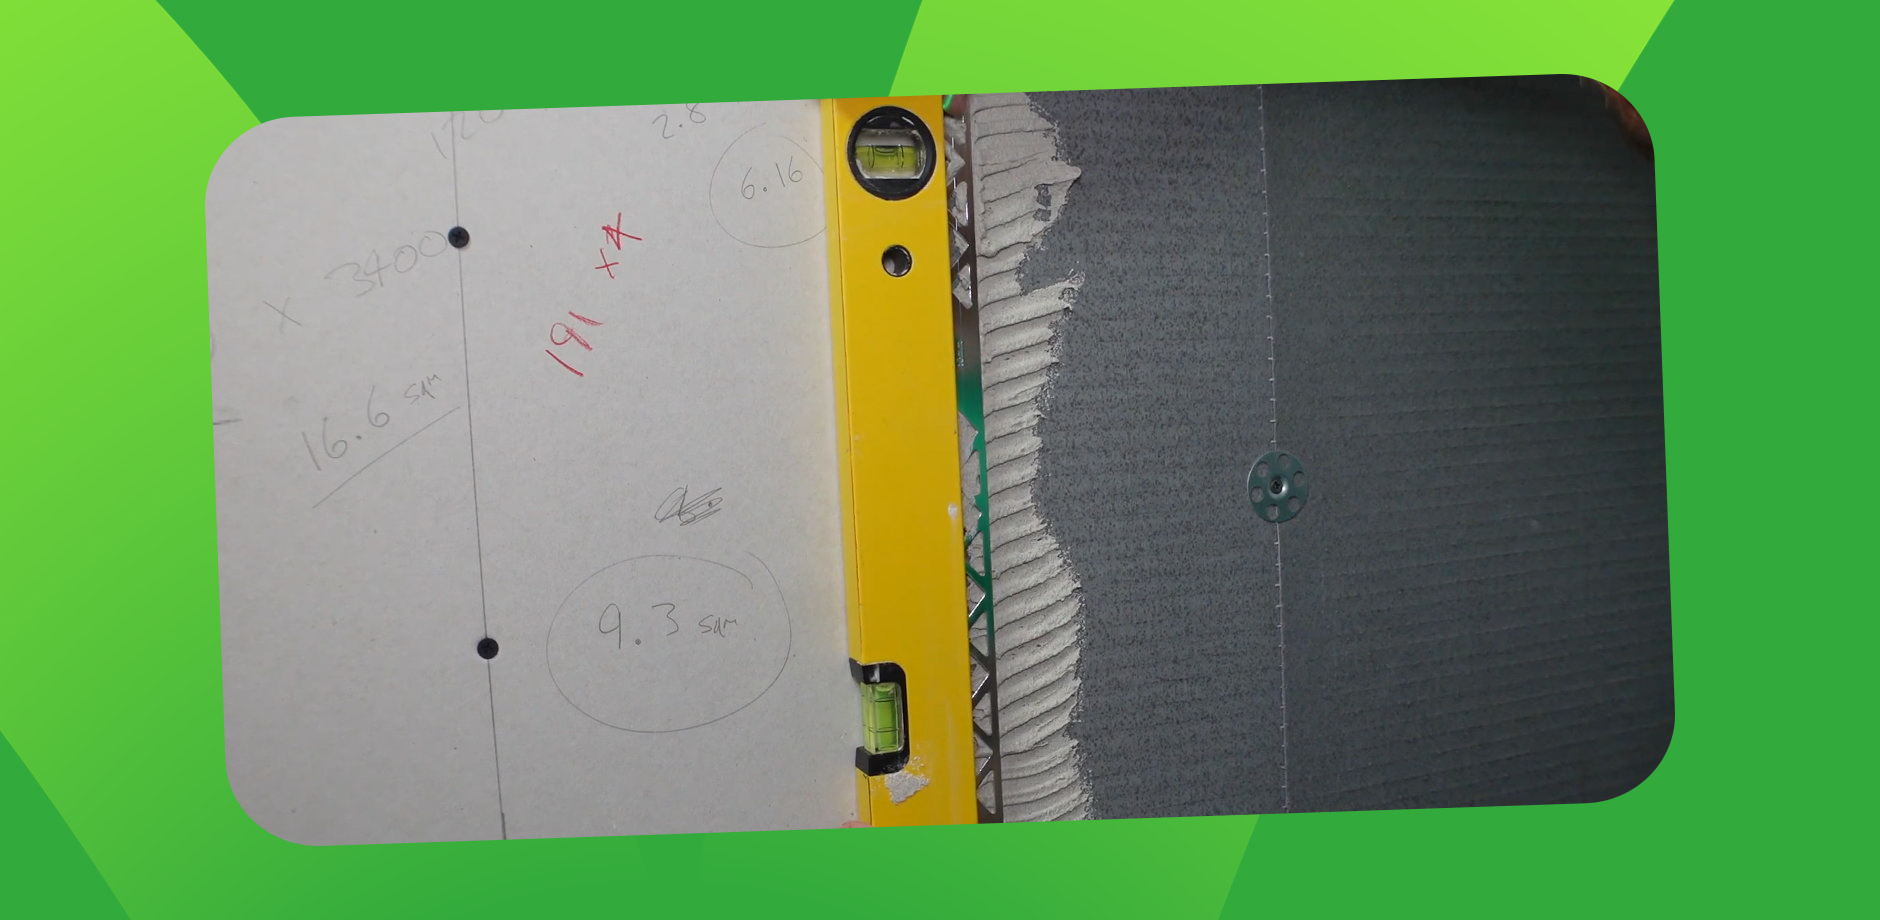
Tile trim provides a polished edge to your tiled wall.
Measuring and Cutting Trim
- Select trim that matches the thickness of your tiles. For example, use 10mm trim for 8mm tiles to account for adhesive.
- Cut the trim to size using a mitre block and hacksaw, then smooth the edges with a file.
Installing Trim
- Mark the edge of your tiles on the wall with a pencil or laser level.
- Apply a thin layer of adhesive and fix the trim in place, ensuring it’s plumb with a spirit level.
Step 7: Grouting the Wall
Once the adhesive has fully dried (typically after 24 hours), it’s time to grout.
Mixing Grout

- Follow the instructions on the grout packaging to mix to a thick paste.
- Use bottled water if you’re in a hard-water area to prevent limescale.
Applying Grout
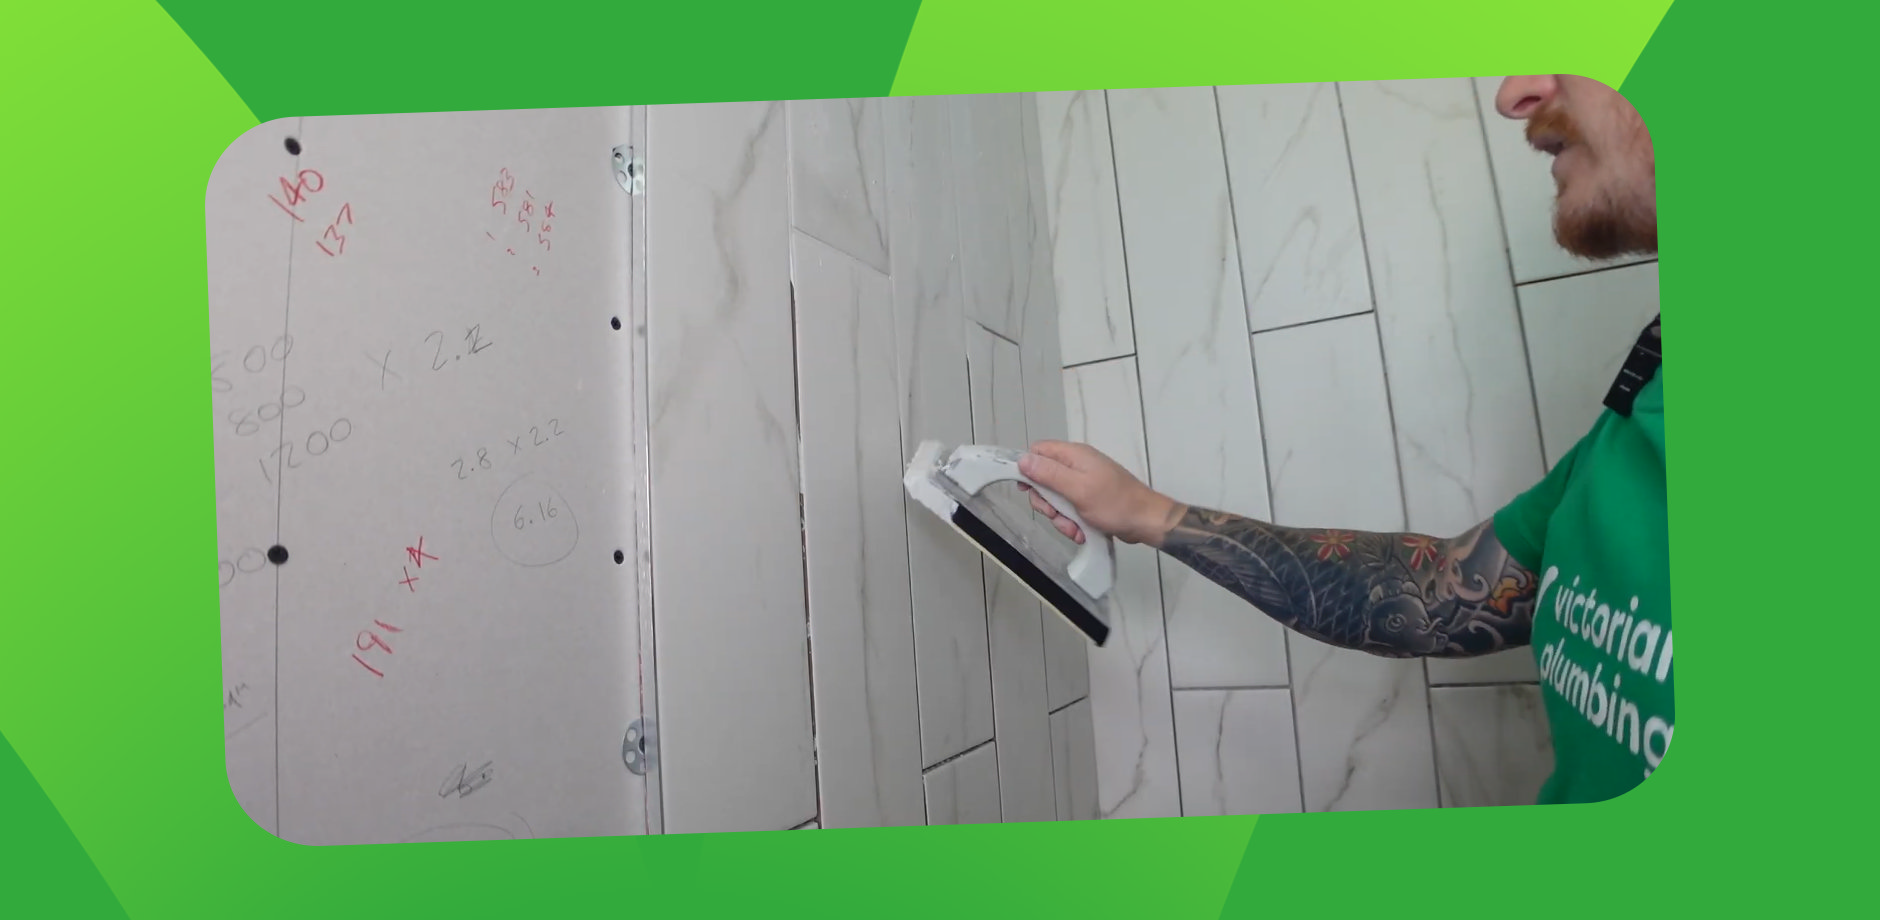
- Use a float to work grout diagonally into the joints, ensuring they’re fully filled.
- Work in small sections to avoid the grout drying too quickly.
Step 8: Finishing the Grout
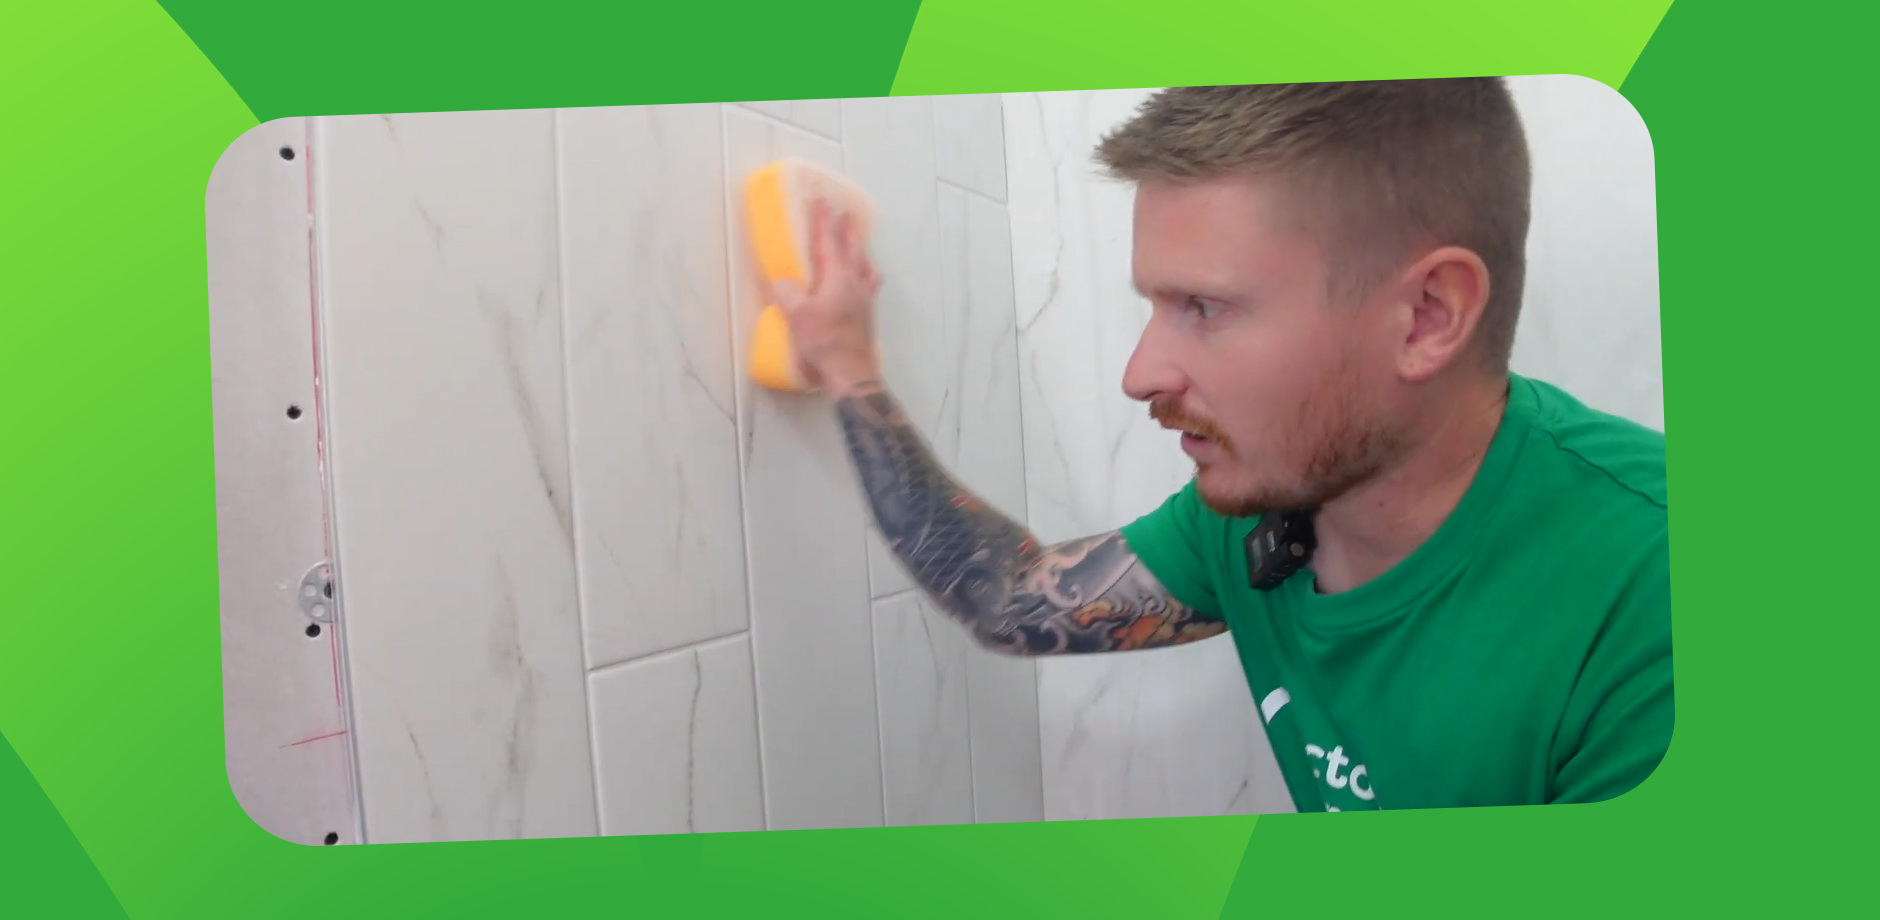
After about an hour, the grout will begin to set:
- Use a wrung-out sponge to smooth the grout lines and remove excess grout from the tiles. Work gently to avoid pulling grout out of the joints.
- Once the grout has hardened further, buff the tiles with a damp microfiber cloth, followed by a dry cloth, to remove any haze.
Step 9: Sealing the Edges with Silicone
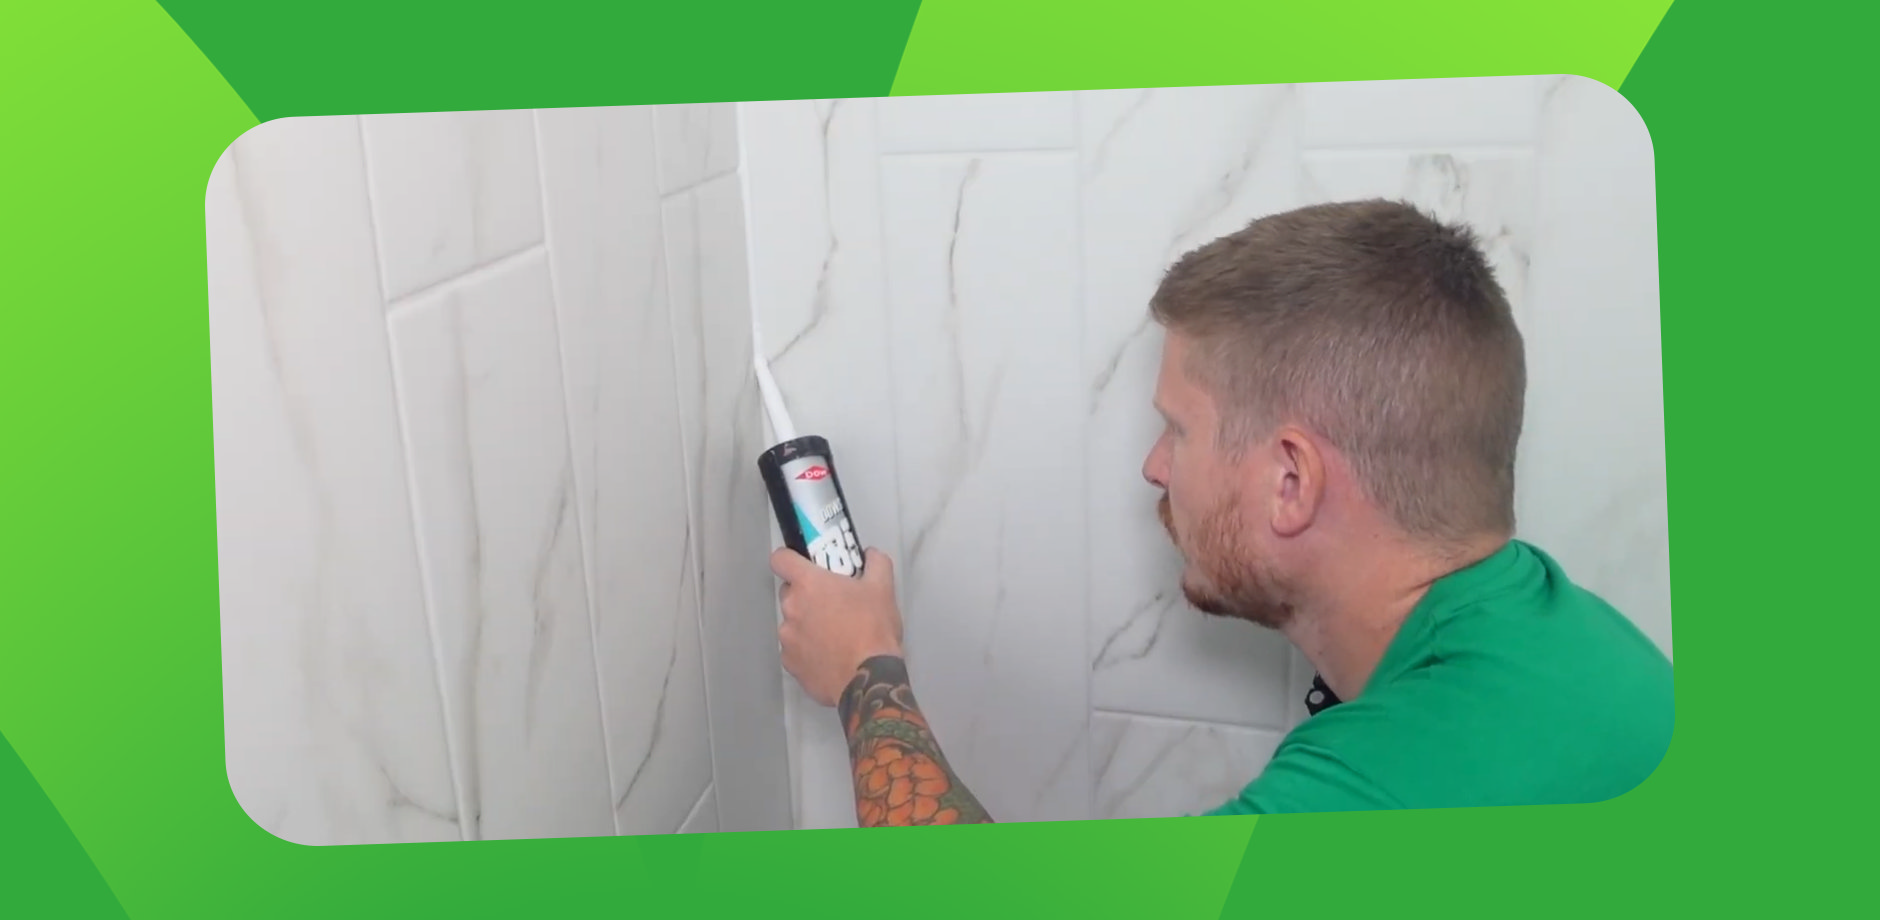
For a professional finish, apply sanitary silicone to the corners and edges:
- Match the silicone colour to your grout for a seamless look.
- Apply a smooth bead of silicone along the edges and corners. Tidy it with a damp finger or a silicone tool.
FAQs: Tiling a Bathroom Wall
Where should you start tiling a bathroom wall? Start tiling from the middle of the wall and work outward. Measure and mark the wall’s centre with a tape measure and pencil, then use a spirit level or laser level to draw vertical and horizontal guides. This ensures a balanced tile layout and avoids uneven cuts at the edges.
Can I tile a bathroom wall myself? Yes, you can tile a bathroom wall yourself with the right tools and preparation. Ensure you measure the space accurately, use quality adhesive and spacers, and follow a step-by-step guide. Take your time to achieve a professional finish.
What is the 3/4/5 rule for laying tile? The 3/4/5 rule for laying tile ensures corners are perfectly square. Measure three feet along one wall, four feet along the adjacent wall, and check that the diagonal between them is five feet. If the measurements align, your corner is square.
How do you prepare a bathroom wall for tiling? To prepare a bathroom wall for tiling:
- Clean the wall to remove dirt or grease.
- Ensure the surface is flat and repair any holes or bumps.
- Let the wall dry completely.
- Prime the surface if required, especially for porous or uneven materials.
Proper preparation helps tiles adhere securely for a long-lasting finish.
Ready to Tile your Bathroom Walls Like a Pro?
Now it’s your turn! Grab your tools, watch our YouTube guide, and start tiling like a pro today.
For even more inspiration, explore our bathroom ideas and inspiration blog, packed with creative bathroom wall tile ideas to spark your imagination. Don’t forget to check out our other DIY blogs for expert tips.
Share this guide with your fellow renovators, and explore our buying guides to find the perfect tools and tiles for your project. Your dream wall is just a few steps away!

Jack
Jack is part of the resident bathroom bloggers team here at Victorian Plumbing. As a bathroom décor and DIY expert, he loves writing in depth articles and buying guides and is renowned for his expert 'how to' tutorials.
