EXTRA 10 % OFF AREZZO WITH CODE: AREZZO10
*Free delivery on orders over £499
How to Prepare Your Walls For Tiling
How to Prepare Your Walls For Tiling
In this comprehensive guide, we show you how to prepare your walls for tiling, ensuring your tiles stay firmly in place.
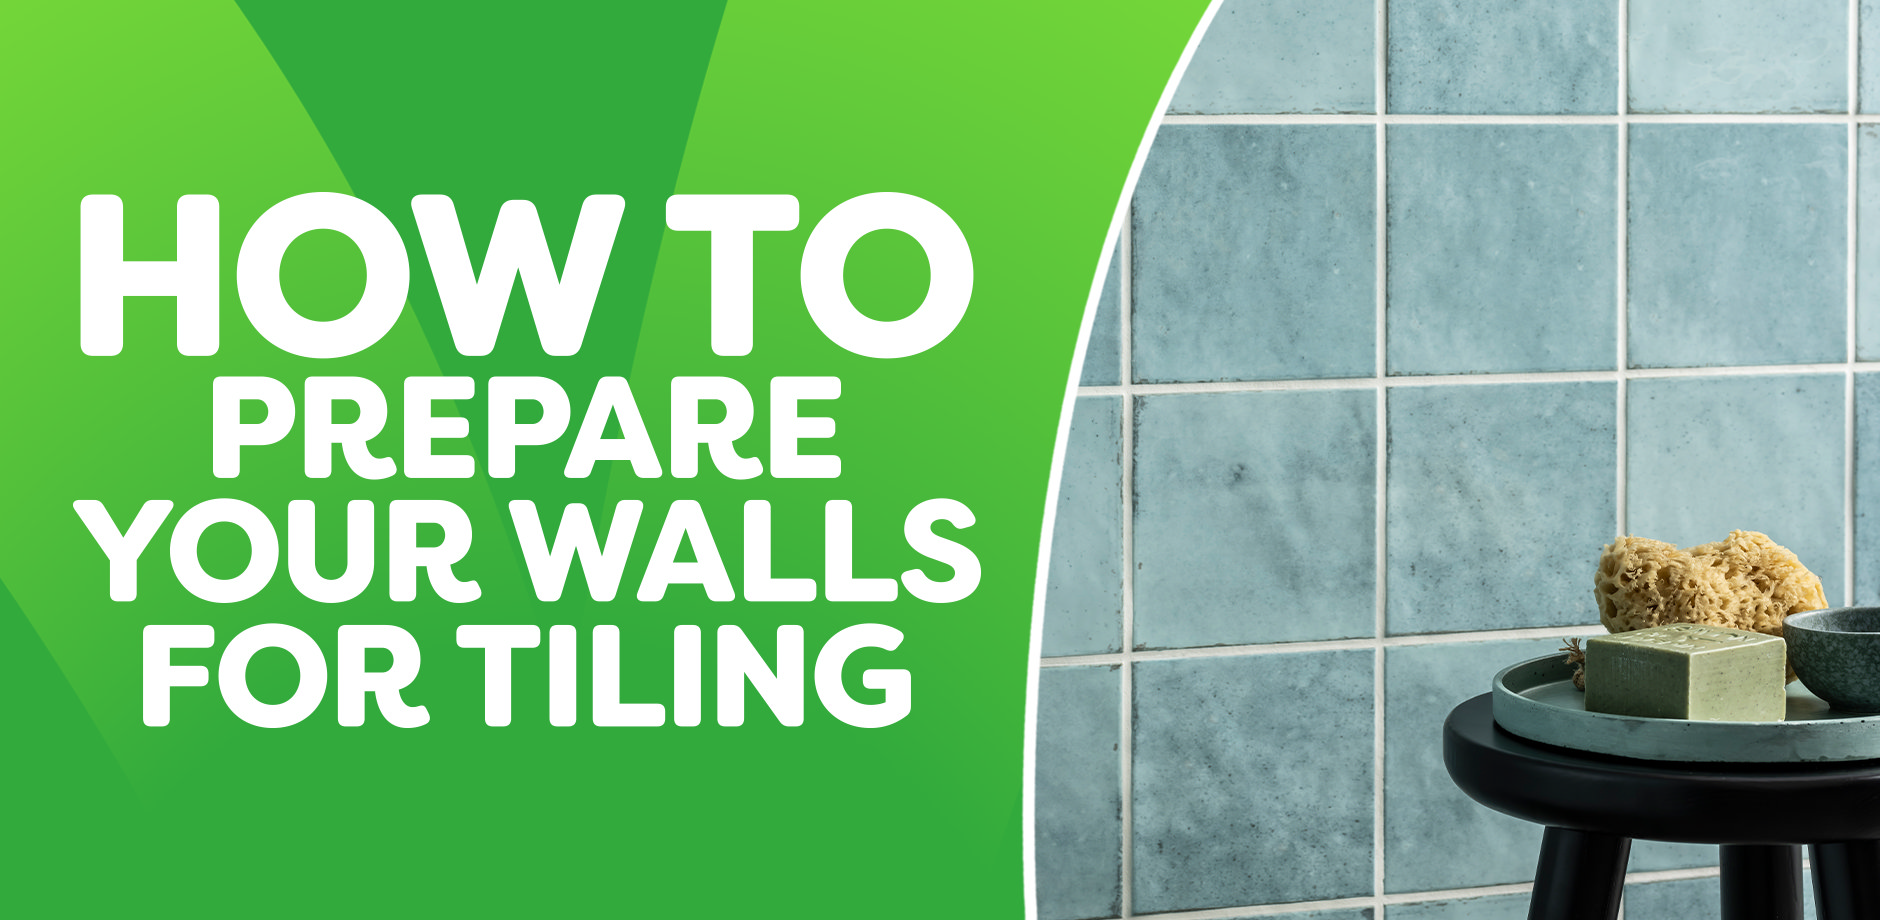
Tiling your bathroom is one of the most popular ways to create a watertight seal and protect your walls from moisture. Wall tiles are most commonly used around splash zones, like the inside of a shower enclosure or around the bath or basin. In many cases, homeowners decide to fully tile their bathroom from wall to floor, giving it a beautiful appearance.
How to prepare your walls - video tutorial
When tiling onto stud walls, it’s a good idea to prime the surface first. There are several ways of doing this, but each will depend on the current surface of your wall. We’ll show you the two most common methods.
Priming fresh plasterboard walls
The first method is for priming fresh plasterboard walls. We’d recommend using a store-bought, acrylic-based primer for this purpose.
Plasterboard is a porous material meaning it will absorb moisture applied to it. This means that once your tile adhesive has been applied to the surface, the board will absorb the moisture too quickly for the bonding reaction to occur properly. To combat this, you can apply a primer. Don’t use PVA glue, as it won’t soak fully into the plasterboard, meaning, when you come to tile, your adhesive won’t provide the grip you need.
Here’s how to prime plasterboard using a primer for tiling:
- Read the instructions on your primer.
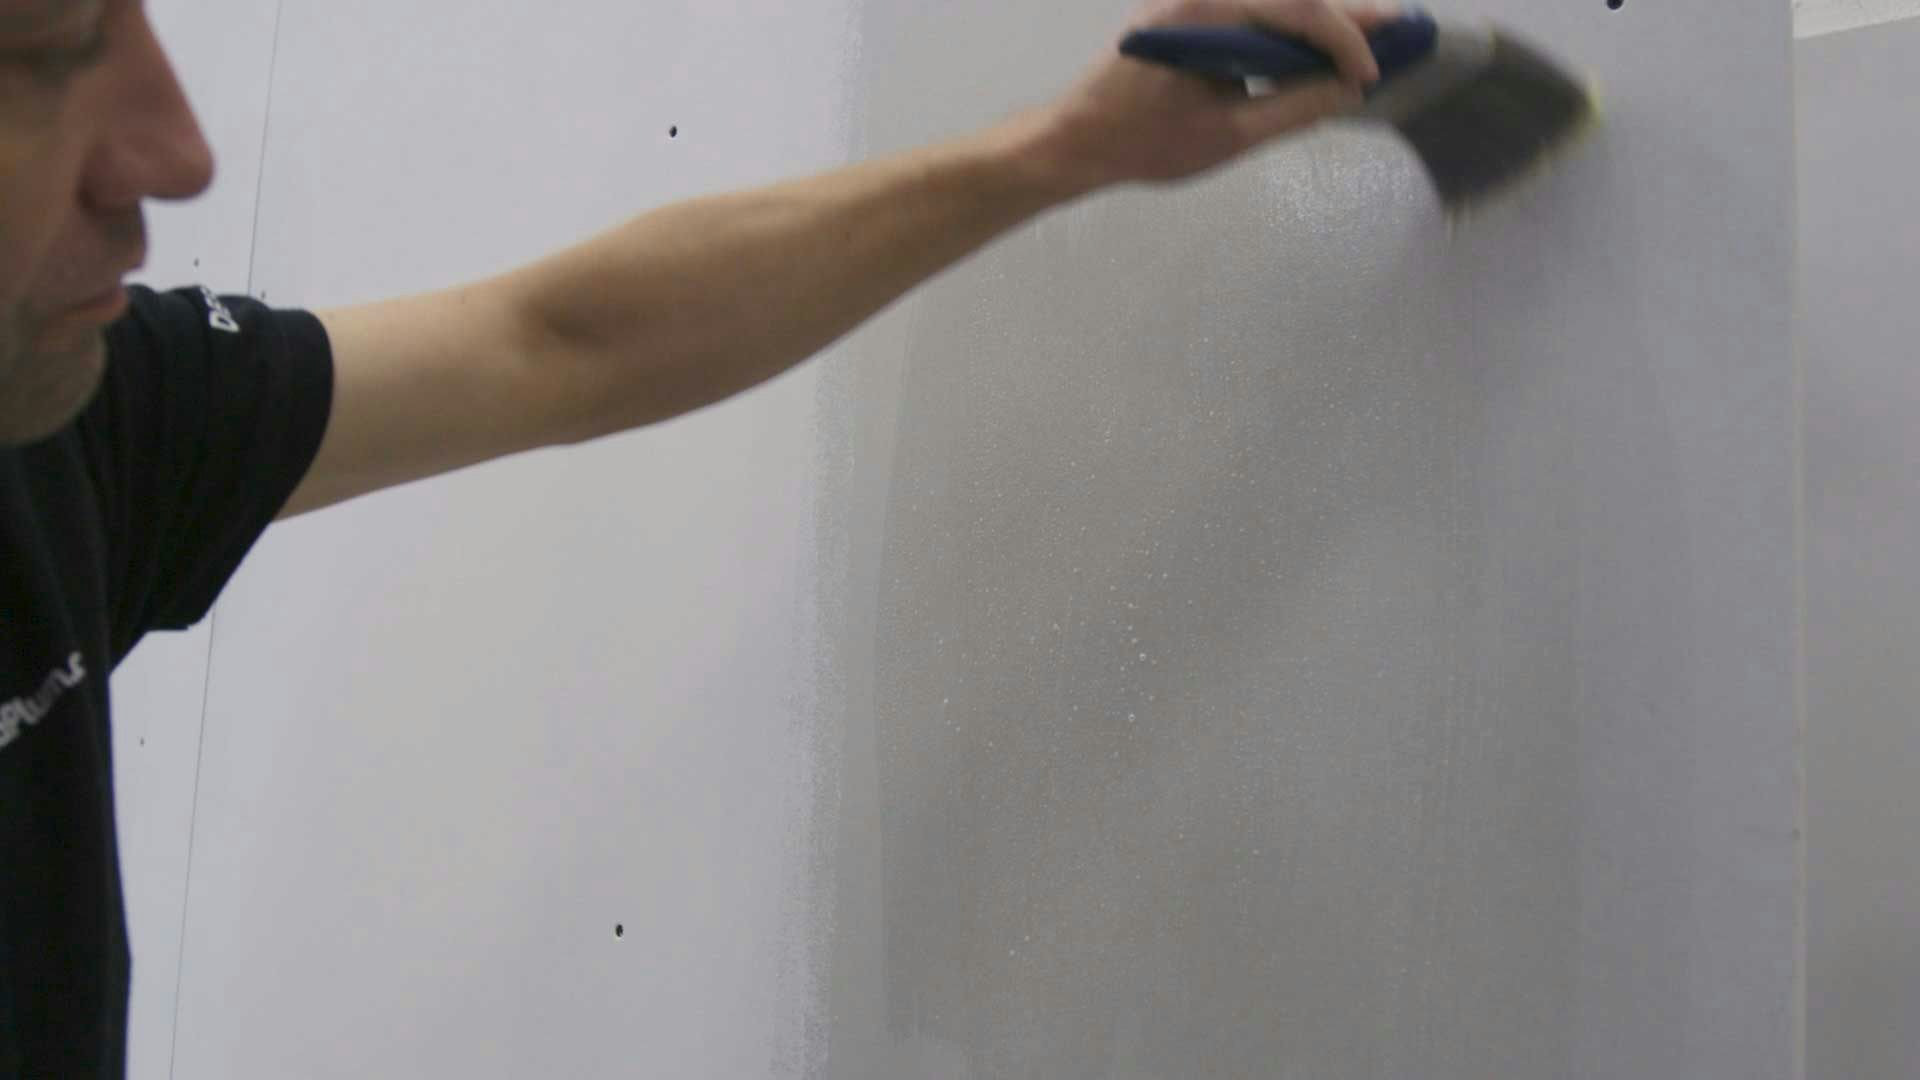
- Apply your primer straight to the plasterboard using a brush or roller, allowing 15 minutes to dry.
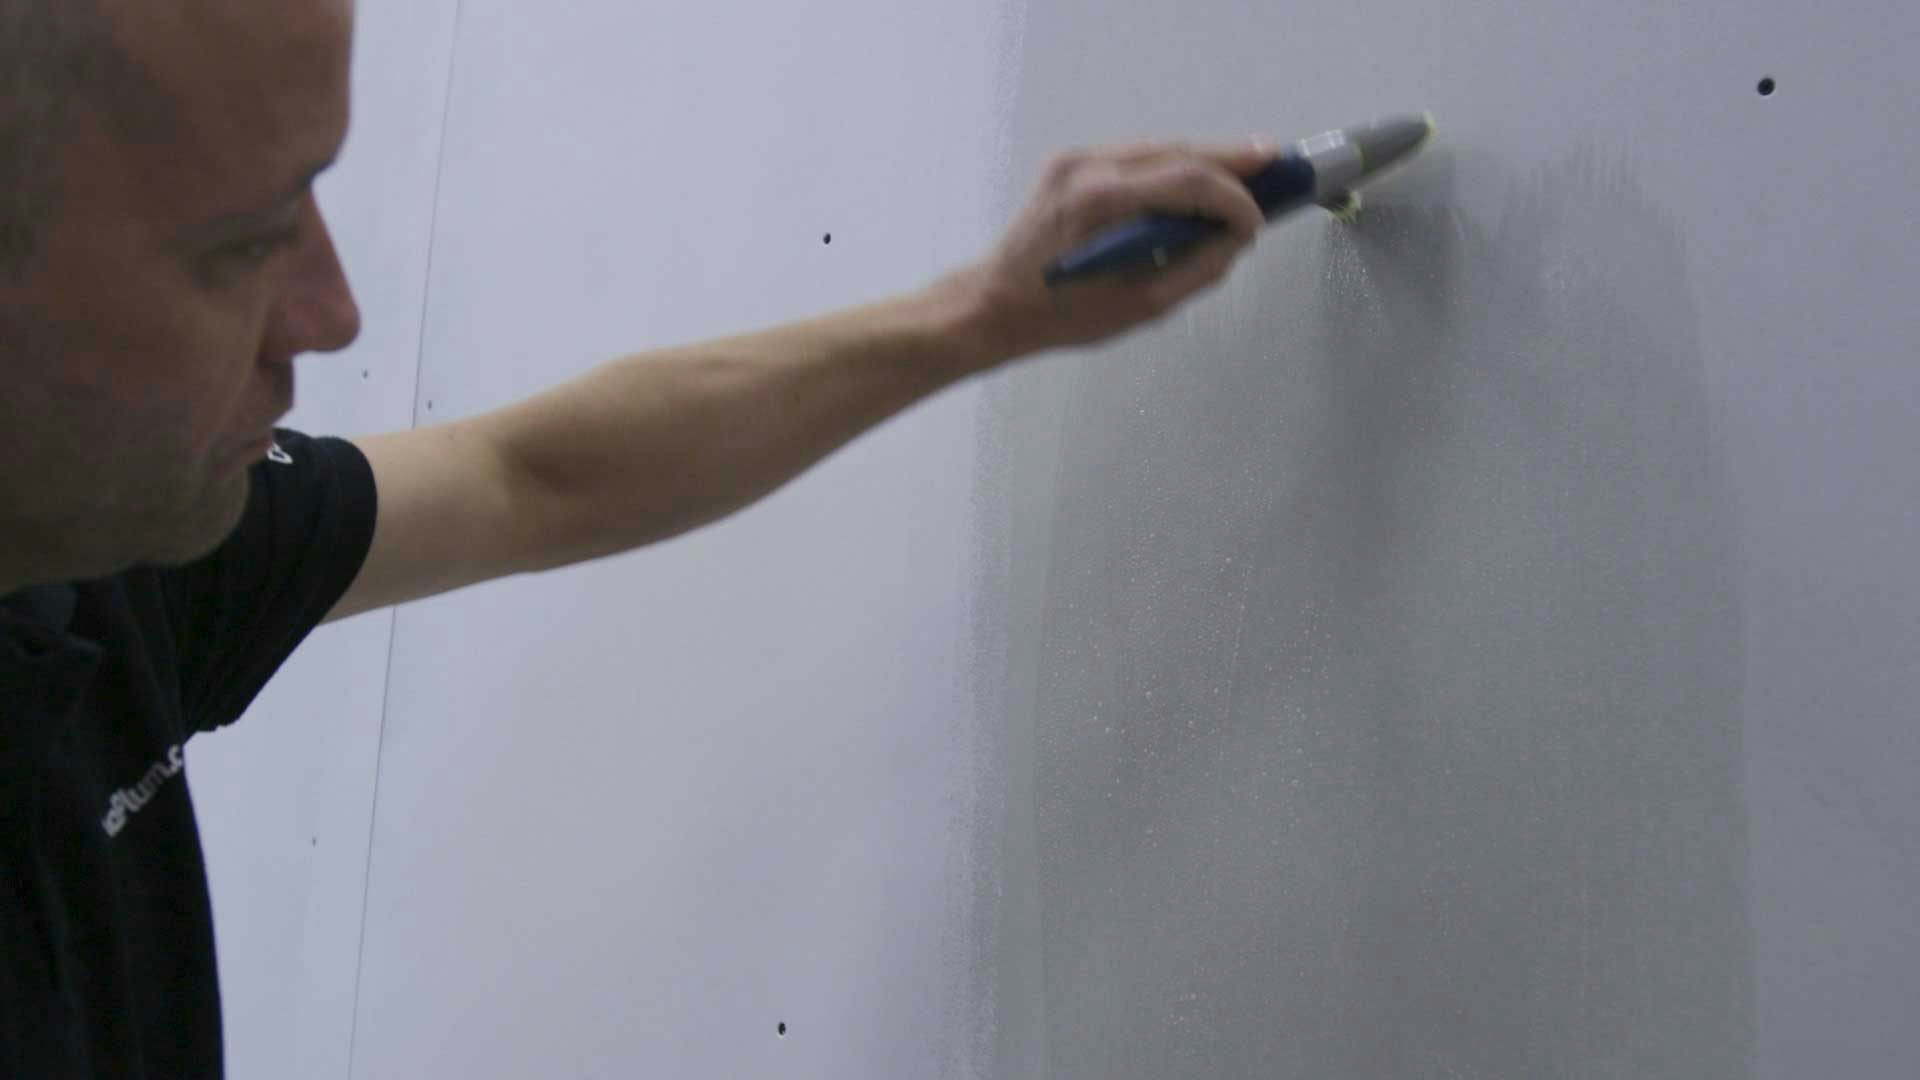
- Apply a second coat and allow to dry overnight.
The primer will soak into the board and seal it, preventing moisture from the tile adhesive from being absorbed.
Your plasterboard is now ready for tiling.
Untreated plasterboard absorbs moisture too quickly, not allowing the bonding reaction to take place, meaning the tiles aren’t as secure and could, potentially, fall off.
Priming plasterboard for tiling: Step-by-step images
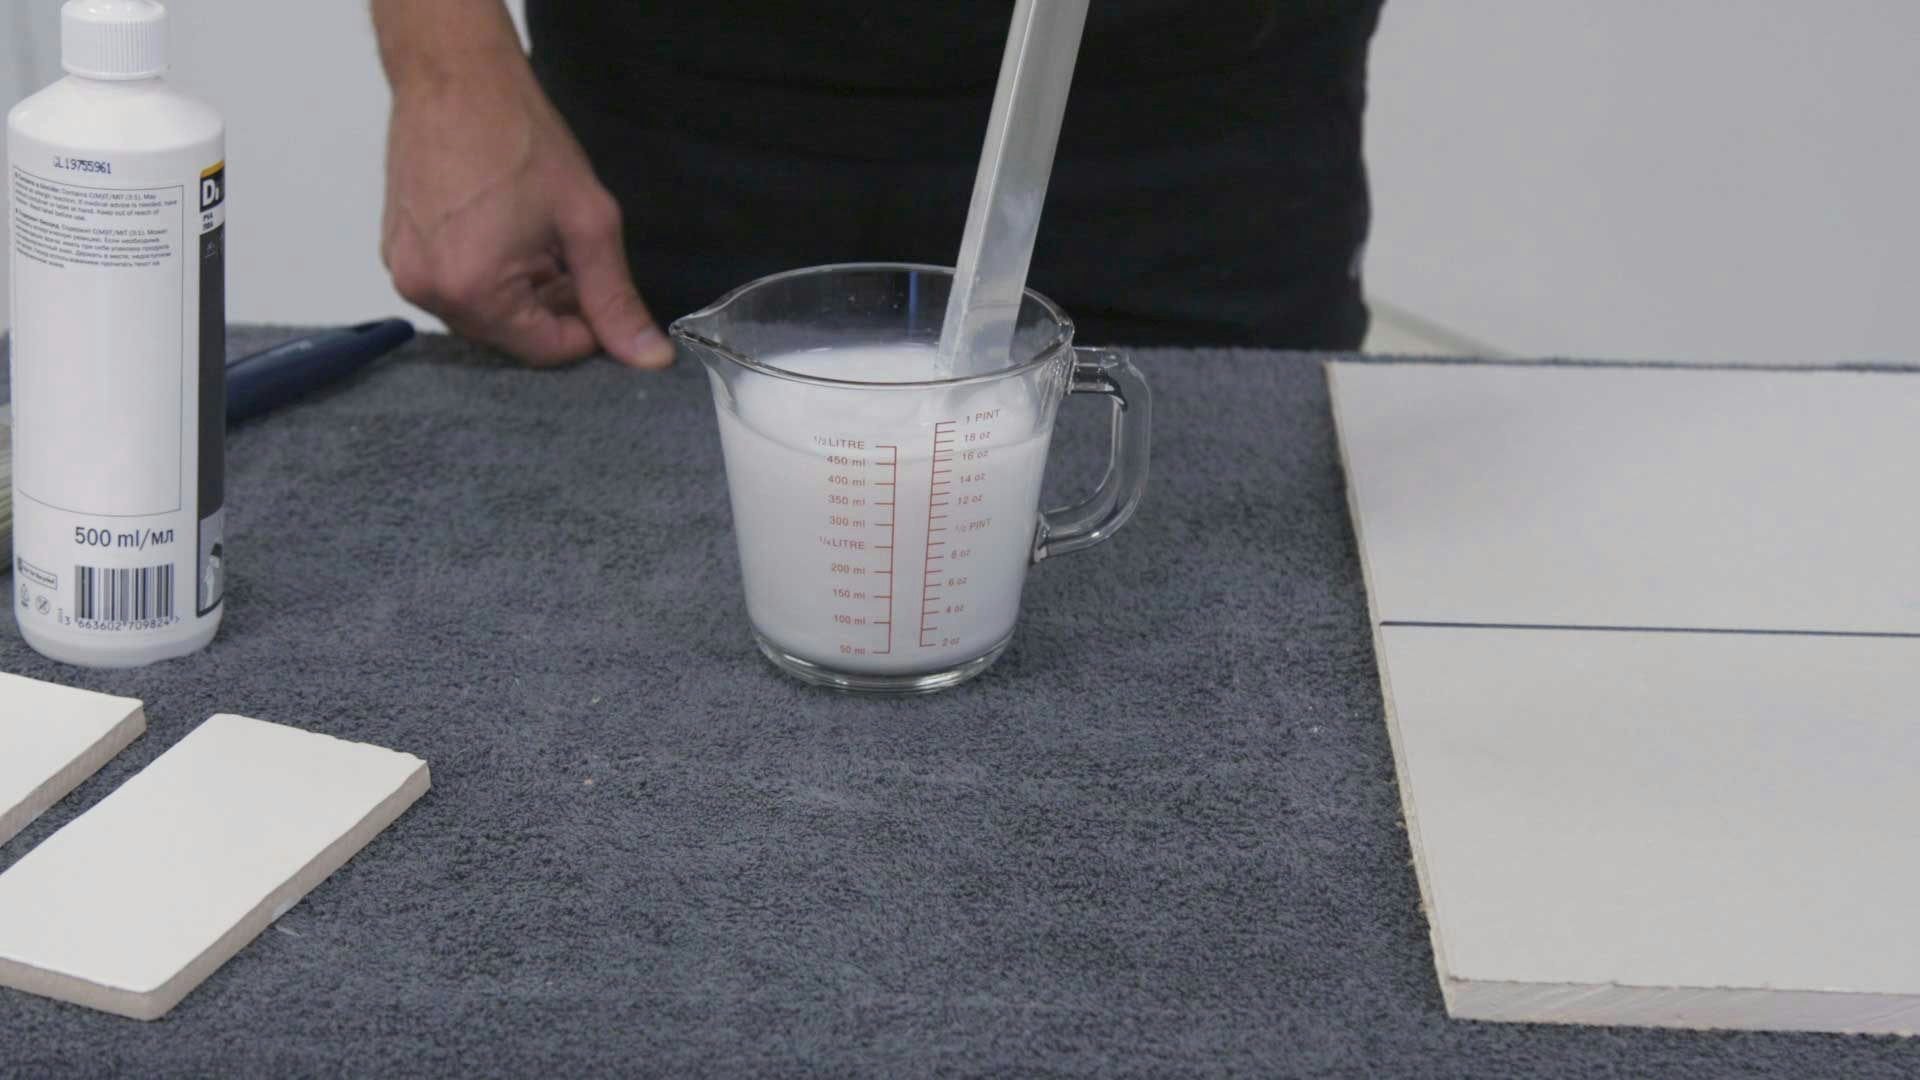
Step 1
Readying your primer.
Step 2
Applying your primer to plasterboard.
Step 3
Applying the second coat.
Priming a painted wall
The next option is for tiling onto a painted wall.
Here’s how to prime a painted wall for tiling:
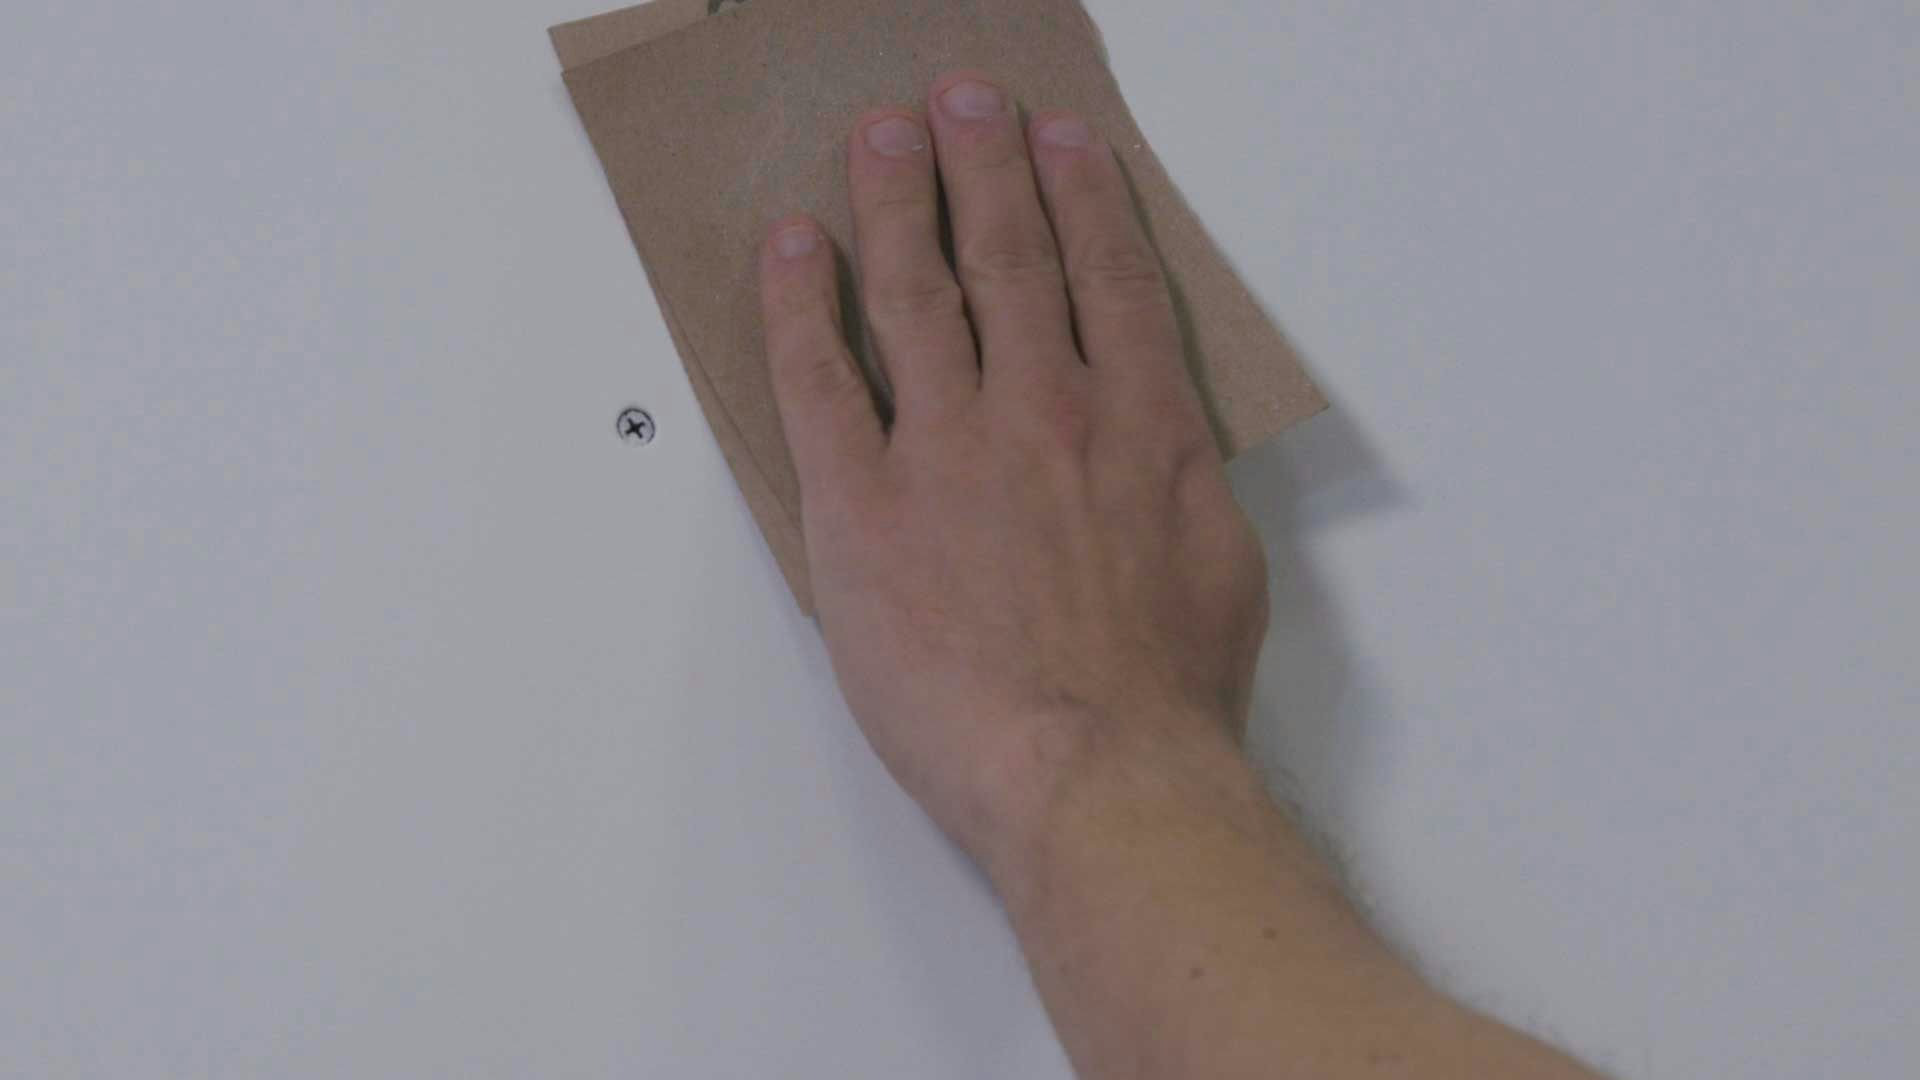
- If the wall already has a couple of thin coats of emulsion, this will act as a primer and may just need a light sanding with sandpaper before you tile straight onto it.
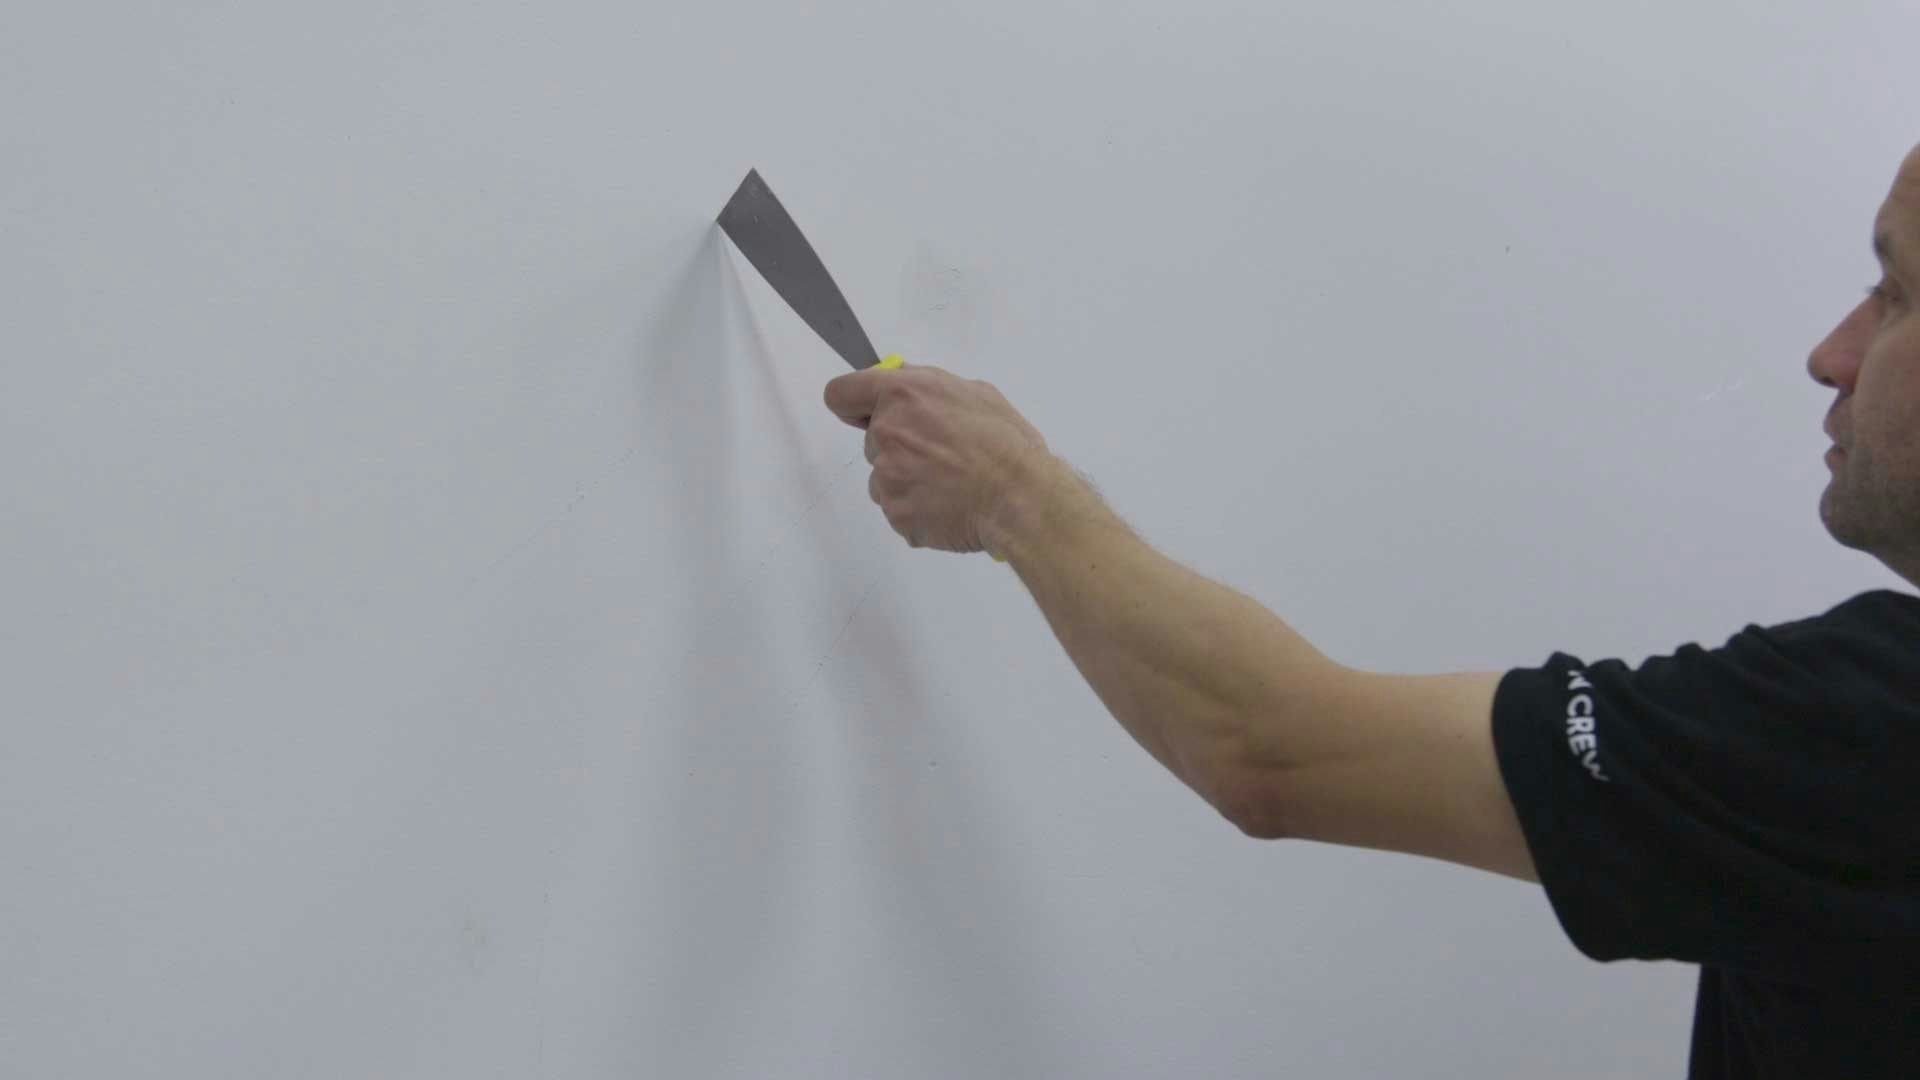
- If it’s a fully painted or newly plastered wall, you will need to score the surface with a scraper to give the adhesive something to key into.
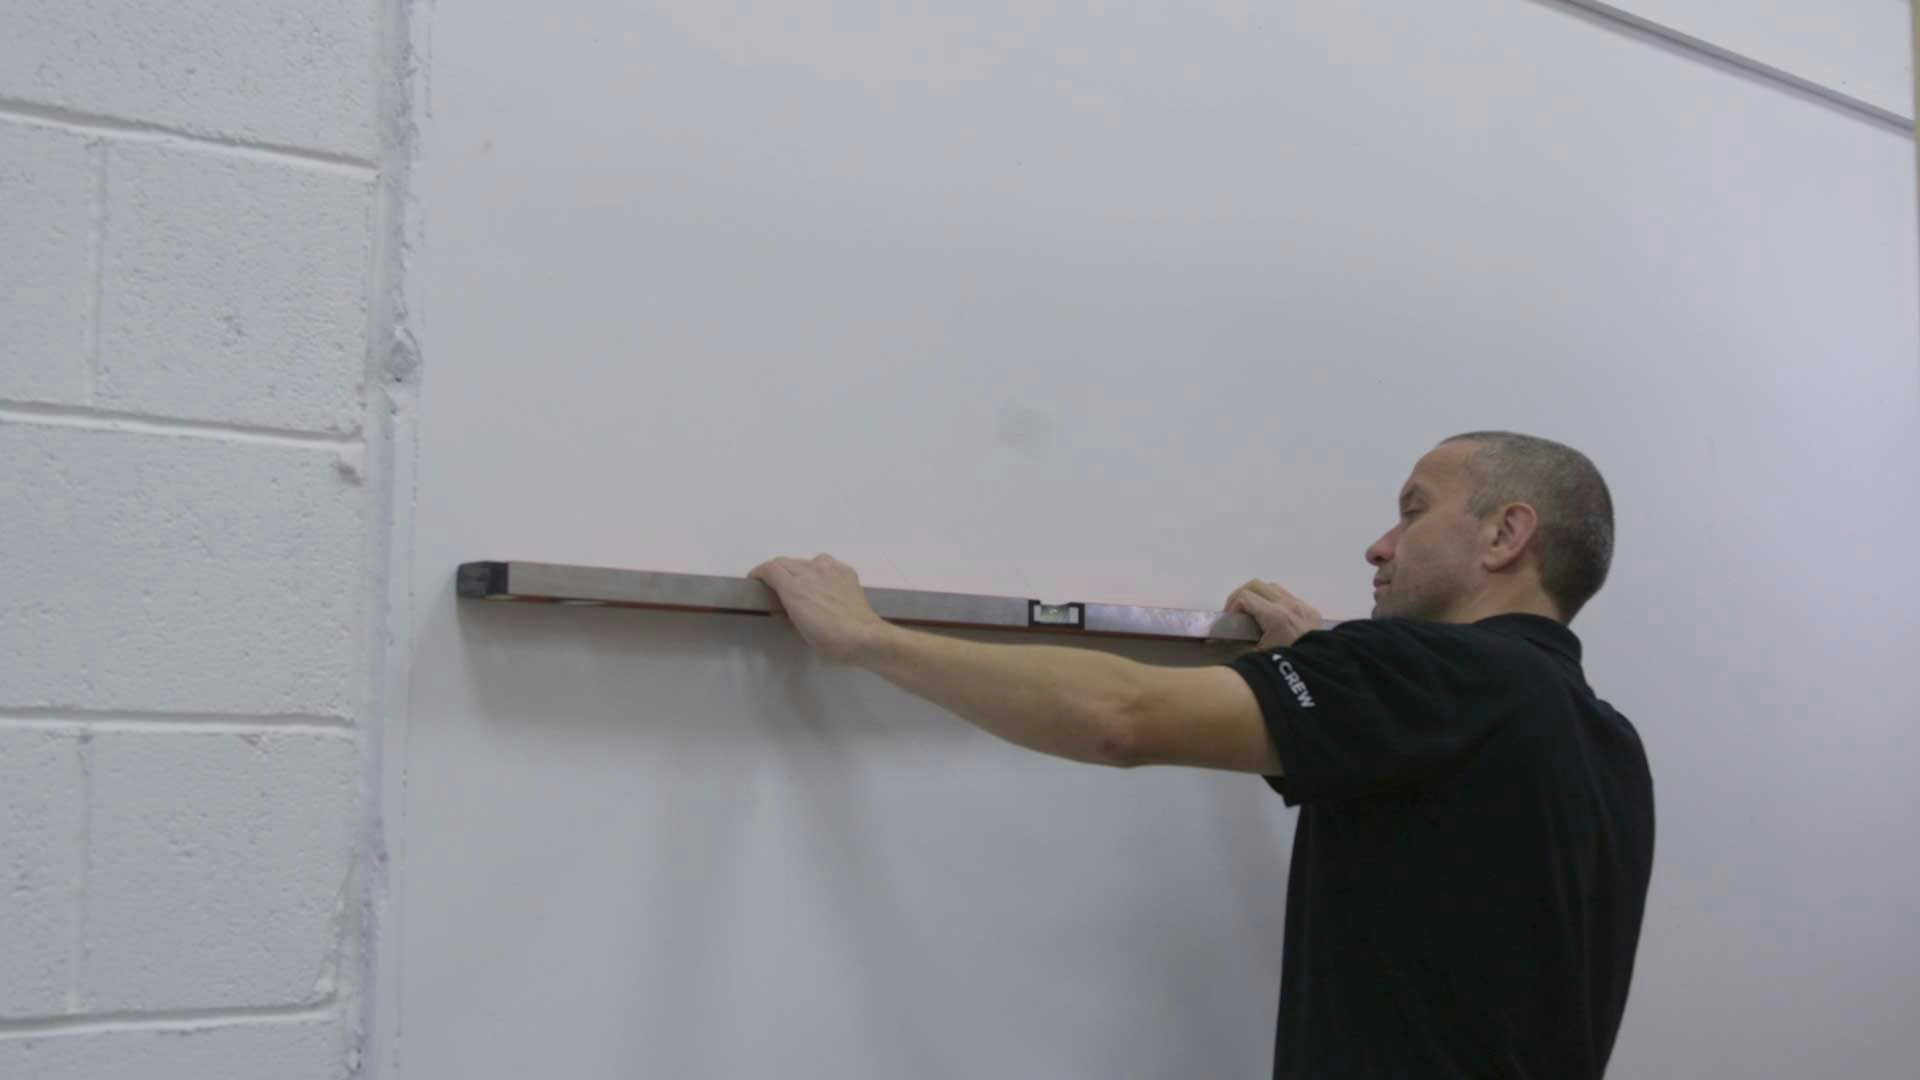
- You will also need to ensure the wall is flat by running a level or batten across it. Small holes can be filled but larger areas may require the wall to be replastered.
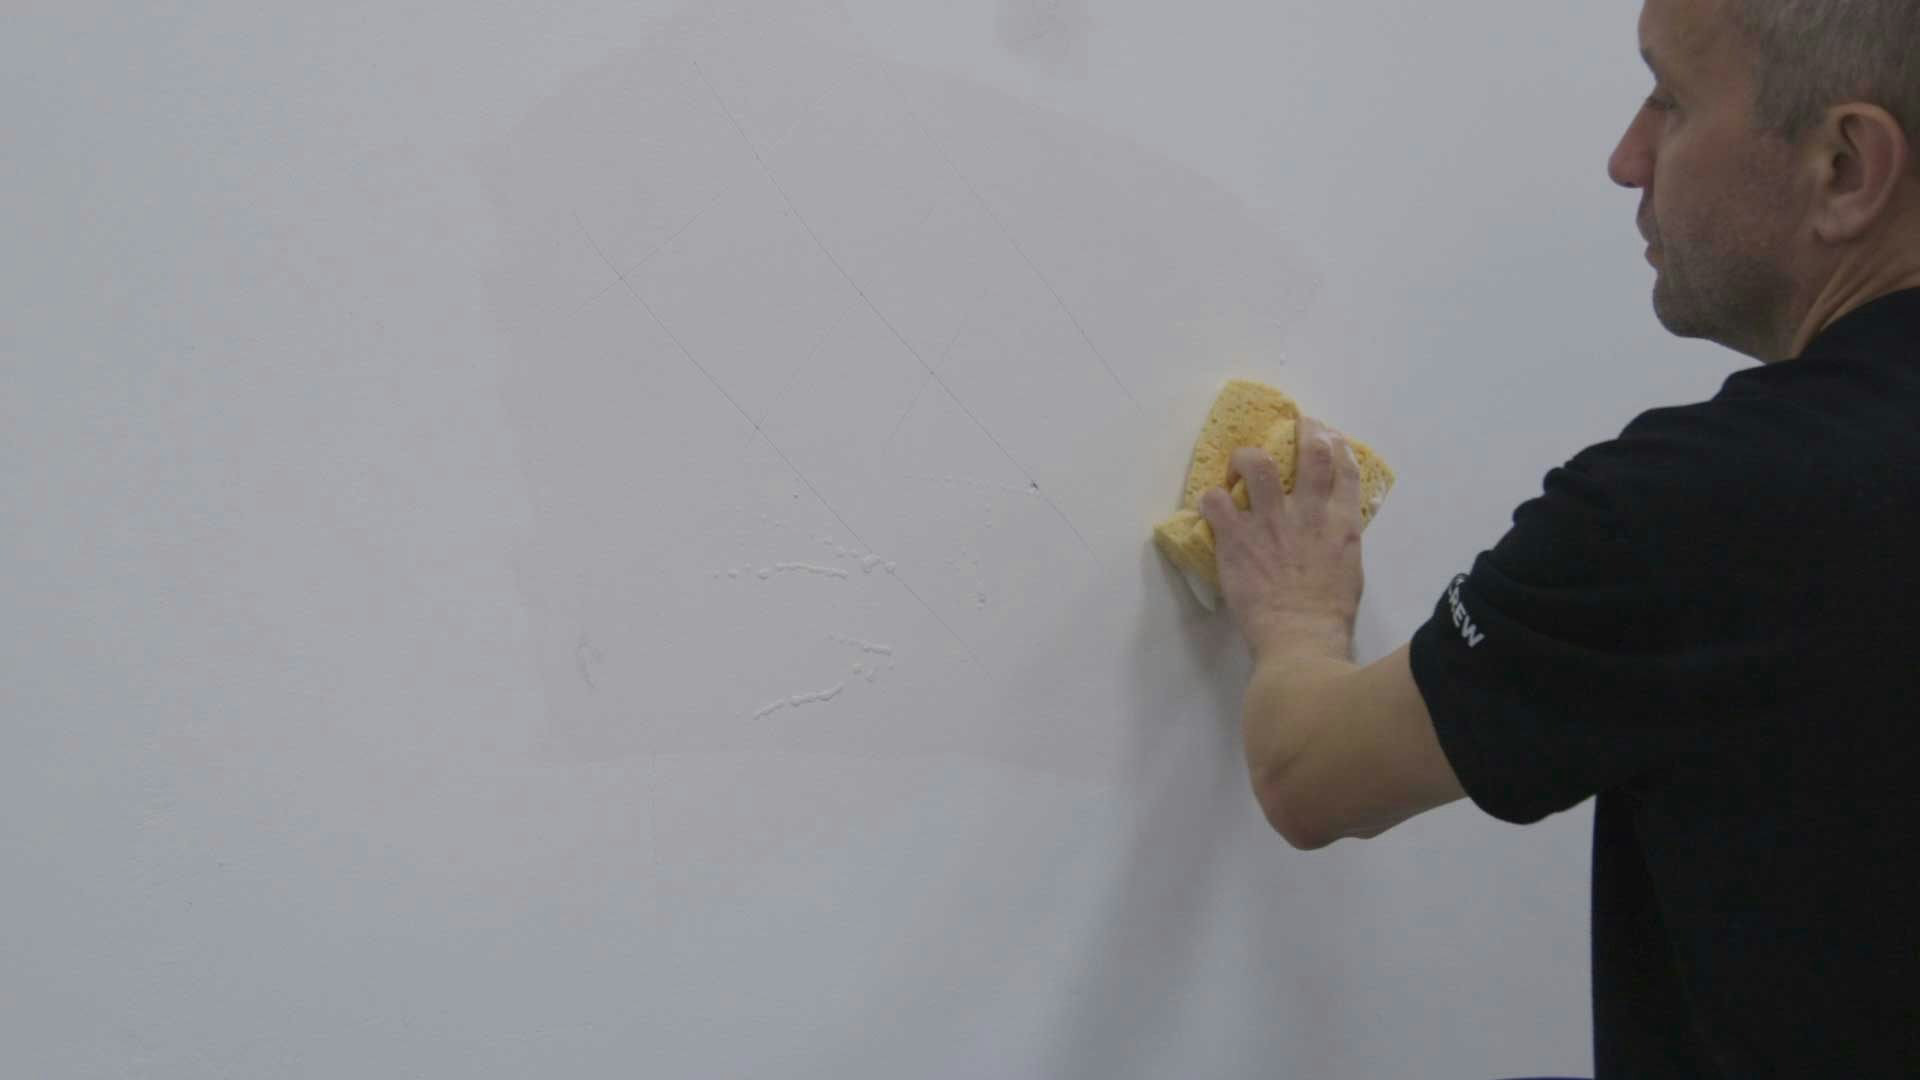
- Use a sugar soap solution to remove dust and debris.
Your painted wall is now ready for tiling.
Priming a painted wall for tiling step-by-step images
Step 1
Giving the painted wall a light sanding.
Step 2
Scoring a fully painted or freshly plastered wall with a scraper.
Step 3
Ensuring the wall is flat.
Step 4
Using sugar soap solution to remove dust and debris.
Still on the hunt for those perfect tiles for your bathroom or kitchen? Why not browse our comprehensive range of beautiful, stylish tiles today?

Sarah
Sarah is one of our resident bathroom experts here at Victorian Plumbing. She loves writing helpful bathroom design and DIY articles, as well as detailed buying guides.
