UP TO 60% OFF BIG BATHROOM SALE!
Free Delivery on Orders Over £499**
fixing a cracked bathroom tile
Fixing a Cracked Bathroom Tile
Helpful step-by-step tips on how to fix a cracked bathroom tile.
Jump to a section of this post by clicking a link above.
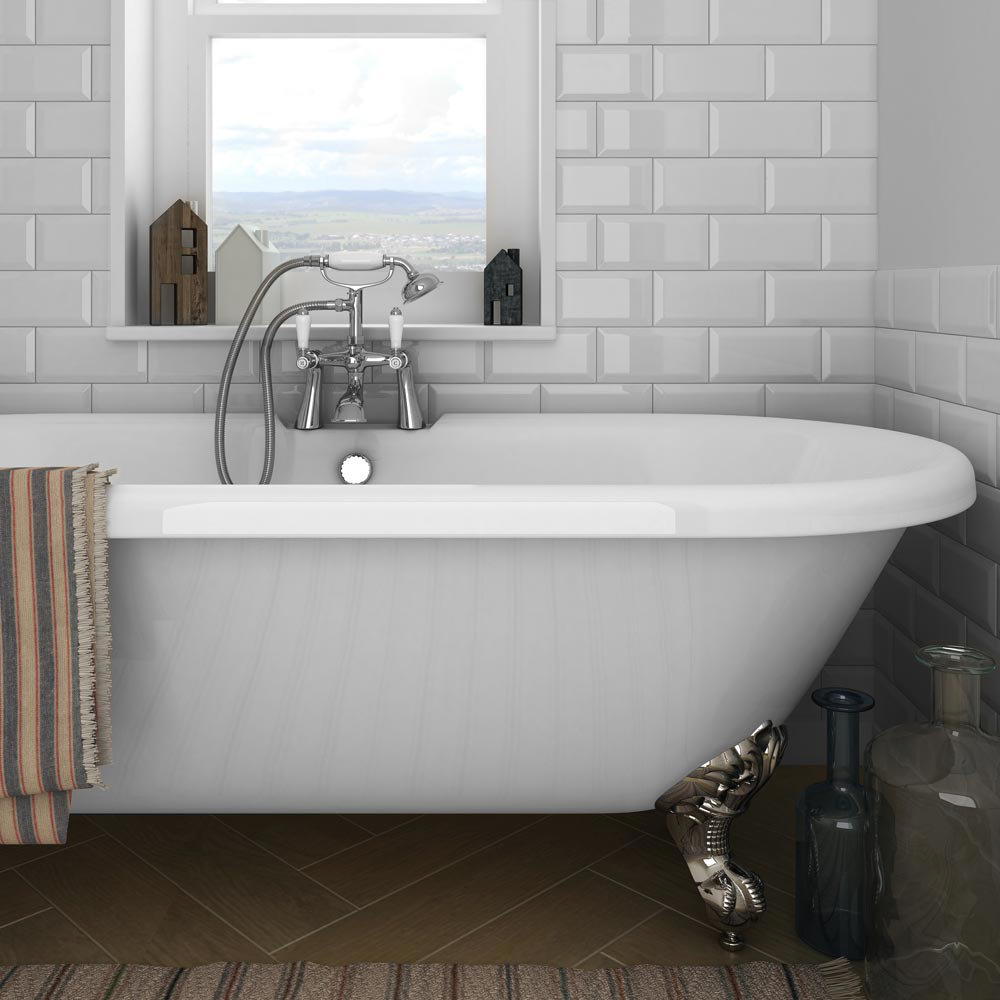
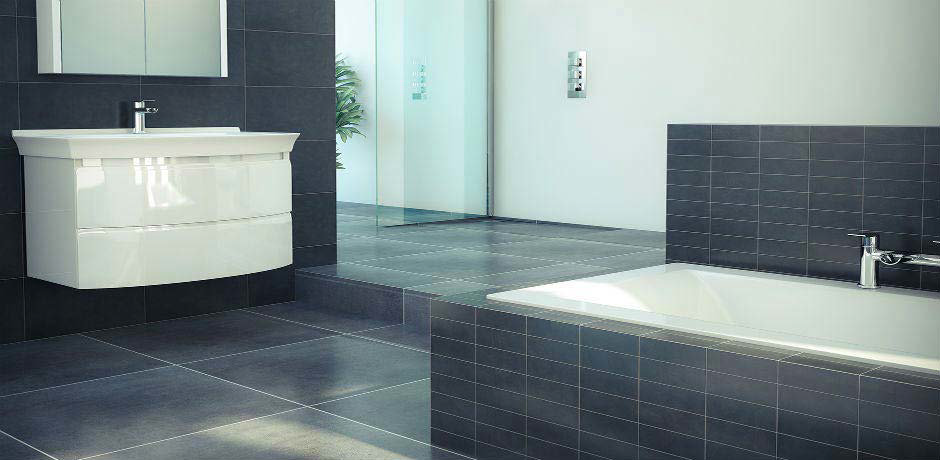
Having a broken tile in your bathroom can stand out like a sore thumb. You may think that you have to completely remove the entire floor, or wall, but that can be an expensive job. If you feel confident enough to attempt to remove a cracked tile, we’ve come up with some tips that might be of some use.
Remember, safety is the most important aspect when doing any home DIY. If you don’t feel confident to attempt to remove the tile yourself then get a professional in to help.
Fixing a Hairline Tile Crack
If it is a hairline crack that isn’t that noticeable, there is the option of try to cover it with paint. This is a temporary solution that will tie you over for a while. Firstly, ensure the tile is clean. Then find a bathroom paint that matches the colour of the tile and mix the paint with tile filler. After you have combined the mixture, delicately paint the crack with a cotton wool swab or a small brush. This should make a hairline crack less visible.
Fixing a Deeper Tile Crack
If the crack is deeper than a hairline, we suggest that you completely remove the tile as it can lead to a build-up of mildew and mould. If you’ve had the tiles in place for a long period of time, finding a replacement might prove a difficult task (which is why it’s always a good idea to buy around 10% more tiles than you need in case situations like this arise).
Before attempting to remove the cracked tile, it’s best to make sure that you won’t be disturbing any electrical or water works. Also, we suggest you wear a long sleeved top to protect your arms and protective eyewear to prevent shards from drilling going into your eyes.
Follow these steps to completely replace a cracked bathroom tile:
- Step 1. Clean the surrounding area to remove dust or dirt.
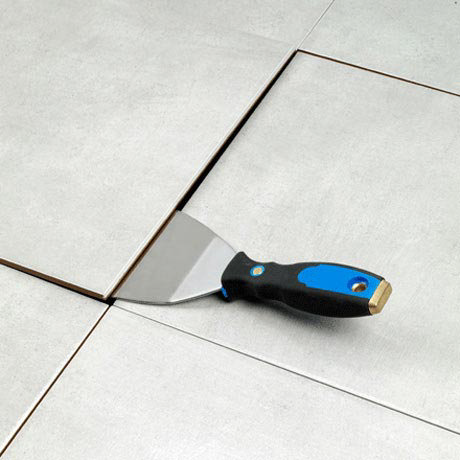
- Step 2. Remove the surrounding grout from the tile with a grout remover. Be careful not to let the grout cutter slip and damage other surrounding grout work.
- Step 3. Put decorative tape around the surrounding tiles to prevent any damage.
- Step 4. You will need to drill holes into tile in order to chip the tile away. For safety purposes, we recommend putting masking tape on the broken tile to prevent the drill from slipping and injuring yourself, or damaging the surrounding tiles. Also don’t drill too deeply – you just want to loosen the tile.
- Step 5. Gently chip the damaged tile away and remove any old adhesive that is where the tile previously was. Make sure this area is clean before you attempt to lay the new tile down.
- Step 6. Before you put on any new adhesive, make sure that you check the new tile fits.
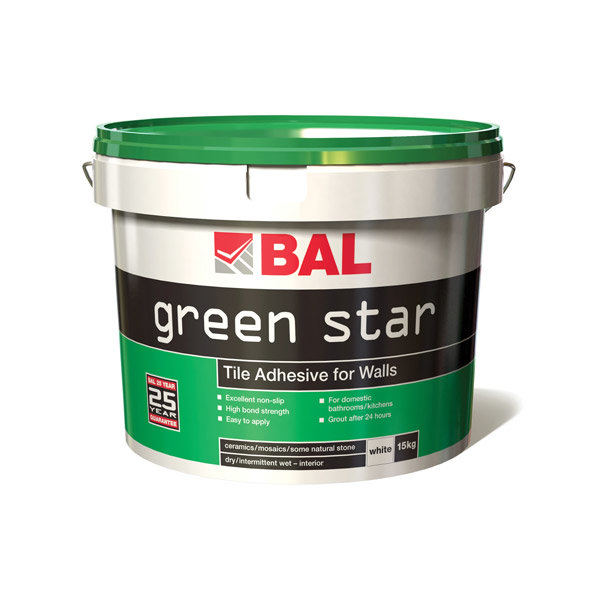
- Step 7. Once you are confident that the tile fits, put new adhesive on the back of the tile and then fit it firmly in place.
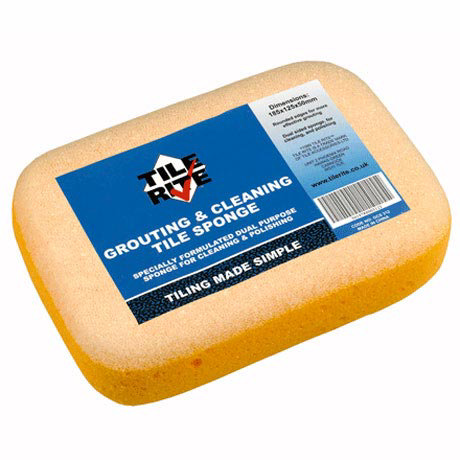
- Step 8. Fill in joints with new grout. Wait an hour or so for it to settle and then clean any excess off. If the new grout stands out from the other grout in the area, you do have the option to remove some from the surrounding area and fill in with new grout.
- Step 9. If you have to replace a broken tile on the floor, then weigh the area down and avoid walking on it to ensure that the tile settles in place.
Don't throw away the cracked tile you've just removed. Why not consider upcycling the damaged tile somewhere else in your home? Either way remember to keep it stored somewhere handy for future colour reference.

If you've followed the above steps but still feel it's time to retile your bathroom then why not head over to our selection of bathroom tiles and pick out something that's perfect for your bathroom. We also stock a complete range of tiling tools and accessories as well as tile grout and adhesives.

Ally
Ally is one of our bathroom bloggers here at Victorian Plumbing. She'll be posting updates on the latest bathroom trends and decorating tips. Look out for her bathroom buying guides and expert 'how to' step-by-step DIY guides.
