EXTRA 10% OFF AREZZO WITH CODE: AREZZO10
Free Delivery on Orders Over £499**
how to clean a radiator
How to Clean a Radiator
Is your radiator looking dusty and not heating like it should? A quick clean can fix cold spots, save energy, and keep your home warm. Let’s get it back in shape!
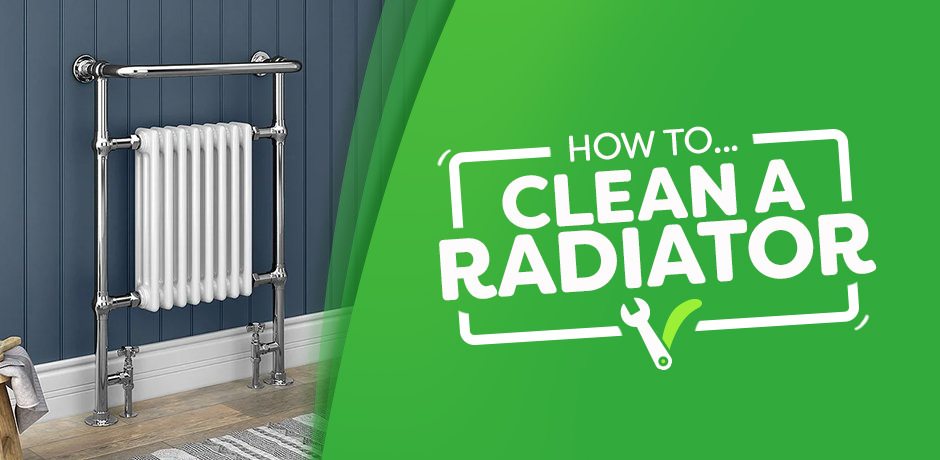
Radiators work hard to keep your home cosy, but they can easily collect dust, grime, and even fingerprints over time. Not only does this make them look a bit grim, but all that gunk can also affect their energy efficiency and even cause unpleasant smells. So, whether it’s a deep clean or a regular dusting, keeping your radiators spotless ensures they look good and work better.
By removing dirt, dust, and debris, you’ll help your radiator work more efficiently, avoiding cold spots.
In fact, cleaning your radiators properly can save up to 25% on your energy bills, which could be as much as £225 per year.
Here's your go-to guide for cleaning towel radiators, column radiators, cast iron radiators, electric radiators, and more!
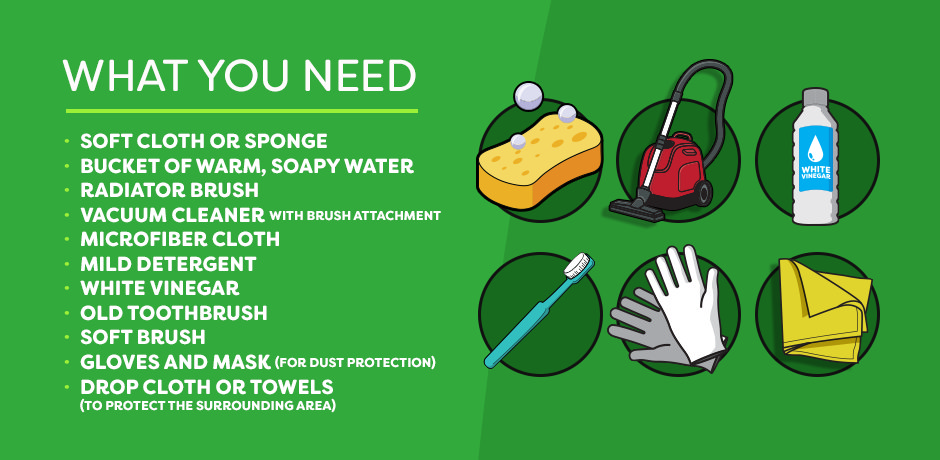
Tools and Materials You’ll Need
- Soft cloth or sponge
- Bucket of warm, soapy water
- Radiator brush
- Vacuum cleaner with brush attachment
- Microfiber cloth
- Mild detergent
- White vinegar
- Old toothbrush
- Soft brush
- Gloves and mask (for dust protection)
- Drop cloth or towels (to protect the surrounding area)
General Pre-Clean Checklist
Before you start cleaning any radiator, follow these steps to get the basics out of the way:
- Turn Off the Radiator: Ensure it’s switched off and cool to the touch.
- Dust It: Use a vacuum with a brush attachment or a hairdryer on a cool setting to blow out dust. Follow up with a radiator brush or duster to clean between bars or columns.
Contents
- How to Clean a Towel Radiator
- How to Clean a Column Radiator
- How to Clean a Cast Iron Radiator
- How to Clean an Electric Radiator
- Frequently Asked Questions
Want to skip ahead? Click on the radiator type you’re looking to clean and get step-by-step help tailored just for you:
How to Clean a Towel Radiator
Towel radiators, commonly found in bathrooms, are designed to keep towels warm, clean, and dry. However, due to the humid environment, they require regular cleaning to remove dust, prevent rust, and keep their finish looking sharp.
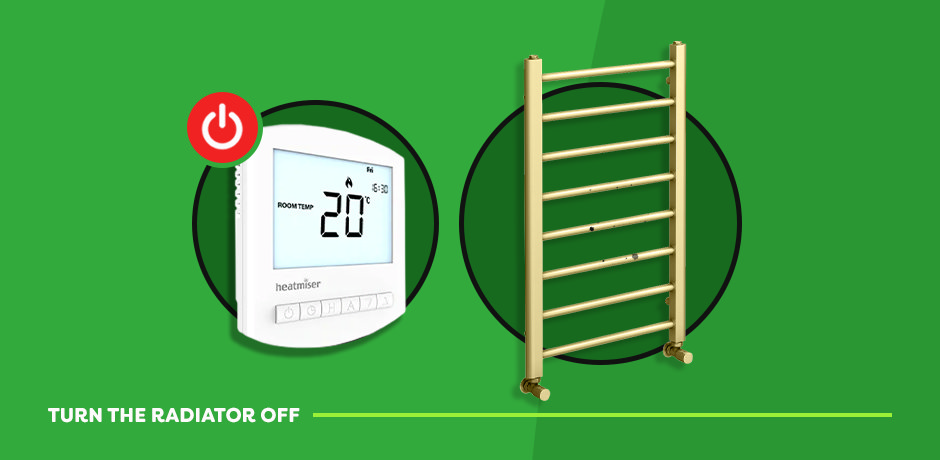
Step 1: Turn Off the Radiator
Before you start, ensure the towel radiator is switched off and completely cool to avoid burns and to stop it from drawing in more dust during the cleaning process.
Step 2: Dust the Radiator
Use a vacuum cleaner with a brush attachment to remove any loose dust from around the bars. Mrs Hinch fans recommend using a hairdryer on a cold setting to blow out any dust stuck between the bars, making it easier to vacuum up afterward. Follow this by using a radiator brush or a long-handled duster to clean between the bars and in hard-to-reach areas.

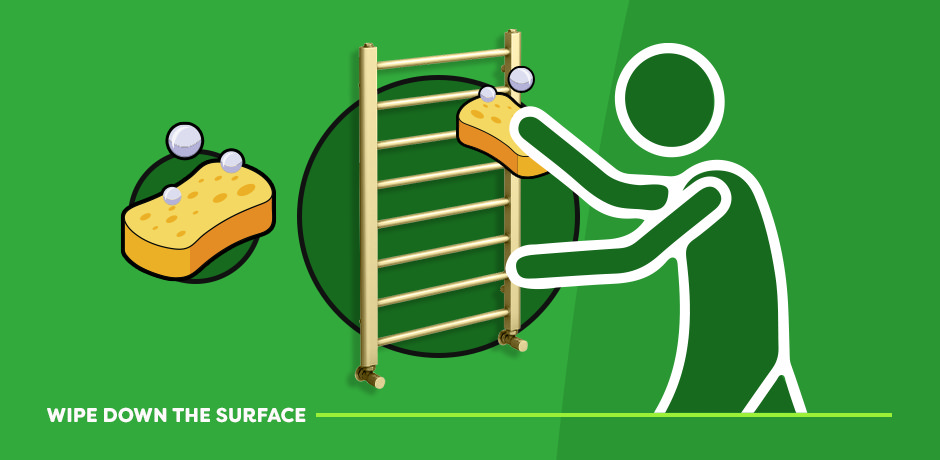
Step 3: Wipe Down the Surface
Dampen a soft cloth or sponge with warm, soapy water and wipe down the entire surface of the radiator. This gentle cleaning method will effectively remove watermarks, fingerprints, and other surface grime without damaging the finish. If you have a chrome towel radiator, use a microfibre cloth to buff out any remaining marks for a streak-free shine.
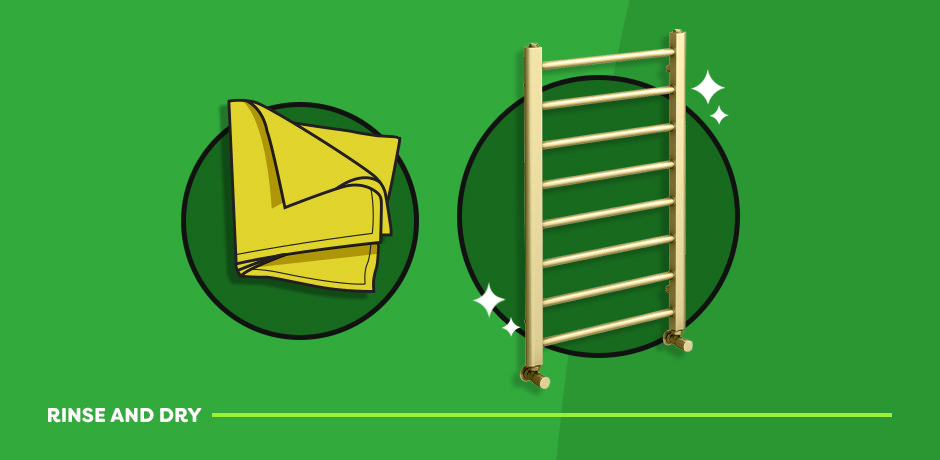
Step 4: Rinse and Dry
Wipe the radiator with a cloth dipped in clean water to remove any soap residue. Be sure to dry the radiator thoroughly with a microfibre cloth to avoid water spots or rust. Regularly wiping the towel rail after showers can also help prevent future watermarks and rust from forming, especially in humid bathrooms.
How to Clean a Column Radiator
Column radiators have sections with ample space between each column, making them highly efficient at heating but prone to dust buildup. Regular cleaning ensures they continue working efficiently and maintain their visual appeal.
Step 1: Turn Off the Radiator
Ensure the column radiator is turned off and cool to the touch before you begin. Cleaning while it’s cool also prevents dust from being drawn in by convection currents.
Step 2: Remove Dust
Use a vacuum cleaner with a brush attachment to remove dust from the exterior. Be sure to vacuum between the columns, as dust tends to accumulate in the crevices. For tighter spots, you can use compressed air to blow out any stubborn dust particles.
If you don't have a radiator brush, create a makeshift one by wrapping a dry cloth around a long stick (like a yardstick) and securing it with sellotape. Insert this DIY tool between the columns to clear out dust and dirt.
Step 3: Clean with Soapy Water
Mix a small amount of mild detergent in a bucket of warm water. Use a soft cloth or sponge to wipe down each column. For any stubborn stains, let the soapy solution sit for a few minutes before wiping. If the radiator hasn't been cleaned in a long time, you may need to repeat this step for a thorough clean.
Step 4: Clean Between Columns
For hard-to-reach areas, use a toothbrush dipped in soapy water to scrub between the columns. If there are extremely tight gaps, mold the cloth to a point or use the toothbrush to get into every nook and cranny. Compressed air can also help to dislodge dust from these tighter areas.

Step 5: Rinse and Dry
Wipe down the radiator with a clean, damp cloth to remove any remaining soap residue. Ensure the radiator is thoroughly dry by wiping it down with a microfibre cloth to prevent rust from forming. Don't forget to clean the surrounding walls and skirting boards, as heat from the radiator often causes dust to stick to nearby surfaces.
How to Clean a Cast Iron Radiator
Cast iron radiators, often found in older homes, feature intricate designs with tight spaces that attract dust and grime. Regular deep cleaning is necessary to maintain their efficiency and appearance, especially in the narrow crevices between columns.
Step 1: Turn Off the Radiator
Before cleaning, ensure the radiator is switched off and completely cool. Cleaning a cold radiator prevents burns and stops dust from being drawn in by convection currents.
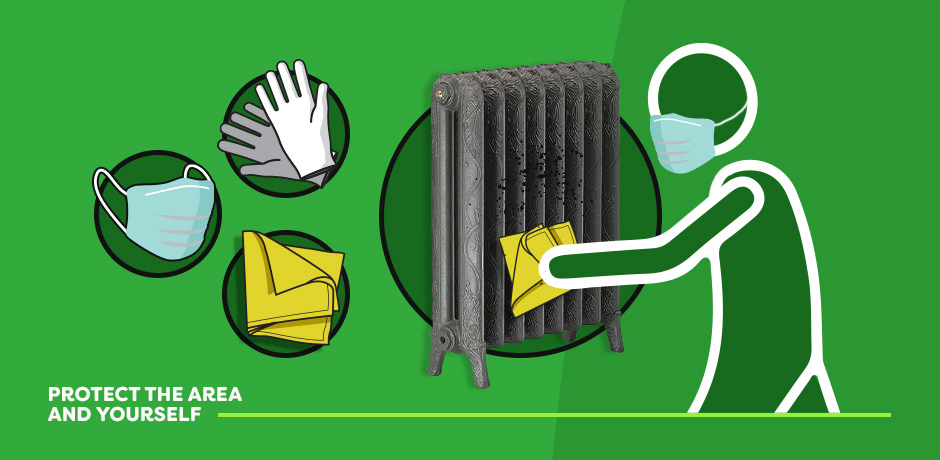
Step 2: Protect the Area and Yourself
Lay down a drop cloth or towels under the radiator to catch any dust or debris. Use painter’s tape to protect the wall behind the radiator if needed. Wear gloves and a mask to avoid contact with dirt and inhaling dust.
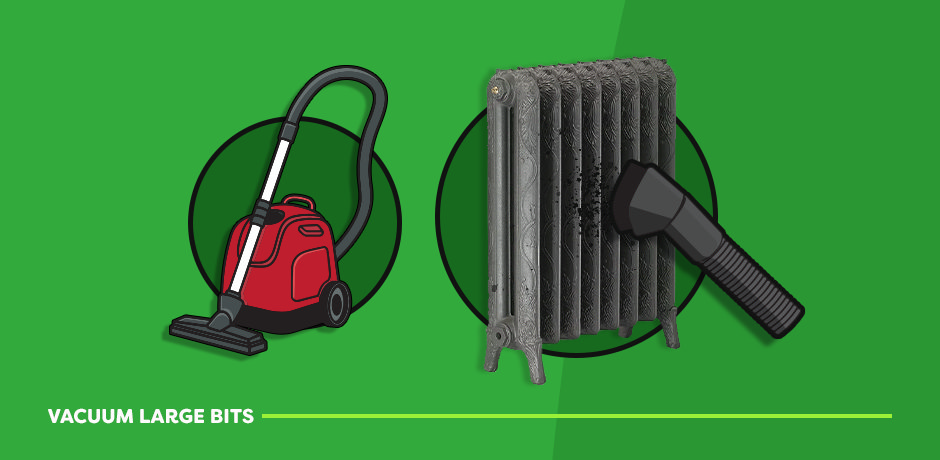
Step 3: Vacuum Large Bits
Use a vacuum cleaner with a brush attachment to remove visible dust and debris from around, behind, and in between the radiator’s columns. This step helps eliminate larger particles before you clean the finer areas. If you want to remove even more dust, use a hairdryer on a cold setting to blow out dust from hard-to-reach places, catching it with the vacuum as it falls.
Step 4: Dust with Radiator Brush
For deep cleaning, use a long, flexible radiator brush to reach between the columns and into crevices. If you don't have a radiator brush, you can create a DIY version by wrapping a soft cloth around a long stick, such as a wooden spoon, and securing it with tape. Use this to loosen and remove dust trapped in narrow gaps.
Step 5: Wash the Radiator
Fill a bucket with warm water and add a small amount of mild detergent (e.g., dishwashing liquid). Dampen a soft cloth or sponge and wash the surface of the radiator, paying close attention to any stubborn stains. For tight spaces, you can use the cloth like dental floss, pulling it between the columns to remove dirt.
For polished radiators, avoid using water. Instead, clean the surfaces with a soft lint-free cloth and a spray of WD40 to prevent oxidation and maintain shine.
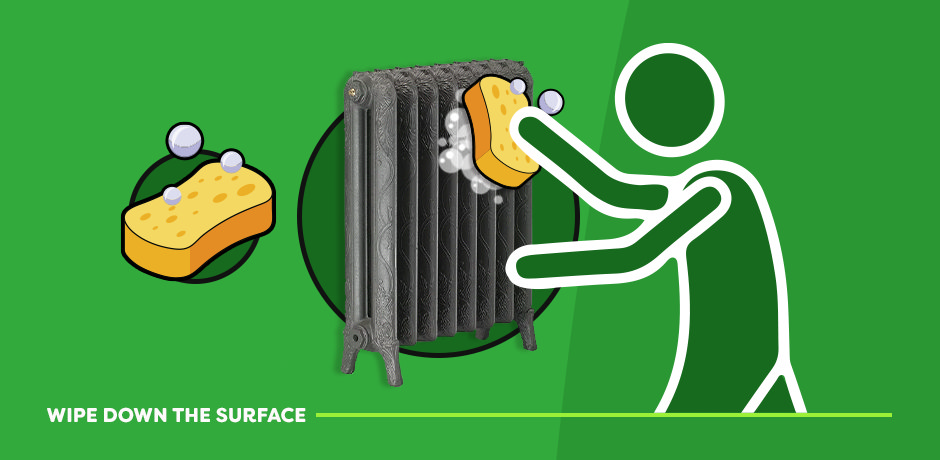
Step 6: Dry the Radiator
Use a dry microfibre cloth to wipe down the radiator thoroughly. Ensuring the radiator is completely dry will help prevent rust from forming on its surface. For polished radiators, wipe down the surface with a Scotch Brite cloth if needed, to remove any oxidation.
How to Clean an Electric Radiator
Electric radiators have no moving parts and require minimal maintenance. Regular cleaning keeps them running efficiently and looking good, and it’s important to clean them safely to avoid damaging any electrical components.
Step 1: Turn Off and Unplug the Radiator
Before you begin, ensure the electric radiator is unplugged and completely cool. If the radiator is hardwired, switch it off at the thermostat and mains switch. Always make sure it’s disconnected from the power to prevent electrical shocks.
Step 2: Remove Dust
Use a vacuum cleaner with a brush attachment to gently remove dust from the exterior, vents, and any crevices. If you don’t have a vacuum attachment, a microfibre cloth or duster works well to wipe off surface dust. Alternatively, a hairdryer on a cold setting can blow out dust from harder-to-reach areas.
Step 3: Wipe with a Damp Cloth
Dampen a microfibre cloth with warm, soapy water, making sure it’s not too wet—no dripping! Wipe down the radiator’s surface to remove any grime or stains. Be extra careful to avoid getting water into vents or electrical components, as this could cause damage. If your radiator has a glass front (like Vetro Soap radiators), use glass cleaner for the front panel, spraying the solution onto the cloth, not the radiator itself.
Step 4: Dry Thoroughly
After cleaning, dry the radiator thoroughly with a dry microfibre cloth, paying close attention to any electrical areas like the plug or thermostat. Make sure all components are completely dry before plugging the radiator back in to avoid any risk of damage or electrical shock.
Additional Safety Tips:
-
Avoid harsh chemicals: Always use mild cleaning solutions to prevent damage to the radiator’s surface.
-
Follow manufacturer’s guidelines: If in doubt, check the user manual for specific cleaning instructions.
-
Check for damage: Regularly inspect the power cord and plug for signs of wear. If you notice any damage, contact a professional for repairs.
Frequently Asked Questions
How often should I clean my radiators?
Every few months. Regular cleaning prevents dust buildup, improves heat distribution, and saves on energy bills.
Do radiators need to be cleaned inside?
0Yes, internal cleaning prevents blockages caused by sludge. A professional powerflush will remove debris and improve efficiency.
What’s the best way to clean the inside of a radiator?
Powerflushing is the most effective. It flushes out sludge, rust, and debris, ensuring even heat distribution.
How do I know if my radiator needs cleaning?
Look for cold spots, reduced heat output, gurgling noises, or higher energy bills—these are signs it’s time to clean.
What happens if a radiator isn’t cleaned?
It will work less efficiently, increase your energy costs, and may have a shorter lifespan due to internal corrosion or blockages.
How do I clean gunk from a radiator?
For external dirt, use warm soapy water and a cloth. For internal gunk or sludge, get a professional powerflush.
How do I get my radiators white again?
Mix mild detergent with white vinegar for a deep clean. For tough stains, a soft sponge works best. If discoloured, consider repainting.
Why is my radiator not heating evenly?
This could be due to trapped air or sludge buildup. Try bleeding the radiator; if that doesn’t work, a powerflush may be necessary.
By following these steps, you can keep your radiators clean and efficient—while saving up to £225 a year on your energy bills. That’s £225 back in your pocket each year!
Want more DIY home maintenance tips? Visit the Victorian Plumbing blog for expert advice and more ways to keep your home running smoothly!

Jack
Jack is part of the resident bathroom bloggers team here at Victorian Plumbing. As a bathroom décor and DIY expert, he loves writing in depth articles and buying guides and is renowned for his expert 'how to' tutorials.
