OUR WINTER SALE ENDS SOON!
*Boxing Day deals coming soon. Free delivery on orders over £499
How to Fix Your Leaking Radiator
How to Fix Your Leaking Radiator
A leaking radiator will probably make you panic at first glance, but your quick thinking has led you to our useful guide which will show you how to fix your leaking radiator in 3 simple steps.
A leaking radiator means that your home is not being heated as efficiently as it should be, not to mention a leaking radiator has the potential to cause some serious damage to your home. By following our step by step guide, you will be able to put a stop to those leaks in no time!
What You Need
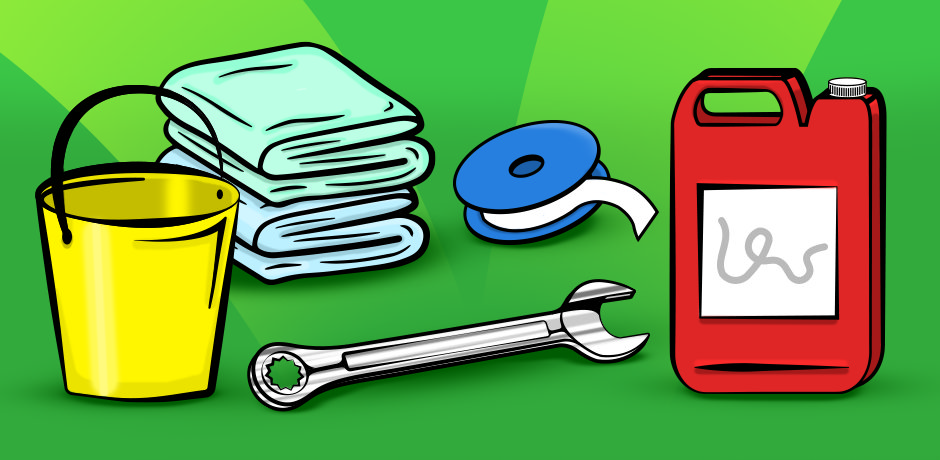
- Old towels
- Buckets
- Spanner
- Radiator Leak Sealer or Epoxy Sealing Solution
- PTFT tape
Why is Your Radiator Leaking?
Before you start fixing your radiator, you need to figure out the reason for the leak. Ask yourself, where is the leak coming from? What is causing the leak? And how will you fix it?
Where is the Leak Coming From?
The first thing you want to do is pin point where the leak is coming from. Then you waterproof the surrounding area appropriately by using old towels or buckets to avoid any further damage.
What is Causing the Leak?
Once you have contained the leak you can take a closer look to figure out what is causing the leak. One of the main causes of a leaking radiator is a damaged or loose valve. General wear and tear can cause the valves to become loose and even sometimes break.
Another cause could be rust, especially if you have an old radiator. As your radiator ages, it becomes more susceptible to rust or corrosion which can cause small holes in the body of your radiator, also known as pinhole leaks.
How can You Fix the Leak
By knowing why your radiator is leaking in the first place, you will be able to fix the leak the correct way to make sure that you are able to stop the leak successfully.
How to Fix Your Leaking Radiator in 3 Steps
Step 1 - Drain The Radiator
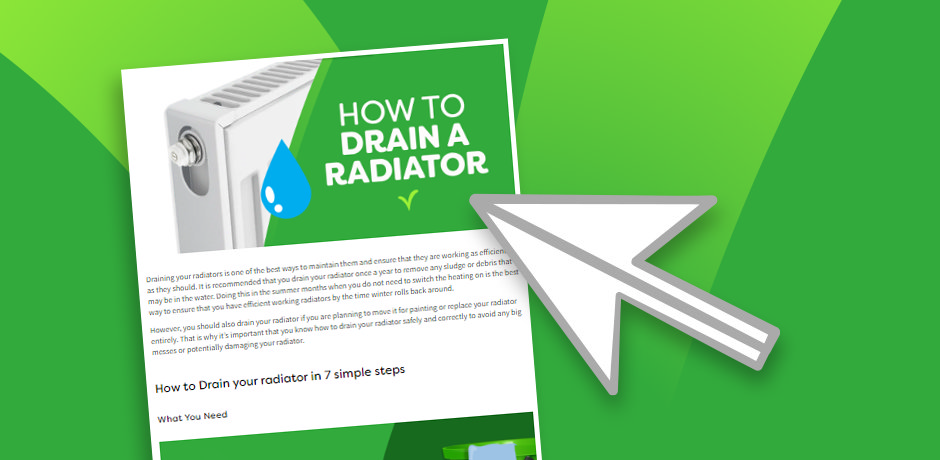
The first and most important step is to drain the radiator. This will make the whole process safer and easier as you do not need to worry about causing any more water damage. Draining a radiator is a simple process, but if you are unsure check out our blog, How to Drain a Radiator in 7 Simple Steps.
Step 2 - Fix the Leak
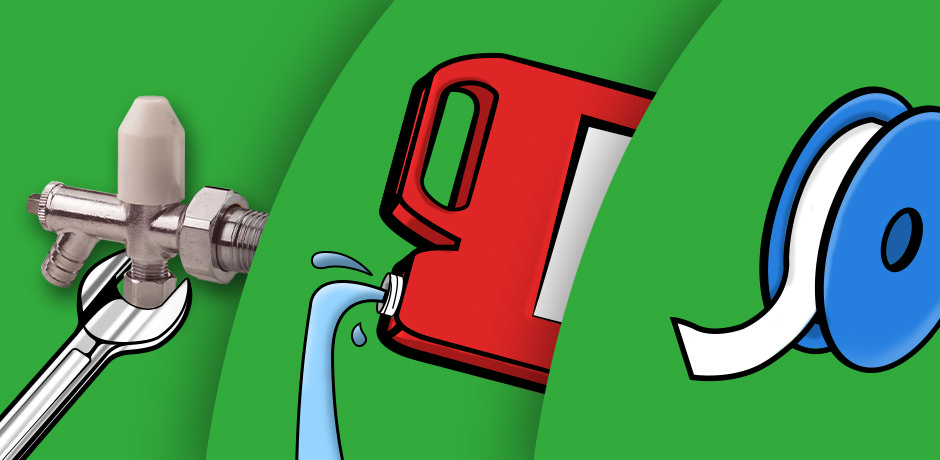
How to Fix a Damaged or Loose Valve
If your radiator valve has become loose over time, you might start to see water dripping from the valve. This is a very simple fix and all you will need to do is tighten the valve to stop the leak! Do this by removing the valve cap to expose the valve shaft, here you will see the gland nut which secures the spindle. All you will need to do is take your spanner and tighten the valve nut. Make sure that you keep an eye on the loose valve in case it eventually becomes damaged.
How to Fix a Damaged Valve
If you notice that the valve is damaged when you remove the valve cap, you will need to replace the radiator valve. Until then, you can stop the leak by wrapping the valve with some PTFT tape and then placing the valve cap back onto the valve. This is only a temporary solution and the valve should be replaced as soon as possible.
How to Fix a Pinhole Leak in Your Radiator
If rust and corrosion has caused pinhole leaks in the body of your radiator, you'll need to start thinking about replacing it. A great time to upgrade to a modern designer radiator! However, there is a temporary fix that will stop any leaks and prevent any further damage.
If your radiator is part of a central heating system in your home, you can use a radiator leak sealer which is added to the system. The small particles in the leak sealer will get caught in any pinholes and stop the leaks. If your radiator is free standing, you will need an epoxy sealing solution that is appropriate for radiators.
Using one of these temporary solutions will give you time to shop around and find the perfect new radiator for your home without having to worry about your leaking radiator causing further damage.
Step 3 - Check for Leaks
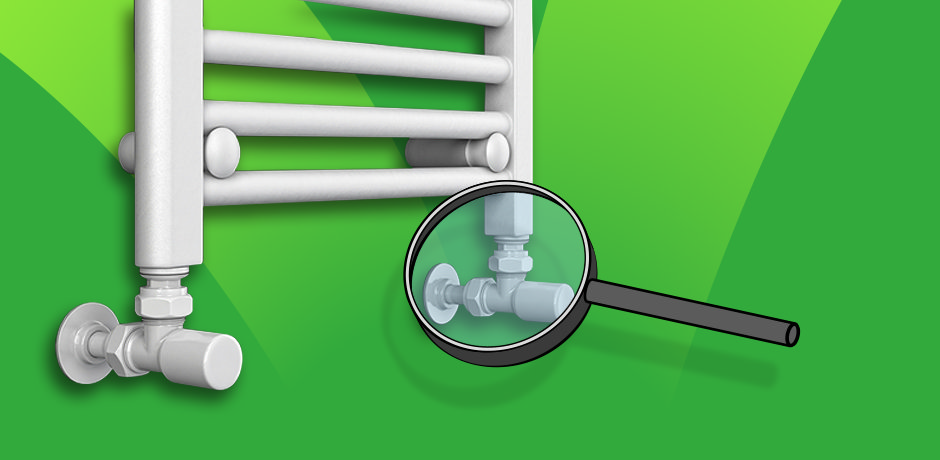
After following the suitable fix for your radiator leak, you can check if the leak has been fixed. Do this by reconnecting the radiator and switching on the heating to see if the leak has stopped. Make sure to wait at least 5 minutes as you will need to wait for your radiator to refill before the leak is noticeable again.
If the leak still persists, you will need to call a reputable professional to come and fix the issue. The cost of repairs can vary depending on the parts needed. However, this is still much cheaper than paying for a new radiator.
Should you need to replace the unit, make sure to check out our wide range of radiators from traditional column radiators to modern designer radiators.

Megan
Megan is an expert bathroom blogger, she enjoys writing helpful DIY articles and bathroom inspo blogs. As well as specialist bathroom advice, Megan also shares expert how-to blogs with step by step guides.
