GET UP TO 70% OFF IN OUR JANUARY SALE!
Free Delivery on Orders Over £499**
how to remove grout in 5 easy steps
How to Remove Grout in 5 Easy Steps
We reveal the best way to remove grout to help you give your grubby tiles a much-needed update.

Kitchen and bathroom tiling can, over time, become marred by stains and mould.
While most of this grime can be remedied with some vigorous cleaning, the grout between your tiles is much more difficult to rejuvenate.
So, if your grout is ruining that splashback or your bathroom walls aren't up to scratch, we've put together a thorough guide to how to remove grout ready for regrouting.
We've even included some pointers on how to maintain your new grout so that it remains looking fresh for years to come.
How to remove grout
You'll need:
- Gloves
- Dust Sheets
- A Vacuum Cleaner
- A Grout Rake
- A Flat Head Screwdriver
- Eye Protection
- A Cleaning Cloth/Sponge
1. Prep your bathroom
Before we teach you how to remove grout, you'll need to do a little bit of prep work. Liberally spread out those dust sheets around the tiled area. Make sure to keep the area as clear as possible to allow you to work easily.
2. Protect yourself
Put on your gloves and eye protection. The dust kicked up from removing grout can also be quite irritable if inhaled, so keep the room well ventilated and wear a mask if you have one.
3. Start raking
Starting slowly, Score along the grout lines of your tiles using your grout rake. The grout should start to lift, allowing you to remove pieces of it as you go. These rakes are our favourite tile grout remover tools, but you can also use an oscillating tool if you're confident in your ability to not damage your tiles.
4. Tackle those finicky bits
Now that the overwhelming majority of the grout has been removed, take a small flat head screwdriver and use it to gently chisel away at any smaller remaining pieces. You really, really want to emphasise being gentle here, as you could end up chipping your tiles just before the final hurdle!
5. Clean up
Take your vacuum cleaner and use it over your wall to take away any finer dust. Those sheets you put down earlier will likely be covered in dust and debris, so be sure to dispose of them carefully and vacuum up anything that has escaped onto the floor. Once done, wipe down the entire wall with a damp cloth/sponge.
Maintaining your tile grout
There are a number of little things you can do to help maintain grout lines - or even replenish them without having to resort to tile grout remover tools.
The most effective way to ensure they remain mould-free, however, is to make sure that your tiles are dried after each use.
Whether its condensation from cooking or splashes from the shower, sitting moisture is all that is needed for mould to thrive - so take a towel or an absorbent cleaning cloth and thoroughly wipe them down.
While this may sound simple enough, we know how busy life can be and that you may struggle to set aside enough time to wipe your tiles down every single time.
So, if you find yourself regularly forgetting or running out of time to dry your walls daily, we recommend that you thoroughly clean them using a bathroom cleaner at least once a month. This should tackle any minor mould buildup before it starts to take root in your grout lines.
In addition to the maintenance tips mentioned above, the following products could help your tiles and their grout lines continue to look fresh through many years of use:
Ronseal One Coat Grout Pen - If your grout is starting to look a little tired, a good grout pen - such as this option from Ronseal - can help quickly bring new life to your tiles. These pens work by coating grout lines in a fine layer of mould-resistant liquid that can whiten any fading or yellowed grout.
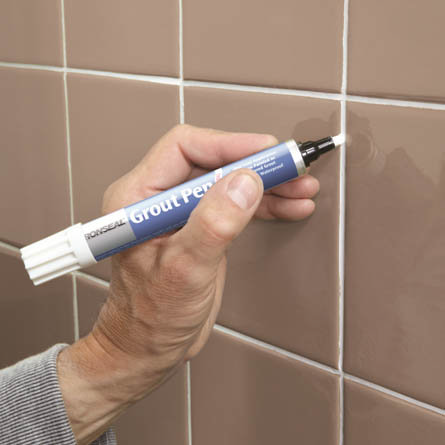
However, grout pens can be ineffective if your grout already harbours unsightly black mould deposits. If this is the case, you'll more than likely need to follow the tips above to remove your grout and start again.
Tile Rite Grout Restorer - Another option for those who feel like their grout is worse for wear but not quite in need of replacing. Tile Rite's grout restorer is a deep cleaning solution that can be used to leave grout and tiles looking as good as new.
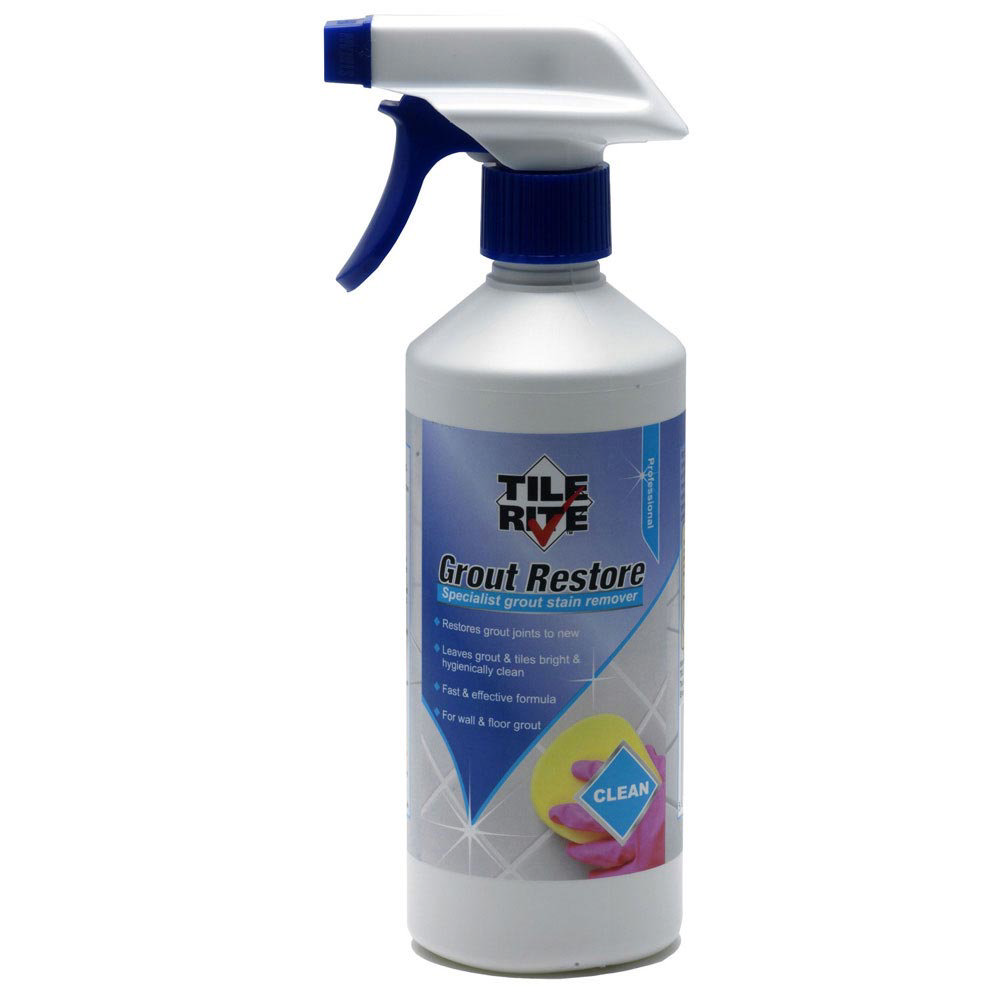
The powerful formula can remove stubborn grime, such as fat and grease, with ease. All you need to do is apply, agitate, and then remove with water. Again, if this doesn't work it's likely your grout is beyond saving.
Tilemaster Adhesive Silicone - This one's more of a preventative step. Sealing your bathroom with a quality silicone, like Tilemaster's anti-mould silicone sealant, can prevent mould from sealant lines from spreading to your grout.
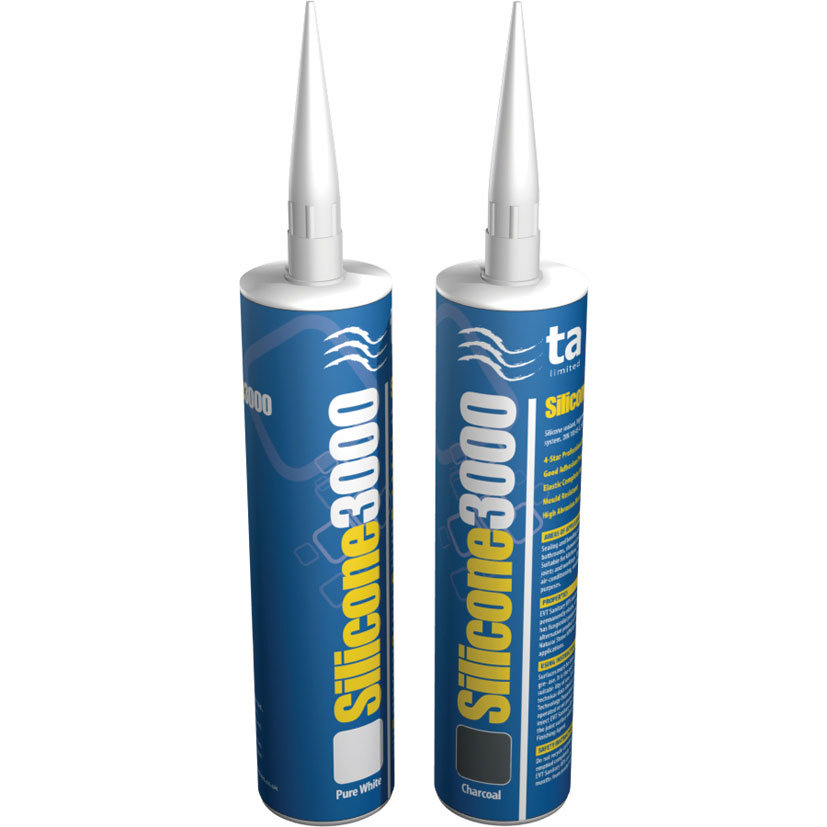
If you're not renovating and your bathroom has already been sealed - don't worry - resealing is a fairly straightforward job that you can do yourself, too.
There you have it! If you followed our guide on how to remove grout carefully, you should now be looking at some lovely grout-free tiling. If you're wondering what to do next, you might find our recent guide on
Still need products to get the job done? Check out our bathroom sealant and tile grout range for all sorts of tile grout removal tools.

