EXTRA 10% OFF SHOWERS WITH CODE: SHOWERS10
Free Delivery on Orders Over £499**
how to install close coupled toilet
How to Install a Close Coupled Toilet
Installing a close coupled toilet might seem daunting, but with our step-by-step guide and previous DIY experience, you can tackle it! Let's get started.
Installing a toilet is one of those home improvement tasks that can save you both time and money if done correctly. While it does require attention to detail, the steps are straightforward and manageable for most DIY enthusiasts. However we always advise our DIY-ers to seek professional help before tacking any of our tutorials.
This guide will take you through the process of assembling and fitting a close coupled toilet, ensuring a snug fit and watertight seals, so you can enjoy a fully functional loo in no time!
Click Below to Jump to a Section:
- Watch Our Video Tutorial
- What You Need
- Step 1: Unpack and Lay Out the Components
- Step 2: Assemble the Cistern
- Step 3: Position the Toilet Pan
- Step 4: Attach the Cistern to the Pan
- Step 5: Check for Leaks in the Cistern
- Step 6: Fit the Pan Connector
- Step 7: Mark and Drill Fixing Points
- Step 8: Secure the Toilet and Cistern
- Step 9: Attach the Toilet Seat
- Step 10: Connect the Water Supply
- Step 11: Add the Cistern Lid and Test
- Step 12: Seal Around the Base
- Final Checks
- FAQs & Final Thoughts
Watch Our Video Tutorial
Prefer a visual guide? Watch our step-by-step video tutorial below to see exactly how it’s done. We’ve covered everything from assembling the cistern to marking your fixing points and testing for leaks.
Whether you’re a DIY novice or a seasoned pro, our video provides helpful tips to make installing a close coupled toilet as easy as possible. Don’t forget to like, comment, and subscribe for more expert DIY advice!
What You Need
Before starting, gather the following tools and materials:
- Adjustable spanner
- Screwdriver
- Drill and appropriate drill bits
- Silicone spray
- Silicone sealant
- Spirit level
- Measuring tape
- Bucket and sponge
- Pan connector
Step-by-Step Toilet Installation Guide
Step 1: Unpack and Lay Out the Components
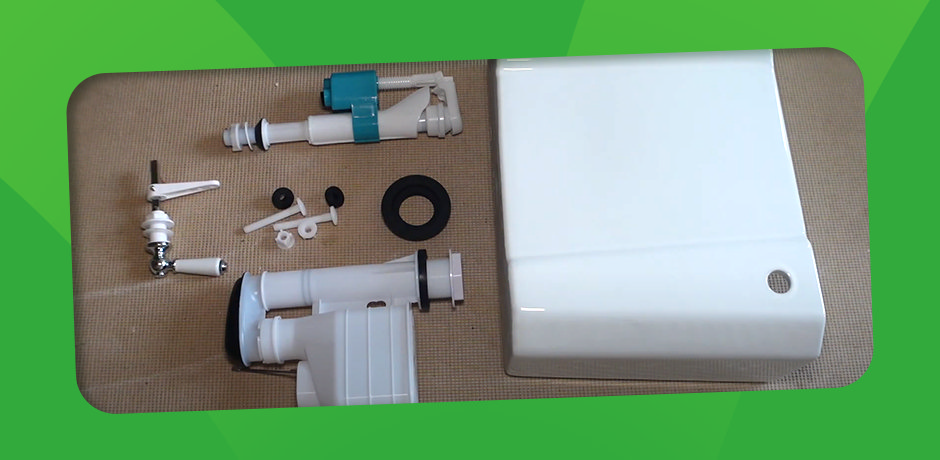
Your toilet will arrive in two main parts: the pan (toilet base) and the cistern (water tank). Unpack everything and lay the components out neatly. You should have:
- Cistern
- Doughnut washer
- Float valve
- Fixings
- Flush valve
- Flush handle
Set the cistern lid aside for now—you won’t need it until the final steps.
Step 2: Assemble the Cistern
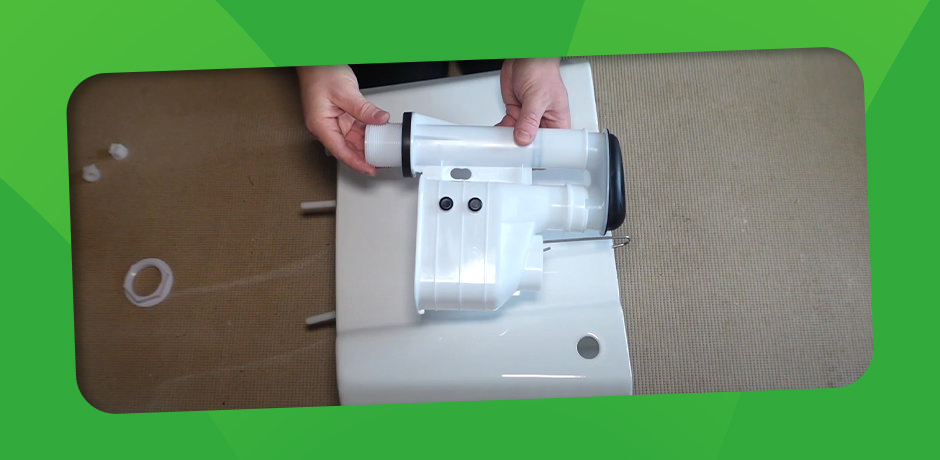
Now we’ll assemble the cistern on the floor. Always refer to the manufacturer’s instructions for your specific toilet.
Float Valve:
- Unscrew the nut and washer from the float valve.
- Insert the float valve into the top hole of the cistern.
- Replace the washer and nut, tightening by hand.
Cistern Fixings:
- Insert the bolts that will attach the cistern to the pan through the appropriate holes, ensuring the seals are in place.
Flush Valve:
- Unscrew the large nut from the flush valve.
- Insert the flush valve into the hole in the base of the cistern.
- Replace and tighten the retaining nut.
Flush Handle:
- Disassemble the flush handle by removing the retaining nut and arm.
- Fit the handle onto the cistern, reassemble the components, and connect it to the flush valve.
Doughnut Washer:
- Attach the doughnut washer to the base of the cistern. This creates a watertight seal when the cistern is fixed to the pan.
Step 3: Position the Toilet Pan
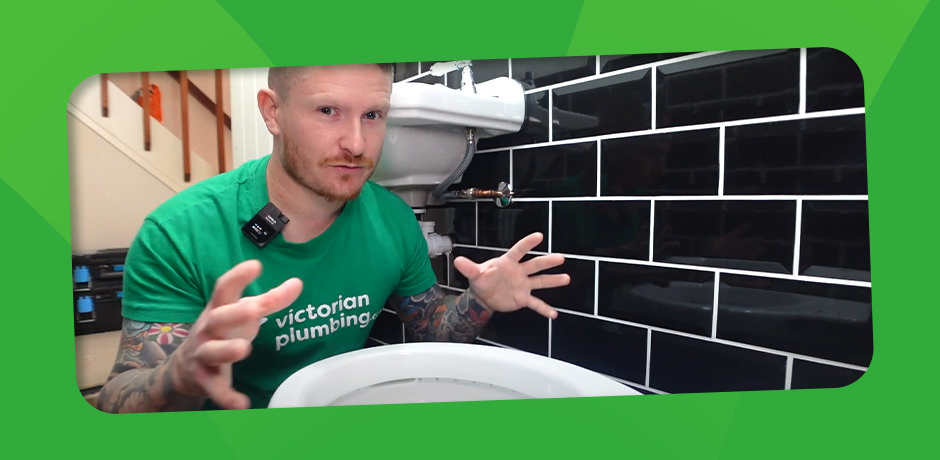
Place the toilet pan roughly in position, ensuring you have enough room to work. It’s easier to manoeuvre the pan without the cistern attached.
Step 4: Attach the Cistern to the Pan
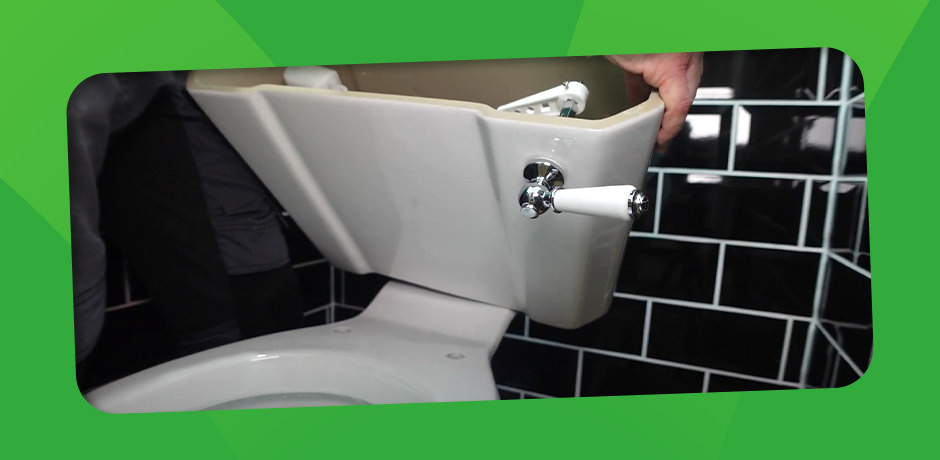
Lift the assembled cistern onto the toilet pan, aligning the doughnut washer and bolts with the corresponding holes. Secure it using the fixing nuts, tightening evenly on both sides.
Step 5: Check for Leaks in the Cistern
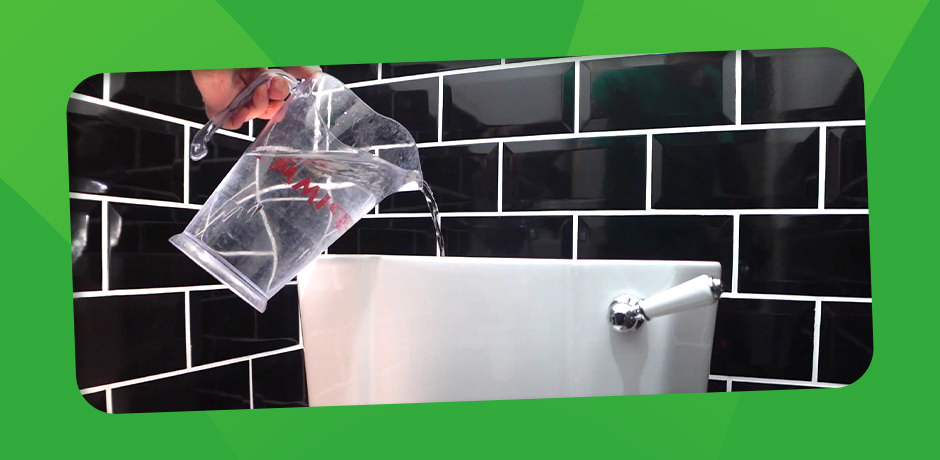
Pour a small amount of water into the cistern to check for leaks around the seals and bolts. If you spot any drips, adjust the fittings accordingly.
Step 6: Fit the Pan Connector
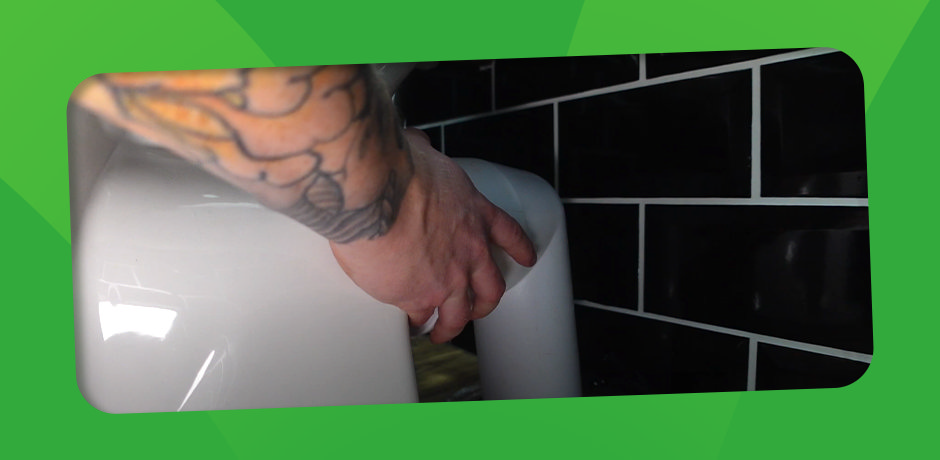
The pan connector is the pipe that connects your toilet to the waste pipe. Pan connectors come in various types, so ensure you’ve selected the correct one for your setup.
- Apply a small amount of silicone spray to the seal on the pan connector.
- Attach the pan connector to the rear of the toilet.
- Push the toilet and pan connector into position in one smooth motion.
Step 7: Mark and Drill Fixing Points
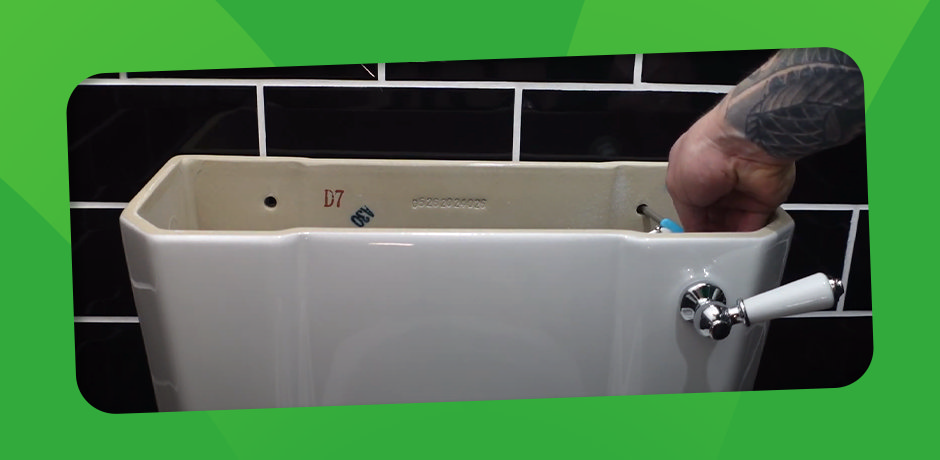
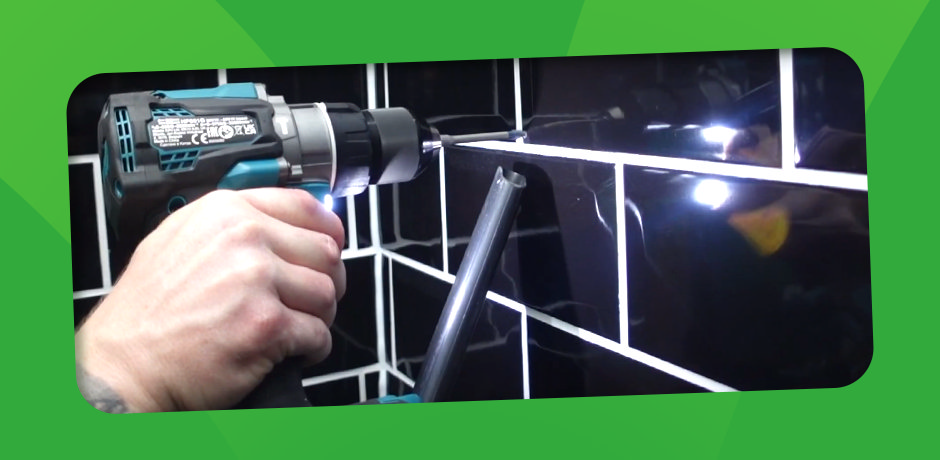
Once the toilet is in its final position:
- Mark the fixing points for the cistern on the wall.
- Mark the fixing holes for the toilet base on the floor.
- Move the toilet away from the wall and drill the necessary holes.
Step 8: Secure the Toilet and Cistern
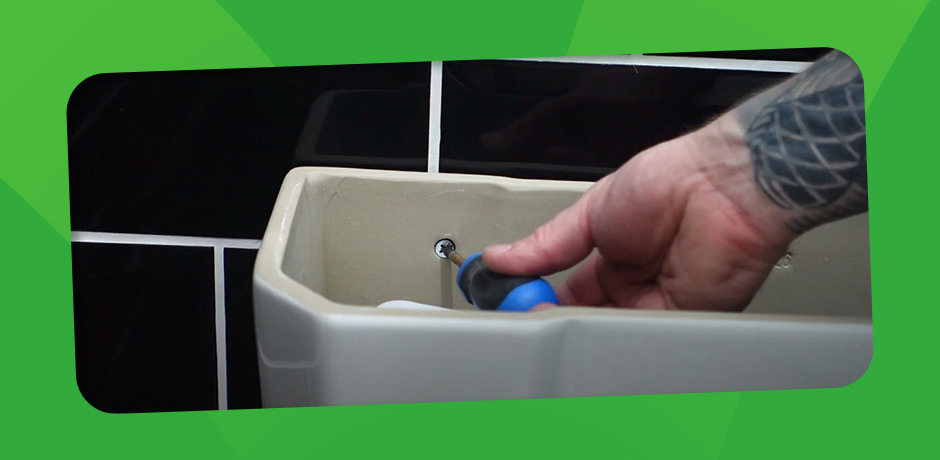
Reposition the toilet and cistern, aligning them with the drilled holes. Secure the cistern to the wall and the toilet pan to the floor using the supplied screws. Check that the toilet is level with a spirit level before fully tightening.
Step 9: Attach the Toilet Seat
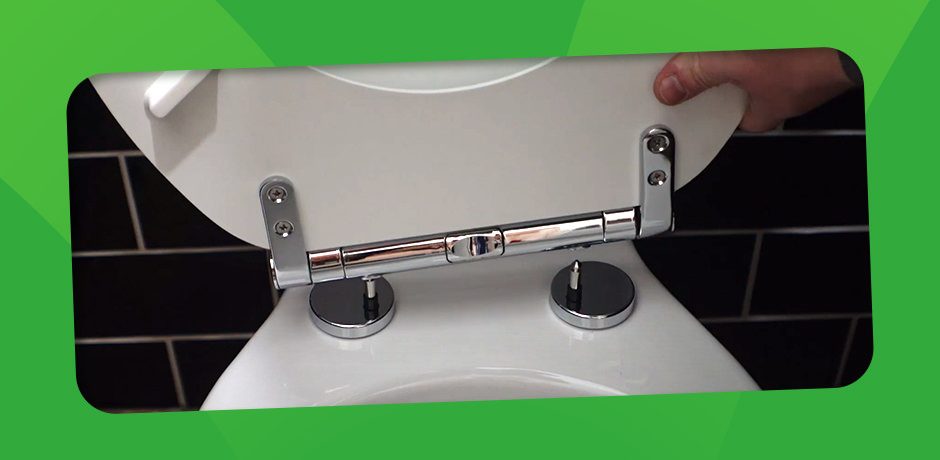
Fit the toilet seat according to the manufacturer’s instructions. It’s best to do this before sealing the base of the toilet to avoid disturbing the silicone later.
Step 10: Connect the Water Supply
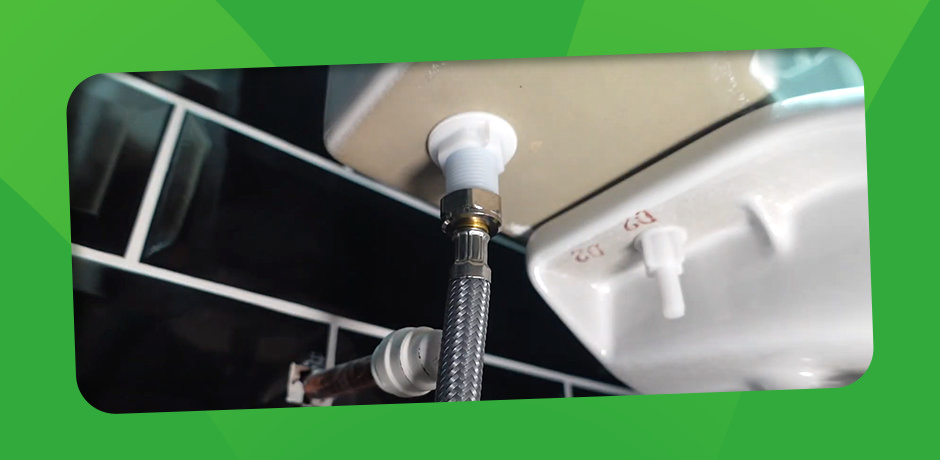
Attach the water inlet to the float valve and turn on the water supply. Ensure the cistern fills correctly.
Step 11: Add the Cistern Lid and Test
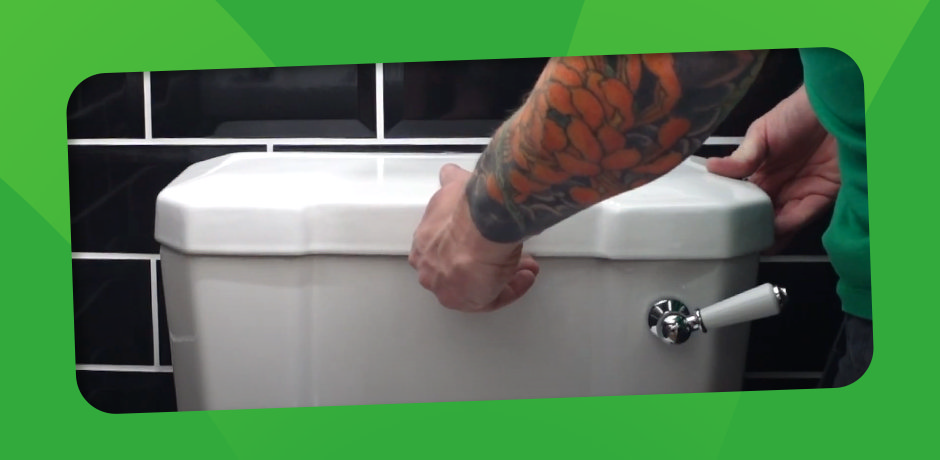
Place the cistern lid on top and give the toilet a test flush. Check all seals and connections for leaks, and adjust as necessary.
Step 12: Seal Around the Base
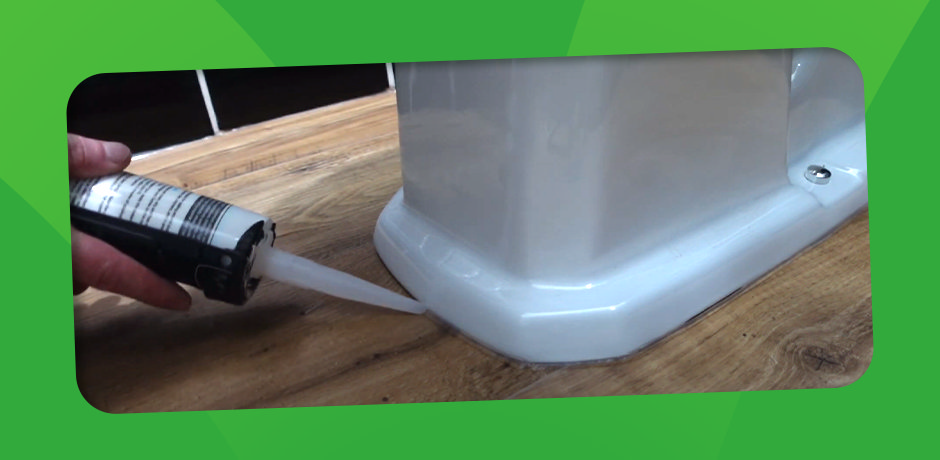
Run a neat bead of clear silicone sealant around the base of the toilet to secure it and prevent water ingress. Allow the silicone to cure fully before using the toilet.
Final Checks
Double-check all seals, bolts, and connections for leaks. Test the toilet with a flush or two to ensure everything is working perfectly.
Close Coupled Toilet Installation FAQs
Can I install a close coupled toilet myself?
Yes, installing a close coupled toilet is manageable for DIY enthusiasts. Follow a step-by-step guide, ensure all seals are watertight, and double-check connections. For plumbing adjustments, consider consulting a professional.
How do I prevent leaks when installing a toilet?
To prevent leaks:
- Ensure the doughnut washer and seals are correctly positioned.
- Tighten bolts evenly when fixing the cistern to the pan.
- Test the cistern with water before securing the toilet in place.
How long does it take to install a close coupled toilet?
Installation typically takes 2–4 hours, depending on your experience and the complexity of your bathroom's plumbing setup.
And There You Have It!
Your new close coupled toilet is now installed and ready for use. By following this guide, you’ve saved time, money, and possibly earned bragging rights as the family’s DIY expert.
What’s Next?
Feeling inspired to take on more DIY projects? Visit our DIY Advice Blog for expert tips and tricks to make every renovation easier. Need more inspiration? Check out our Design & Inspiration Blog for stunning ideas to elevate your bathroom. And if you’re planning your next upgrade, don’t miss our Bathroom Buying Guides—your one-stop shop for all the advice you need to create your dream space.
Feeling Flush? Share this guide with friends, browse our range of bathroom products, or dive into our blogs to make your bathroom both practical and Pinterest-worthy!
Related Stories
 How to Install a Mixer Tap and Waste
By Jack
5 mins read
 How to Clean Ceramic Disc Cartridge
By Megan
5 mins read
 How to Change a Shower Head
By Jack
3 mins read
