EXTRA 10% OFF TILES WITH CODE: TILE10
Free Delivery on Orders Over £499**
how to change a shower head
How to Change a Shower Head
Upgrading your shower head is one of the easiest ways to refresh your bathroom. Whether you're replacing a fixed shower head or a handheld model, this quick guide (with video!) will show you how to do it.
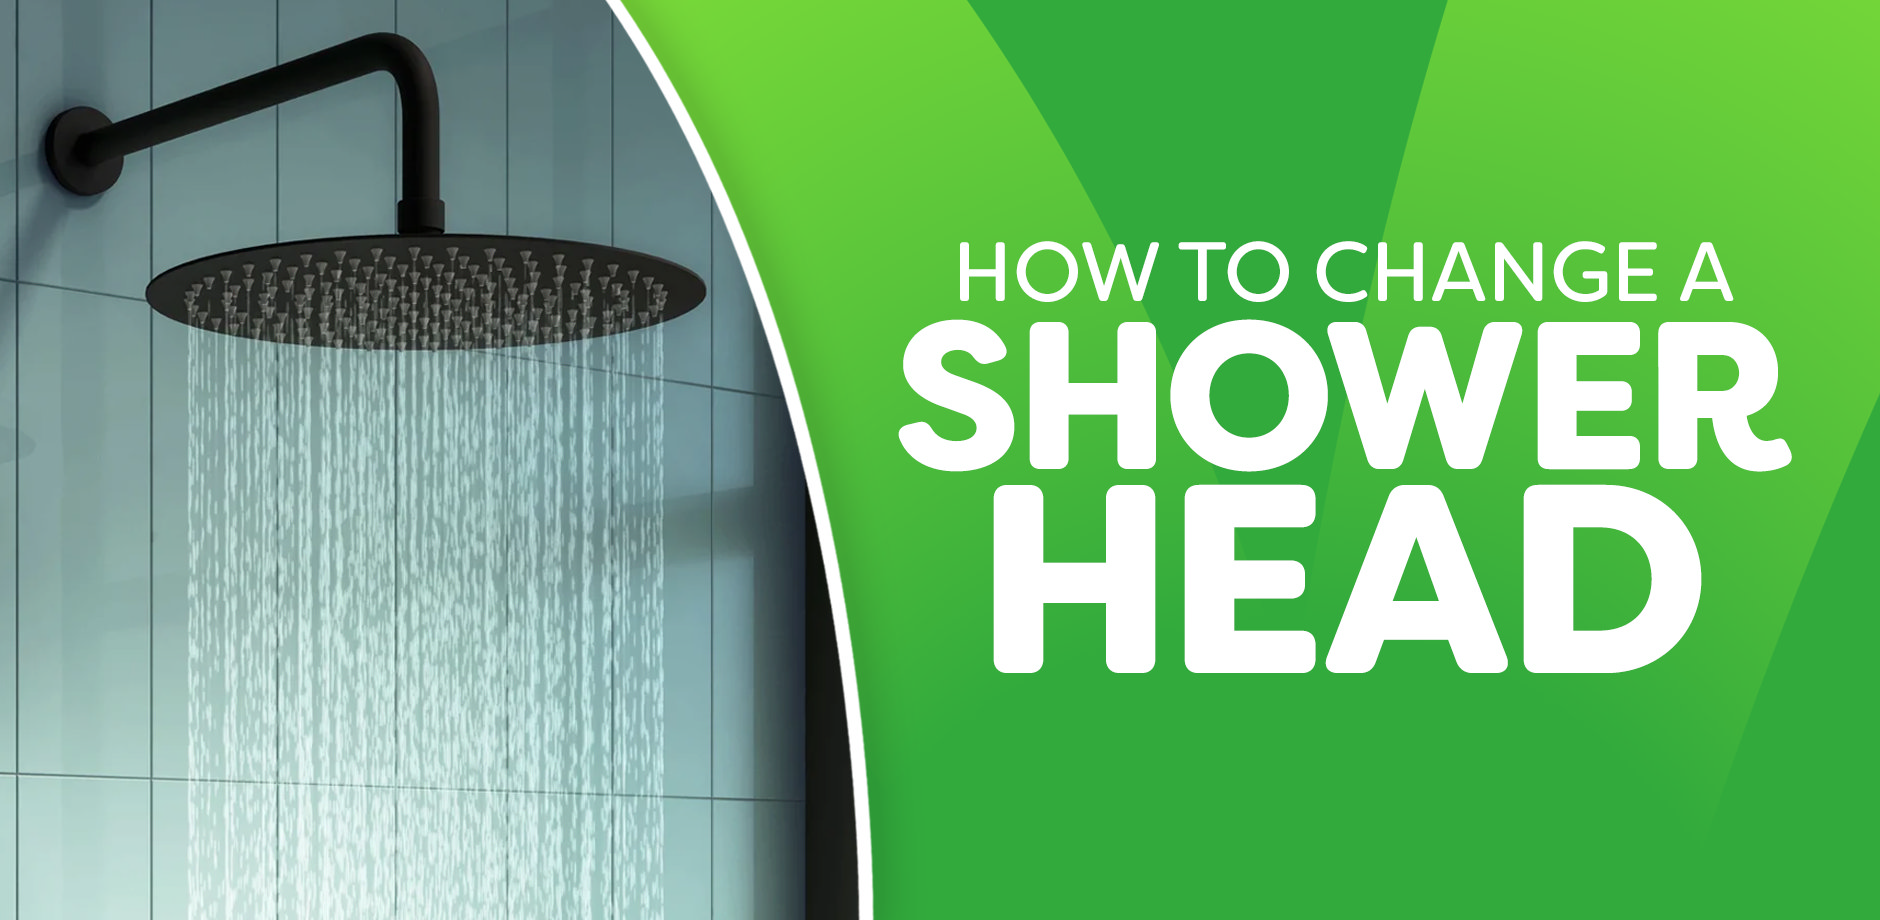
A fresh shower head can make all the difference, whether you’re after a spa-like downpour or a more powerful spray. The best part? You don’t need any special tools or plumbing know-how—just a few minutes and a simple swap.
Watch: How to Change a Shower Head
Before getting into the step-by-step instructions, watch our tutorial below for a visual guide on replacing both fixed and handheld shower heads.
Tools You’ll Need
- None. This is a no-tools-required job for most installations.
- Plumber’s tape (Teflon tape) – optional but great for ensuring a watertight seal.
- Adjustable wrench – only if the old shower head is stuck due to mineral buildup.
Before You Begin
- Turn off the shower to ensure no water is running.
- Cover the drain to prevent washers or small parts from slipping down.
- Have a cloth handy as some water may drip from the fittings.
How to Change a Shower Head: Step-by-Step Guide
Replacing a Fixed Shower Head
Fixed shower heads are attached to an arm that extends from either the wall or ceiling. The replacement process is simple:
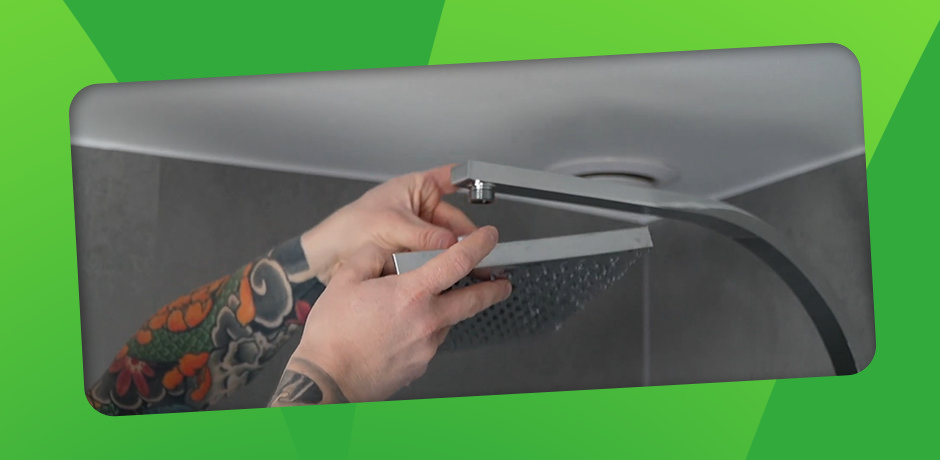
Step 1: Remove the Old Shower Head
- Ensure the shower is turned off.
- Twist the shower head anti-clockwise by hand to unscrew it from the arm.
- If it’s stuck due to mineral buildup, wrap a cloth around the shower arm to protect the finish and use an adjustable wrench to loosen it.
Pro Tip: If the shower head won’t budge, soak the connection in white vinegar for an hour to dissolve limescale.
Step 2: Check & Prepare the Shower Arm
- Once the old head is off, inspect the washer inside the fitting. If it's worn or damaged, replace it to prevent leaks.
- Clean the shower arm threads to remove old plumber’s tape or debris using a cloth or a small brush.
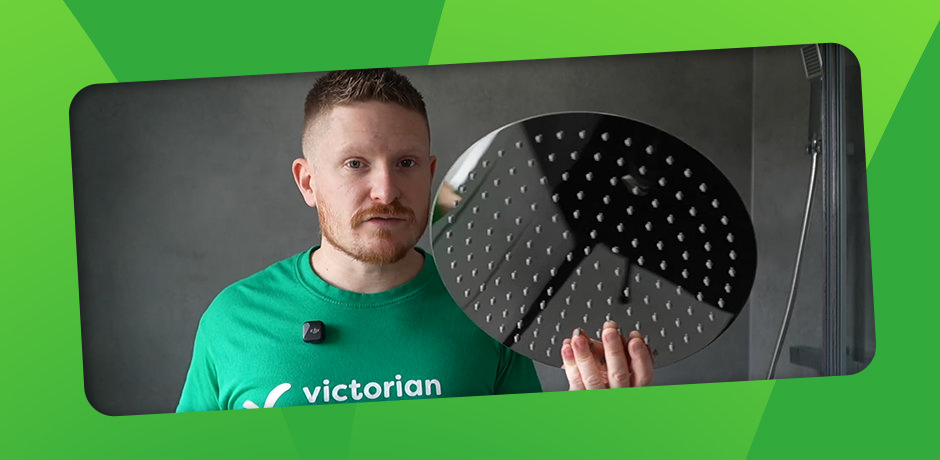
Step 3: Apply Plumber’s Tape (Optional for a Leak-Free Fit)
- If your shower head doesn’t have a built-in rubber washer, wrap plumber’s tape around the shower arm’s threads (2–3 turns) to ensure a watertight seal.
- Wrap clockwise so it doesn’t unravel when screwing on the new head.
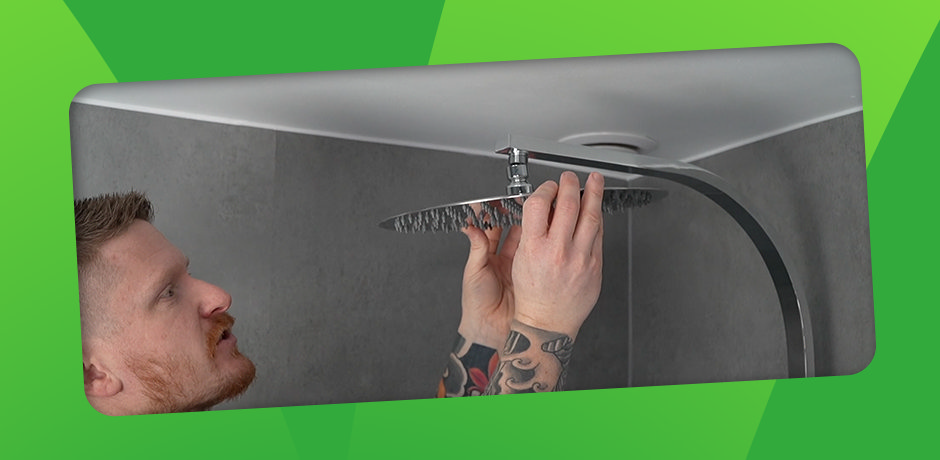
Step 4: Attach the New Shower Head
- Align the new shower head with the shower arm.
- Hand-tighten by turning it clockwise until snug—no tools needed.
- Avoid over-tightening; the washer will create a watertight seal.
Replacing a Handheld Shower Head
If your shower has a flexible hose and detachable handset, here’s how to replace it:
Step 1: Unscrew the Old Shower Head
- Twist the handset anti-clockwise to remove it from the hose.
- Check the washer inside the hose fitting—replace it if damaged.
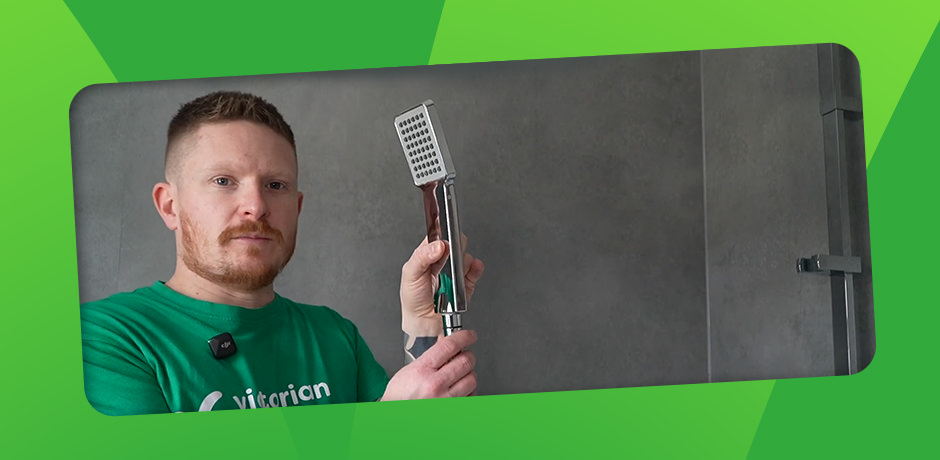
Step 2: Attach the New Shower Head
- Align the new shower head with the hose and screw it on.
- Tighten by hand until secure.
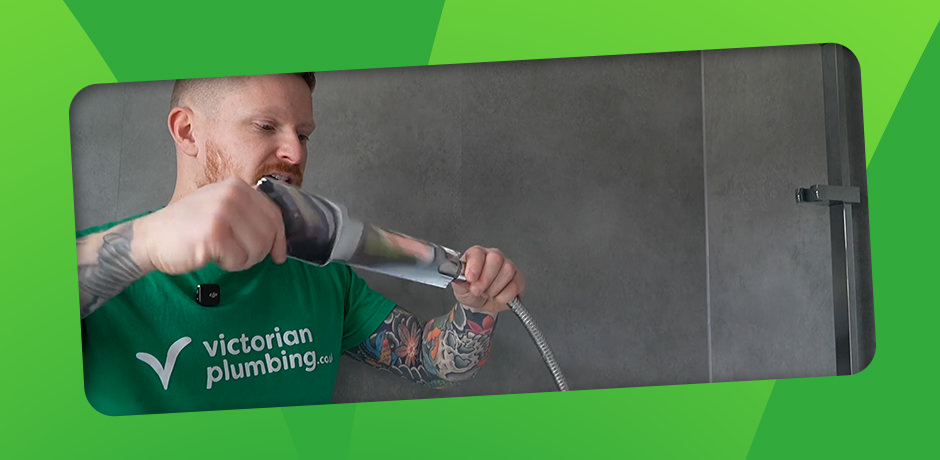
Congratulations, you've now changed your shower head! Regular cleaning will ensure it continues working well.
Test for Leaks & Adjustments
- Turn the shower on and check for leaks around the connections.
- If water leaks, gently tighten the shower head a little more.
- If leaks persist, remove the head, add an extra layer of plumber’s tape, and reinstall.
Pro Tip: Always aim the shower head away from you (toward the wall) during the first test to avoid an unexpected splash.
Common Troubleshooting Tips
Shower Head Leaks at the Connection
Note: It's normal for some water to drain out immediately after installation; this isn't always a leak. However, if dripping persists…
- Tighten the shower head slightly more by hand.
- If the leak persists, remove the shower head, reapply plumber’s tape, and reinstall.
- Ensure the rubber washer inside the fitting is seated correctly.
Weak Water Flow from the New Shower Head
- If the pressure feels lower than before, check if the shower head has a flow restrictor. Some models allow you to remove it for a stronger spray.
- If mineral buildup is blocking the spray holes, soak the shower head in vinegar overnight.
- Ensure your household water pressure is adequate—some rainfall shower heads require strong pressure to function properly.
The New Shower Head Won’t Fit
Most shower heads fit a universal ½-inch thread, but older homes or international fittings may require an adapter.
A Quick Swap for a Big Refresh
Want more DIY tips? Explore our step-by-step guides for quick bathroom fixes, check out our design inspiration for fresh styling ideas, or browse our expert buying guides to find the perfect upgrades for your space. And if this helped, share it with someone tackling their own bathroom refresh!
Time for a shower upgrade? Shop our latest shower heads—from luxurious rainfall designs to high-pressure models—and give your bathroom an instant refresh.

