EXTRA 10% OFF TILES WITH CODE: TILE10
Free Delivery on Orders Over £499**
how to replace a basin tap
How to Replace a Basin Tap
Fresh fixtures can mean the difference between a dream bathroom and a drab bathroom. We show you how to change a bathroom basin tap in five easy steps!
Step 1. Turn Off Your Water
Step 2. Remove Your Old Tap
Step 3. Install Your New Tap
Step 4. Connect Your Plumbing
Step 5. Switch Your Water Supply Back On
Beautiful taps and basin wastes are important assets to a good looking bathroom; chrome reflects light and draws the eye to your important features, while the bright, clean look of new fixtures gives your bathroom a hygienic, fresh appearance. So when your basin taps start to dull and scratch, your once beautiful bathroom is reduced to looking grimy and worn-out.
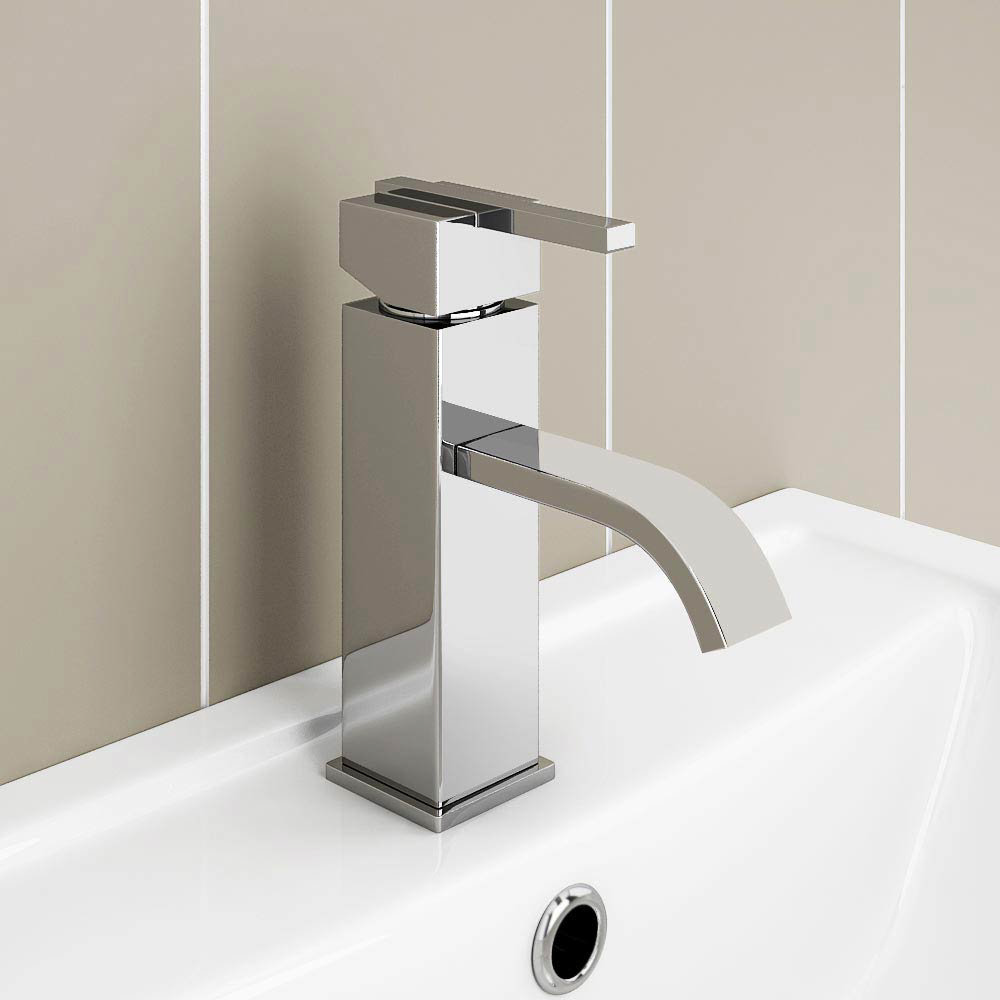
In this handy step-by-step guide from Victorian Plumbing we will teach you how to quickly replace an old basin tap with a nice new one, and once again restore your bathroom to its former glory.
This is a beginner difficulty job, you will need some confidence in your ability, a couple of free hours, and some good-old-fashioned elbow grease!
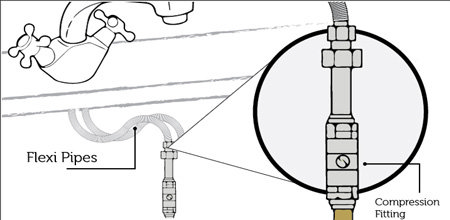
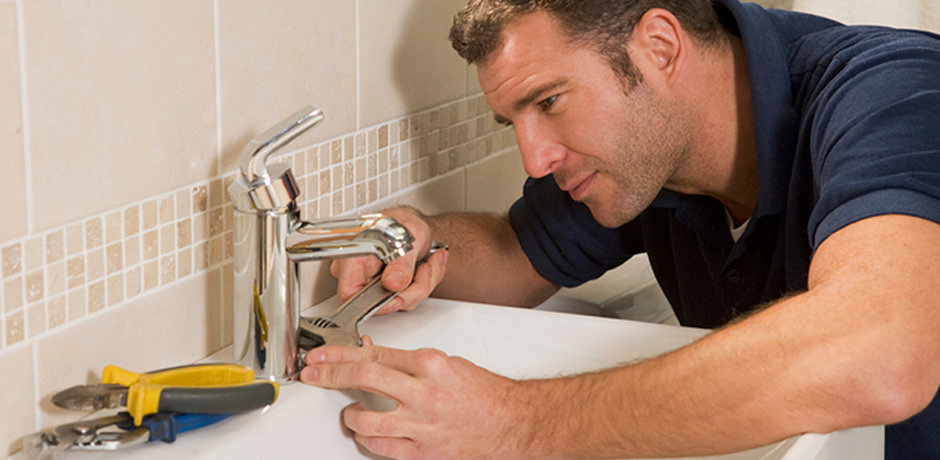
Your basin should look something like the image above. You will also notice a large, plastic pipe. This is your waste, and it is connected to your plug hole. The other two small, copper pipes are your hot and cold water pipes. On the underside of the basin itself, the tap is screwed into the basin; you should be able to see the bottom of the screws, and the nuts that lock them in place. (NB: in between the nut and the basin, there may be one or two washers. These are the barriers between your sink and your tap, they help protect your ceramic and seal your everything together.
Please Note: You may need a compression fitting - this is a part that connects your water pipe to the flexible tap tail, although you may have one fitted on your old pipes, not all pipes are the same size, so make sure to check if you need a new size.
Step 1. Turn Off Your Water
First, you need to turn off the water supply for both hot and cold taps from the mains supply. Then, run the hot and cold taps in your house a short while to drain any excess water and ensure the mains is definitely switched off. Make sure all your taps remain ‘open’.
Step 2. Remove Your Old Tap
Get under your basin and unscrew the nut that locks the basin to your old tap. This can be awkward and fiddly, but once it is loose it should come off easier.
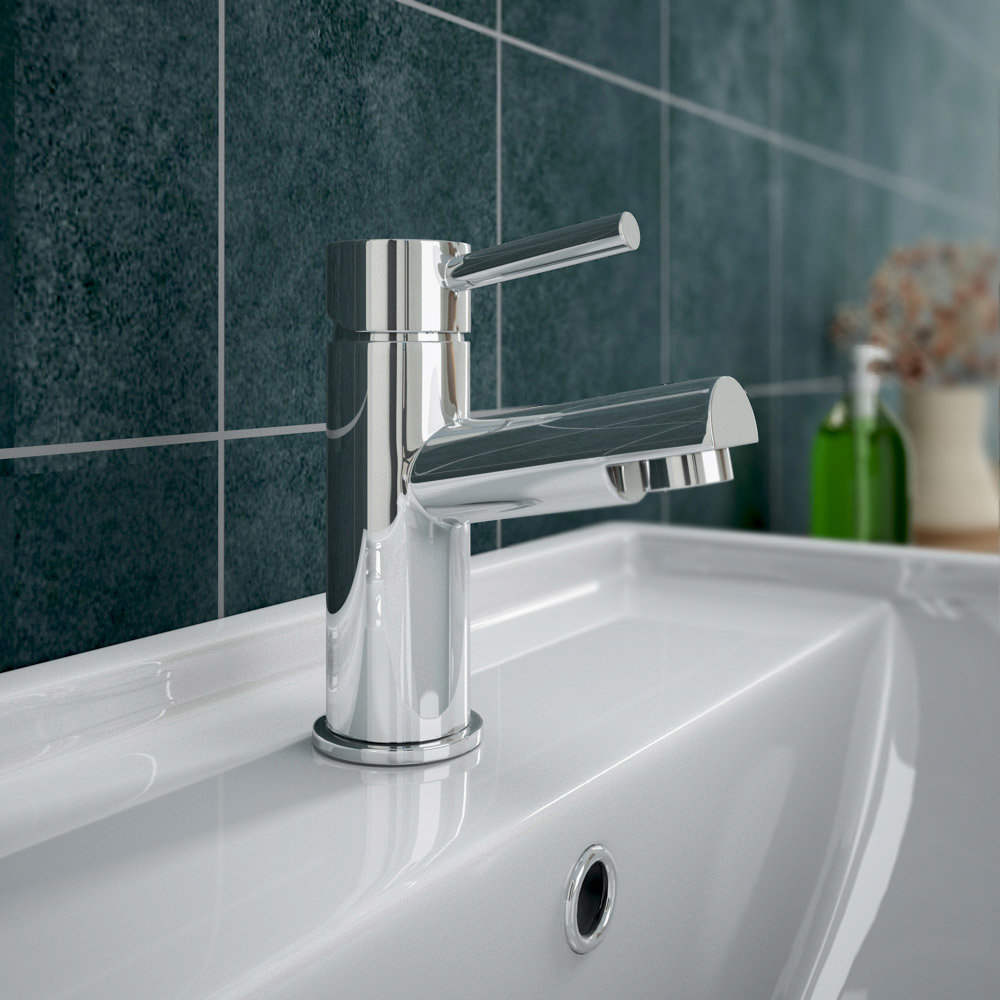
Once this is removed, lift the old tap away from the basin and remove your old tap from your domestic pipe work.
Step 3. Install Your New Tap
Connect the threaded post to your tap, then feed into the basin hole, so your tap sits on top of your basin, with the thread poking out below. Again, there may be a washer included or needed to make sure the tap sits snugly. Screw the nut tightly onto the threaded post, your tap is now gripped on to your basin.
Step 4. Connect Your Plumbing
Screw the flexible connectors into your tap, then, connect them to the copper domestic pipes, with a compression fitting in between - this keeps the pressure between the two pipes regulated and safe.
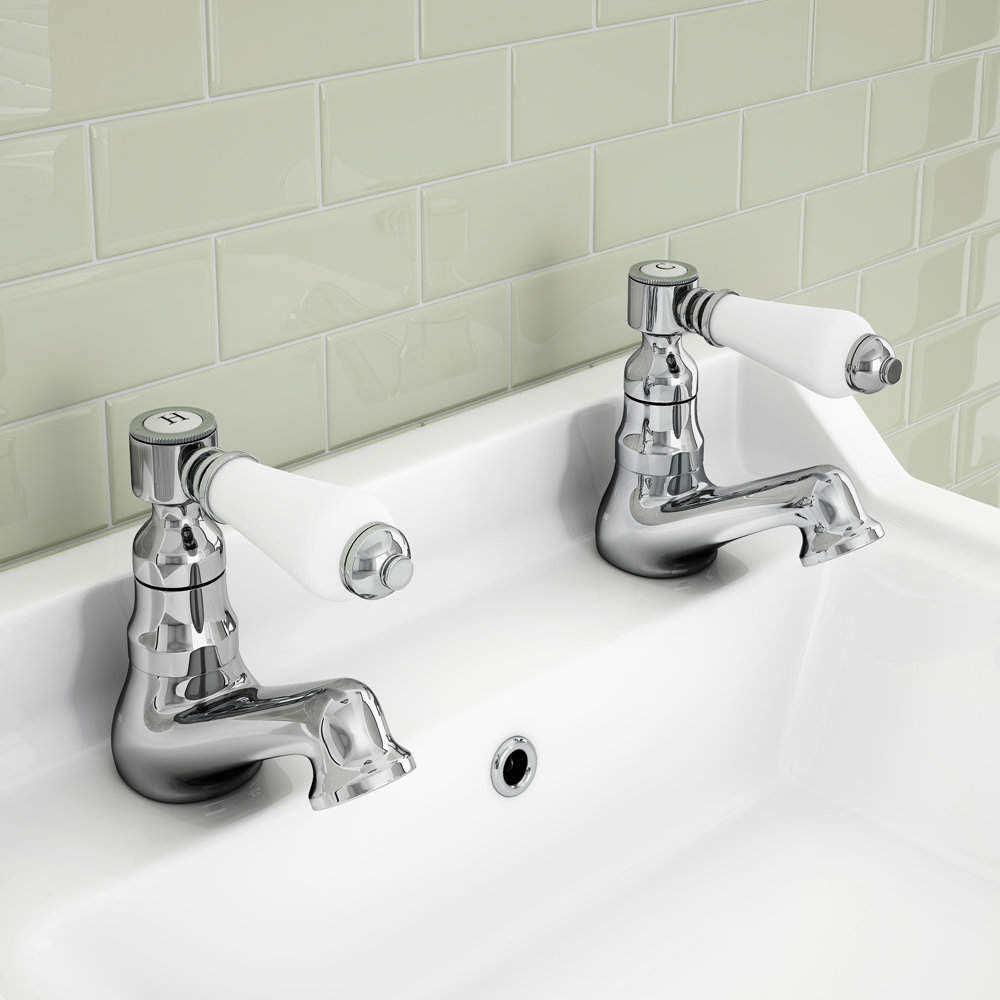
Your tap should now be gripped onto your basin, and the hot and cold pipes should feed directly from your wall to your new pipes. Do a last check to make sure that there are no loose or leaky connections.
Step 5. Switch Your Water Supply Back On
Turn your water supply on from the mains. Any air that has backed up into the taps or pipes will be forced through, followed by the water. If your new tap is set to ‘closed’ when the air rushes through, it could potentially damage the tap, so we recommend all taps be set to ‘open’ for the moment the water supply is switched back on. Remember the other taps in your property may still be set to open, so remember to switch them off once water comes through again.
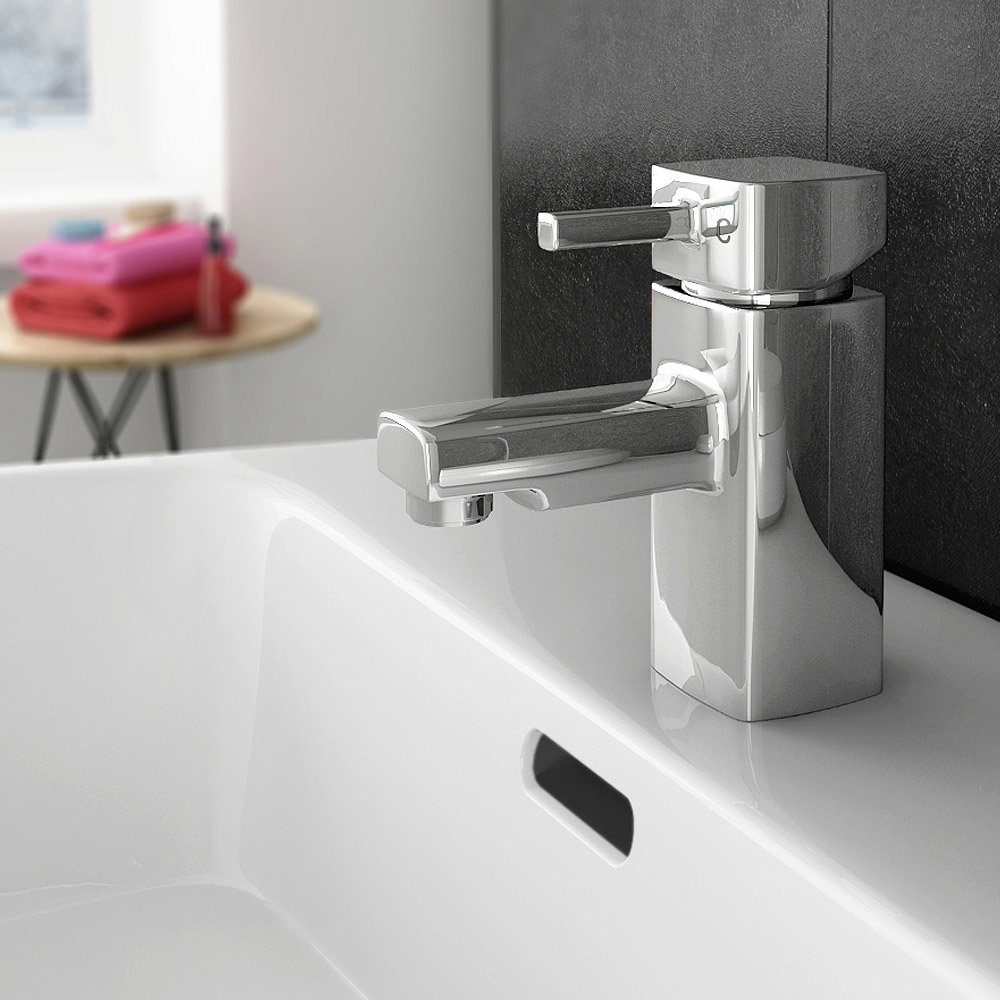
Your new tap should now have a nice steady stream of water flowing through, and turn from hot to cold depending on your particular mechanism.
Congratulations! Your shiny new tap will now make your basin sparkle and bring the finishing touch to your fittings. Thank you for reading, we hope you have found this step-by-step DIY guide to replacing a basin tap helpful. If you enjoyed this tutorial, take a look at our other tap blogs How to Replace a Bath Tap and Can You Drink UK Bathroom Tap Water?

