EASTER OFFER: FREE DELIVERY ON ORDERS OVER £99!**
Delivery Offer Must End Soon!
fixing a leaky shower
How to Fix a Leaky Shower
We take a look at how you can prevent those annoying leaks which cause a dripping shower and may lead to you spending more money.
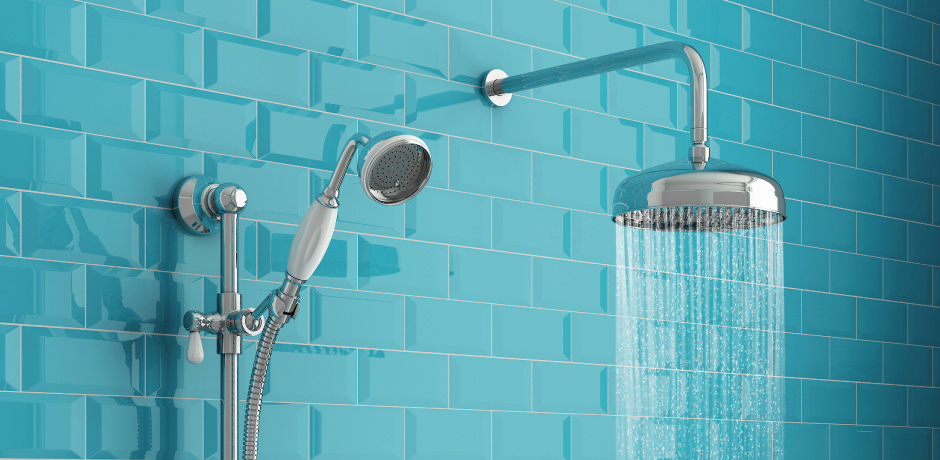
Dripping Shower Head
There are few things in life more irritating than the sound of dripping water when you’re trying to concentrate on something, or get some shut-eye. The constant splat-splat-splat is enough to drive anyone mad, and to make matters worse it’s more than just an annoying noise; it’s quite literally the sound of your money going down the shower drain!
Why Is My Shower Head Dripping?
The most probable reason for the dripping is a leaky shower component. In this Victorian Plumbing guide we’re going to take a look at how to fix two of the most common places to find leaks on your shower; the valve and the showerhead. It’s time to banish that annoying leak, and save some cash in the process.
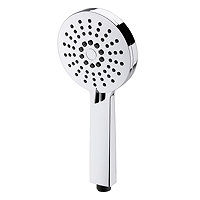
Before you attempt any of the following fixes, it’s best to identify where any leaks are coming from first, so you can effectively tackle the problem.
How to Fix a Leaky Shower
Step 1. Turn Off The Water
Locate and turn off your main water supply. This will avoid any unpleasant surprises later on. There may be some water trapped that will seep out, so it’s a good idea to keep a towel close by.
Step 2. Thoroughly Clean The Showerhead
With the water turned off, the next stage is to remove any build-up of dirt and grime which may be affecting the performance of the unit, resulting in poor water flow and potential blockages that can cause leaks. There are dedicated cleaning products out there that are effective, but a wallet-friendly alternative is to mix some distilled white vinegar into a pot of water and heat it up. This results in a fantastic cleaning agent that doesn’t contain any overly harsh chemicals which could damage the shower. Remove your showerhead and place it into the mixture, allowing it to dwell for a few minutes before agitating with a toothbrush to remove the more stubborn grime. This should unblock any places where dirt has nestled and will improve your showering experience.
Step 3. Secure Using Tape
Take a look at the O-ring or washer as this is the part that prevents any water from leaking out. If it looks visibly worn or damaged it’s time to replace this with a new item. If it looks fine, simply apply some thread seal tape to the threads located on the tip of the pipe stem. This will help form a protective seal and prevent any threads from seizing.
Step 4. Re-attach The Showerhead And Turn On The Water
Hand-tighten the showerhead until it is secure before further tightening it with pliers. Finally, turn on the water supply again and make sure it is running smoothly. Turn the shower off and check for any signs of leakage. The steps taken should have hopefully fixed your issue.
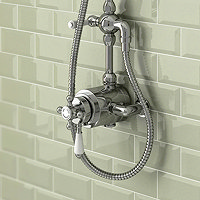
How to Fix a Dripping Shower Valve
Step 1. Turn Off The Water
Exactly the same as with the showerhead, locate your main water supply and ensure it’s turned off before beginning.
Step 2. Disassemble The Valve
Start by removing the handle from the valve. The centre screw will can be loosened with a screwdriver for this part to be easily detached. Once this is done, the escutcheon plate(metal cover) needs to be removed as well in order to gain access to the internal components. This should be another simple job as it also uses screws (take care to put any screws somewhere safe, as you don’t want any falling into the shower or even down the waste!)
The gasket which is situated behind the escutcheon plate needs to be replaced with plumber’s putty. This putty is specially designed to help waterproof your joints, making them more reliable as a result. Simply remove the gasket and apply the putty in its place. With this complete you need to locate the shower stem. The sleeve containing this will be detachable, allowing you access.
Step 3. Replacing The Washers
All of the washers associated with the shower stem should be removed and replaced at this point to optimise performance and save you backtracking if you happen to change the wrong one. Locate and remove the washers and fit the new items. Make sure you check the valve stem seat at this point as if this is damaged the shower will continue to leak. Looking inside the body of the valve should enable you to locate the seat.
Step 4. Reassemble The Valve
Before you put the valve back together, clean up the pipes with the same solution used to clean the showerhead. Then, working in reverse, begin to replace each aspect of the valve until it is completely reassembled. Your shower should now be leak free!
* Please be aware that although you may be interested in carrying out this work yourself, it can often be more complex than it seems if you have limited experience. This is why we recommend hiring a professional if you aren’t completely confident of your own abilities as this will avoid any risks.
Rob, Victorian Plumbing

