EXTRA 10% OFF SHOWERS WITH CODE: SHOWERS10
Free Delivery on Orders Over £499**
how is a toilet made
How Is a Toilet Made?
"Cue the dramatic music!" Ever wondered how your toilet goes from clay to porcelain throne? In true Greg Wallace style, we’re diving into the whole process.
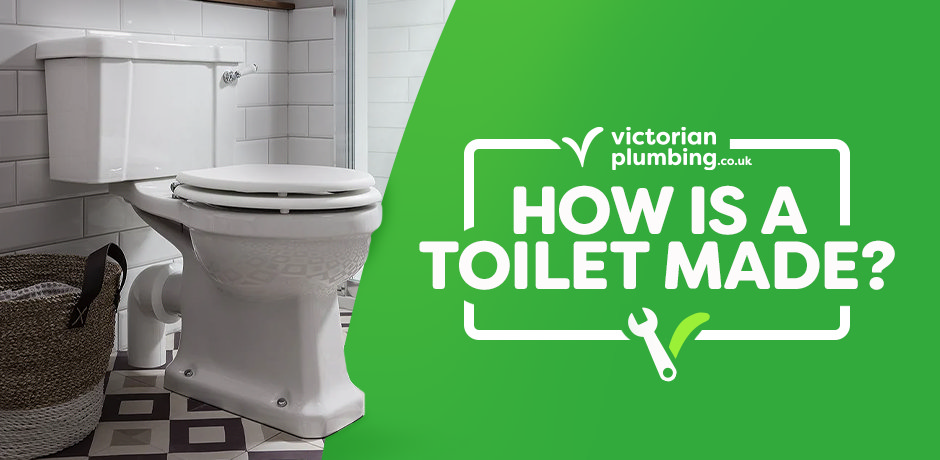
We all take toilets for granted, but they’re engineering marvels. Ever wondered how they're made? From raw materials to final testing, the process is both complex and fascinating. Let’s break it all down...
Into the Factory
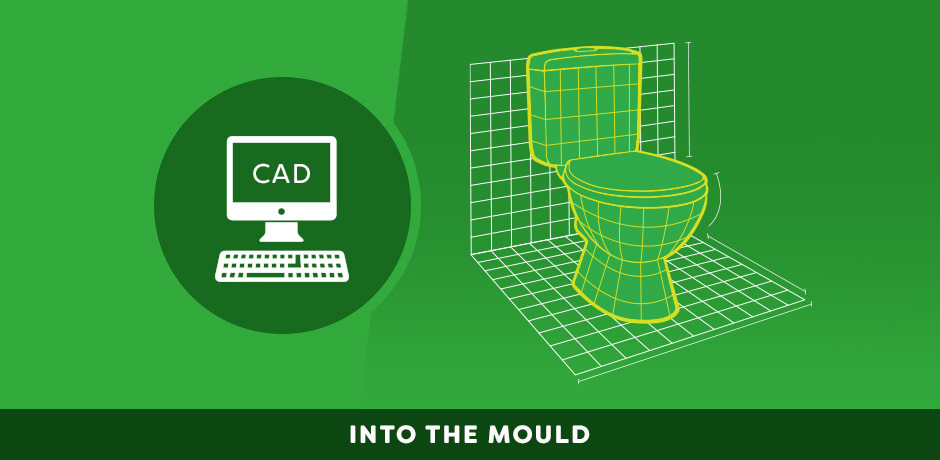
Step 1: Into the Mould
Every great toilet starts with a design. Using a CAD diagram, engineers define the toilet’s dimensions, like where the trapway and bolts will go. A plaster of Paris model is created, about 12% bigger than the final product (because toilets shrink during firing). Then, the model’s used to make a mould, which shapes up to 100 toilets before needing a refresh.
Step 2: The Magic Mix
Toilets are made from vitreous china, a mix of ball clay, china clay, feldspar, and silica. This combo is mixed with water to form a thick slurry called "slip." Think of slip as the building blocks of your toilet.
At the same time, glaze is mixed up. The glaze gives the toilet its shiny, smooth finish, making it look slick and easy to clean. But it’s more than just looks — glaze seals the surface, keeping stains and bacteria at bay.

Step 3: Casting the Toilet
The slip is poured into the plaster mould, where it sets for a couple of hours, shaping the toilet bowl and tank. Once firm, but still delicate, the excess slip is drained. At this stage, the toilet’s shape is fragile, so workers carefully smooth out any imperfections.

Step 4: Drying the Greenware
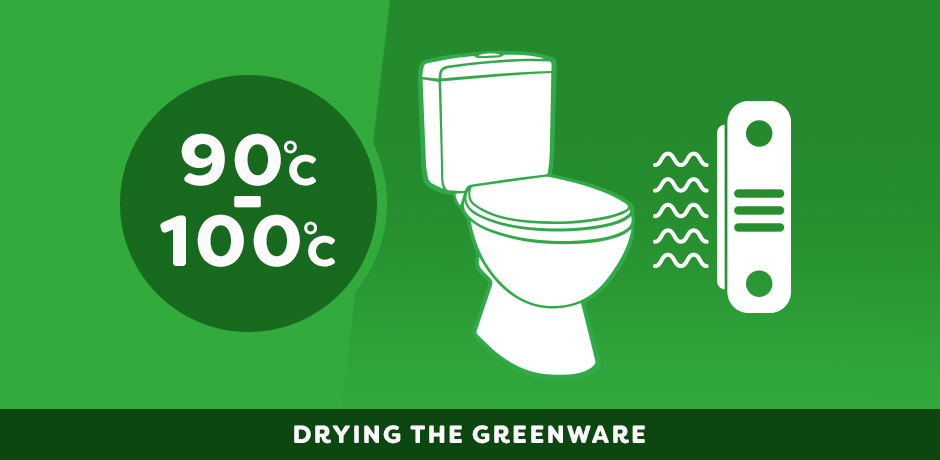
The partially formed toilet, called “greenware”, then hits the dryer, heated to around 90°C to 100°C for 8 to 10 hours. This step removes most of the moisture, getting the clay ready for the next big step: firing. Drying ensures that the toilet doesn’t crack and holds its shape when it’s fired up.
Step 5: Glazing the Toilet
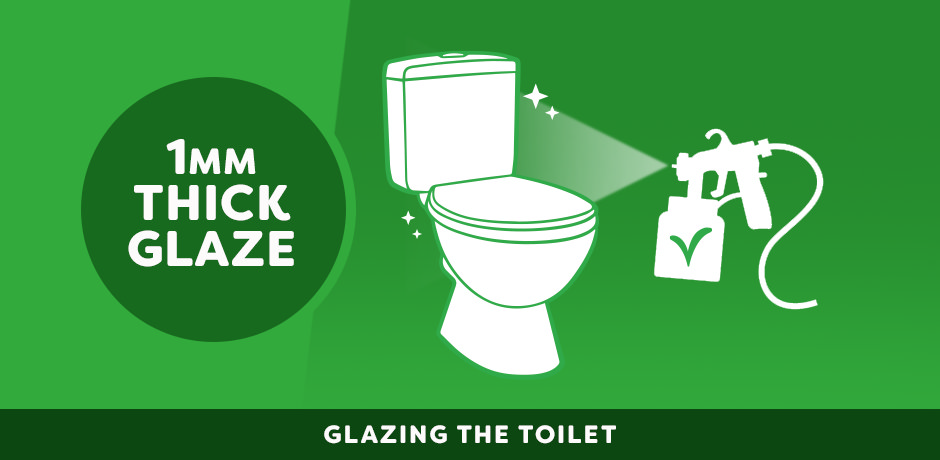
Here’s where things get shiny! Once dried, the toilet is sprayed with a 1mm thick layer of glaze using spray guns. This layer doesn’t just give it that glossy look — It’s a crucial step to protect the toilet from stains, bacteria, and scratches.
Step 6: Firing the Toilet
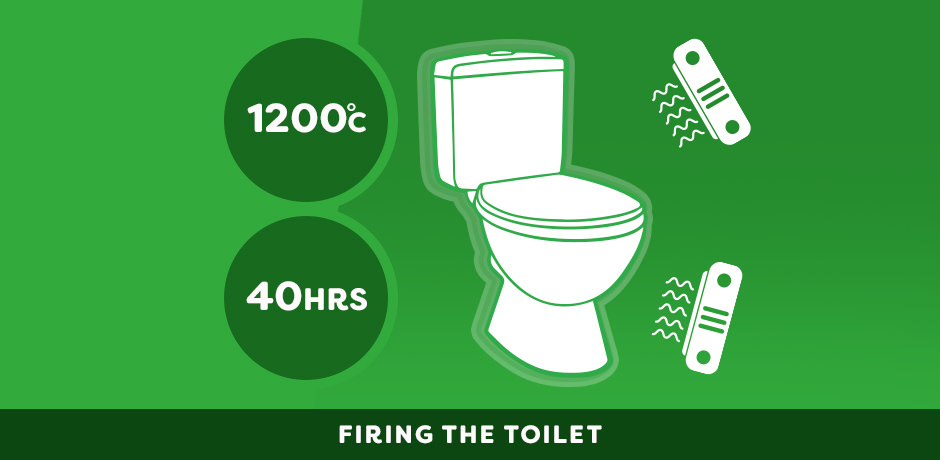
Now for the big heat test. The toilet heads into a kiln, where it’s fired at around 1,200°C. This process takes about 40 hours and is crucial for turning the clay into a rock-solid, water-tight throne. Once fired, the toilet shrinks down to its final size — hence the oversized mould at the start.
Step 7: Polishing and Assembly
After firing, the toilet is polished to smooth out any rough edges, making it look and feel perfect. The seat, flushing mechanism, and other fittings are added, transforming it from a ceramic shape into a fully functional toilet.
Quality Control and Testing
Before it’s ready to go, each toilet undergoes rigorous tests, including leak checks and flush tests, to make sure it works like a charm. Even the tiniest defect means the toilet doesn’t make the cut, so the quality control is no joke.
Environmental Considerations
Let’s talk impact. Vitreous china, the main material in toilets, can’t be recycled once fired. However, some manufacturers recycle unfired clay to reduce waste. And if you’re looking for greener options, steel toilets are 100% recyclable — but they’re far less common.
Step 8: Packaging and Delivery
Finally, the finished toilets are packaged carefully to avoid damage and shipped to their final destination — your bathroom. Whether they’re headed for a store, a showroom or straight to your door, each toilet is protected to ensure it arrives in perfect condition.
A True Engineering Feat
From designing to firing, creating a toilet is no small task. It's a precise blend of art and engineering that results in a reliable, beautiful, and essential part of your home. So, next time you sit on your toilet, take a moment to appreciate the craftsmanship behind it!
Curious to learn more? Head over to our blog for in-depth articles and our buying guides to help you understand the ins and outs of bathroom essentials. From how toilets are made to what features to consider, we’ve got all the info you need.
And if you found this article helpful, why not share it on your socials? Knowledge is power, after all — and who knows? Your friends might just thank you for helping them make their next bathroom upgrade a little less daunting!

