EASTER OFFER: FREE DELIVERY ON ORDERS OVER £99!**
Delivery Offer Must End Soon!
how to fit a belfast sink
How to Fit a Belfast Sink
Already have some DIY knowledge and want to fit a belfast sink? Here’s an easy step-by-step guide on how to fit, style, and install your new belfast sink at home.
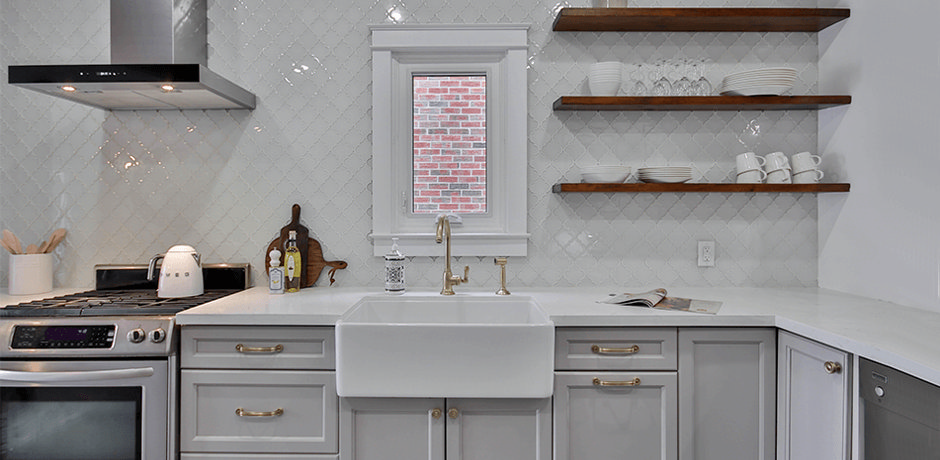
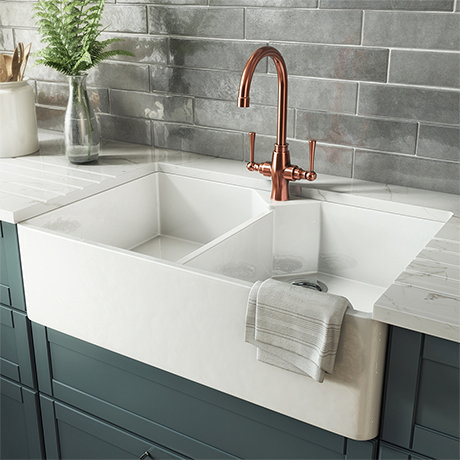
When it comes to kitchens, installing new fixtures can be daunting. As one of the most important aspects of your kitchen, of course you want to make sure that your new sink is fitted, and functions, just right. So, if you haven’t quite found your ideal sink just yet, we have a special collection of Belfast sinks to offer.
But once you’ve got your new sink, what do you need to do in order to make sure it’s fitted not only correctly, but to your personal liking? Well, we’ve curated an easy step-by-step guide covering all the basics when it comes to fitting a Belfast sink.
Fitting a Belfast sink
Parts and Tools you will need:
- Your choice of Belfast sink
- Waste and overflow
- A pencil or something to mark your measurements with
- Saw (Jigsaw or Router saw recommended)
- Silicone sealant
- Ruler or Tape Measure
Before installation
If the kitchen worktop that you’re mounting your new sink into is granite or marble, we advise that you have a fabricator cut the hole to fit the sink for you. However, if this doesn’t apply to you then you should be able to DIY your sink instalment.
If you’re tackling this task alone be extra careful when lifting the basin, especially a ceramic one, as they can be particularly heavy. It’s always best to have someone on standby to help with the heavy lifting.
Before you begin the fitting process make sure your plumbing, waste, and overflow pipes are ready to be connected to your new kitchen sink.
Step One: Measure up
It’s important to remember that when it comes to Belfast sinks, generally it’s recommended that you have a worktop overhang of 7-10mm along the back wall and sides of the sink.
This is because Belfast sinks are undermount sinks and not inset sinks, meaning that Belfast's sit underneath the worktop counter rather than on top of it. We recommend you create an overhang to prevent water from spilling down the sides of the sink and into the cabinets.
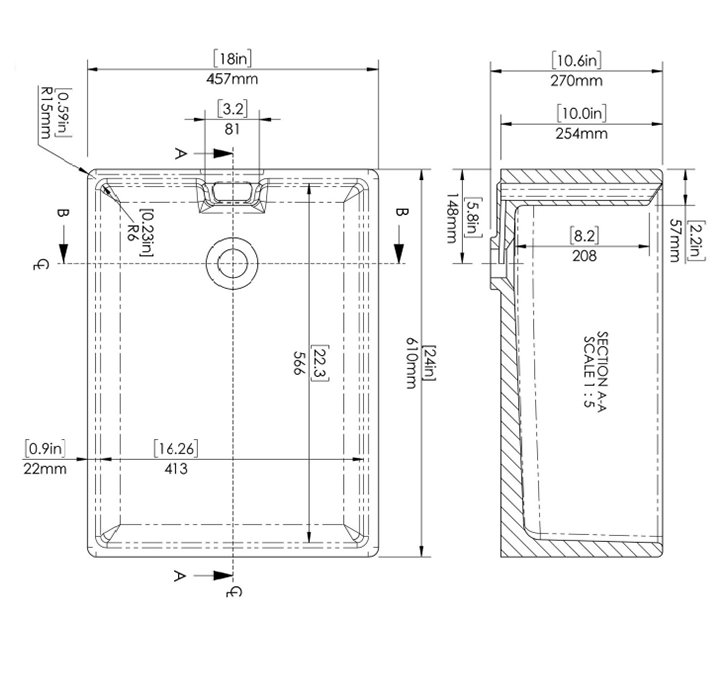
Take your worktop and, using the measurements for the sink, work out where you are going to be cutting the indent. Be sure to measure in 7-10mm before marking as this will ensure the worktop overhang is created.
When measuring the depth of the cut into the worktop counter, bear in mind that this will determine the size of your sink overhang. This one is less about practicality and more about personal style!
Step Two: Make your cut
Using a saw, cut your worktop following the marked measurements you have made. If you’re unsure about this process, there’s no harm in getting a professional in to help, or even cut it to size for you.
Step Three: Place your sink
Next, place your sink into the cabinet space, making sure it fits with the plumbing and waste pipes. Generally speaking, it’s a good idea to have a 5mm clearance around the sink to make room for expansion. Once you have connected your sink to your plumbing, you’re good to go.
Place your worktop on top of the sink, lining up the hole with the sink space. Now you can make sure that the overhang is present, as well as double checking the hole you’ve just cut is the right size.
This step is just a test run to make sure everything fits together correctly. If something doesn’t seem right or is having trouble fitting, this is the opportunity for adjustments to be made. If your countertop hole is accurate, you can go ahead and file down the edges of the cut for a smooth finish.
Step Four: Secure your sink
Leaving the pipes and sink in place, remove your worktop counter. To help keep things secured, next apply a layer of silicone sealant around the rim of the sides, and back wall of the sink. This is essentially in all the places your worktop counter will come into contact with your sink.
Step Five: Fit your sink
Place your worktop counter over your new sink, taking care to make sure everything is lined up perfectly, and set it down.
Now all that’s left to do is fit your kitchen tap.
After Installation
It’s always good to give things a quick wipe down after they’ve been installed to get rid of any dust or sticky substances created by the sawing and silicone processes. So, with some water and a cloth be sure to wipe down the entirety of your newly installed Belfast sink.
It’s also a good idea to give things a bit of a test. Close your plug and fill the sink with water to check for any leaks around the sink or in the under-cabinet areas. Make sure to check for any issues or leaks when draining the water too!
If there are no issues, unwanted gaps, or leaks, then you have successfully installed your new Belfast sink.
Congrats! If you’d like some advice on how to remove your old sink and replace it with a new one, be sure to check out our blog: How to Replace a Kitchen Sink.
