EASTER OFFER: FREE DELIVERY ON ORDERS OVER £99!**
Delivery Offer Must End Soon!
how to fit a shower screen
How to Fit a Shower Screen
Find out how to fit a shower screen for your wet room or your bath. Follow our helpful guide for step-by-step instructions for how to install a glass shower screen in your bathroom.
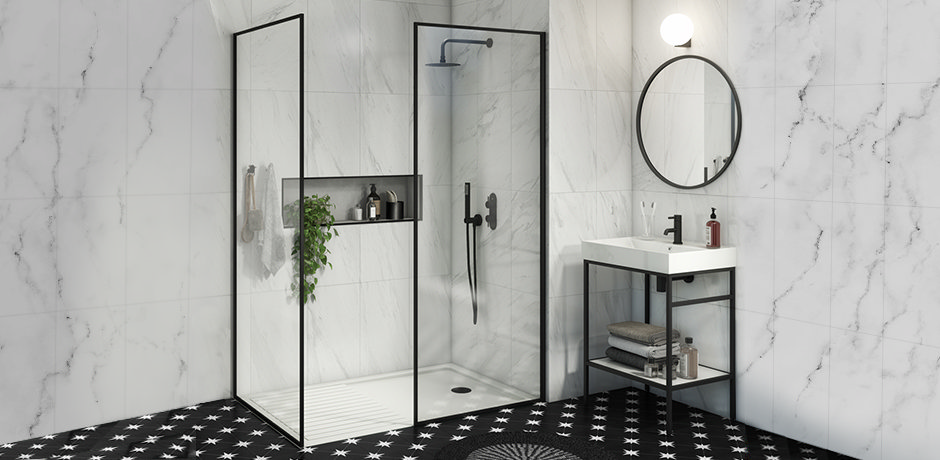
If you’re currently renovating your bathroom and you’re wondering how to fit a shower screen, we’ve put together a helpful step-by-step guide. It’s not a particularly complicated process but there are slightly different steps for how to install a wet room shower screen and how to install a bath shower screen.
It’s worth noting that if you have a wetroom fitted with a shower tray, make sure you install your shower tray before beginning this process!
How to install a wetroom shower screen
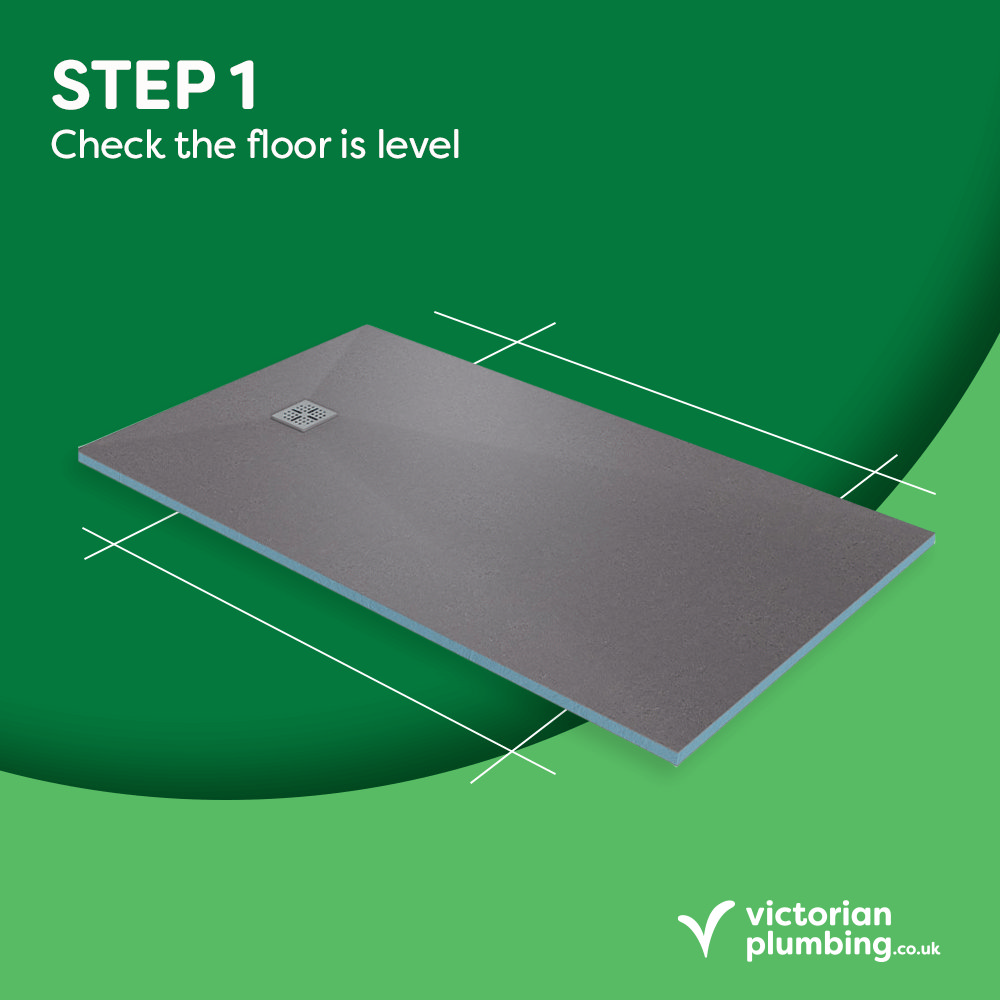
Step 1: Check floor is level
Before you begin installing your wetroom screen, it’s important you make sure the surfaces you are installing it into are flat. Grab a spirit level and check that your floor, or your shower tray, is completely flat and at the right angle. This will ensure the process is as easy as possible.
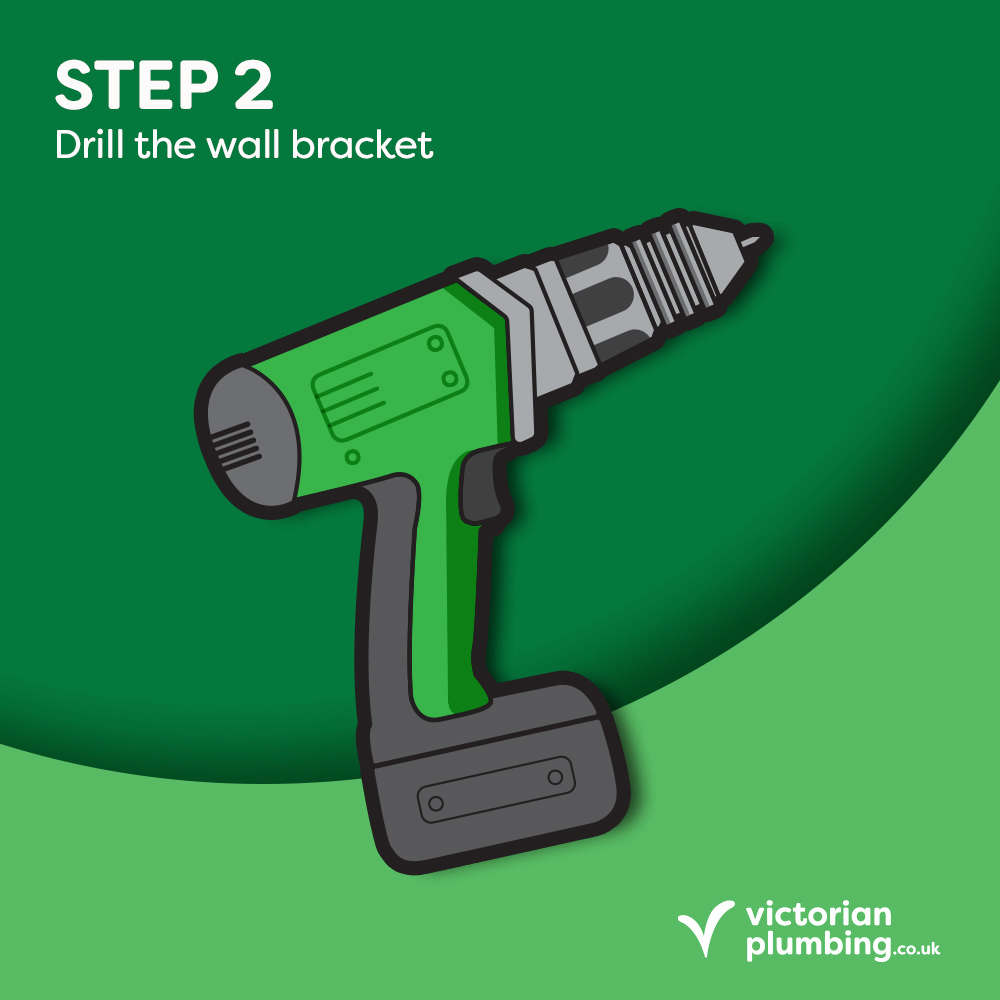
Step 2: Drill the wall bracket
Some brackets come pre drilled but this will depend on the brand and design of your shower screen. If yours comes without holes, take your wall bracket and drill four evenly spaced holes throughout it. This will be used for screwing it into the wall. Make sure that these holes aren’t too close to the top or the bottom of the bracket in order to leave room for sealant. Next, using your electric drill, drill holes through the four marks you made.
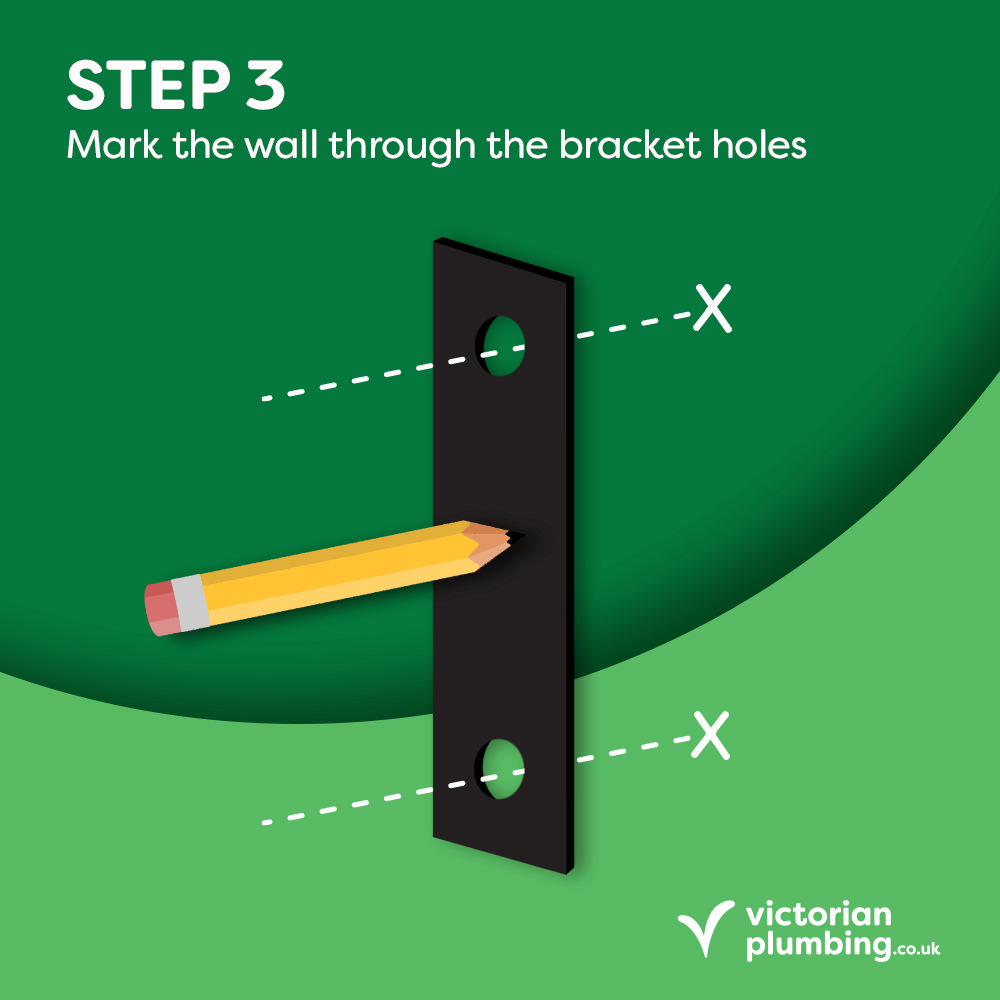
Step 3: Mark the wall
Hold your wall bracket up to the wall you will be installing your shower screen into. You’ll want to make sure this is in line with the edge of your shower tray or the parameter of your wet room shower area. Double check the bracket is lined up straight with a spirit level and then with a pencil mark the four holes that you have drilled onto the wall.
Step 4: Drill holes into the wall and screw bracket in
Once again using your electric drill, drill into the holes that you have marked on your bathroom wall. We advise you to also add a wall plug to each hole to keep things secure. Then take your wall bracket and line the holes in the bracket up with the holes in your wall. Grab four screws and secure them into the bracket and wall to keep the bracket in place.

Step 5: Fit the glass frame
Now that the bracket is in place, you can fit your glass frame. If you aren’t super confident about this, it’s always a good idea to have someone to help you with this part as some glass shower screens can be heavy. Slide it into the wall bracket and secure it with either the screws that may come with your shower installation kit, or a strip of glass seal. Which one your screen uses may vary depending on the design.
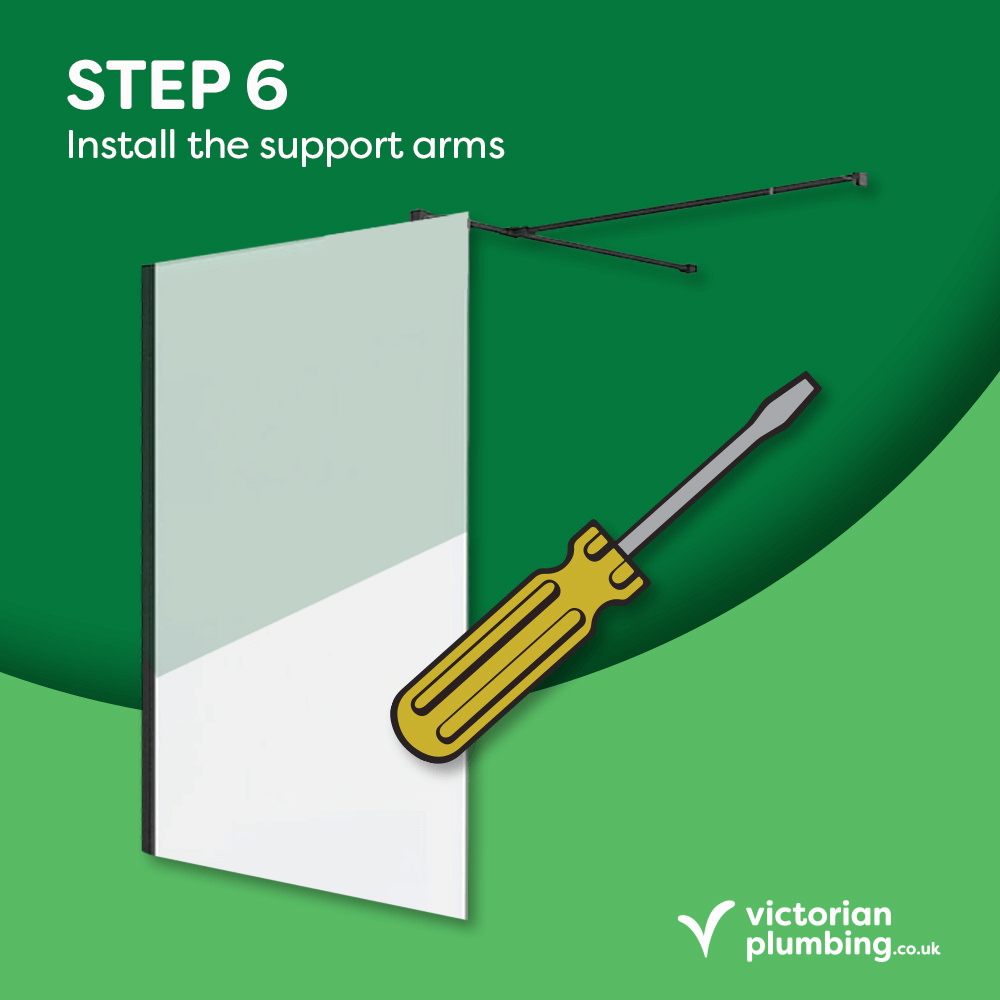
Step 6: Fit the support arms
Not all shower screens have support arms. If yours doesn’t, feel free to skip this step! For those that will need to install support arms, these go over the top of the shower screen and fix to the wall for additional support. Depending on your set up, you might have to cut the bar to length. If so, measure the length you will need, mark it on the support bar, and using a hacksaw, shorten it to the correct length.
Next you need to place the support arm on top of the glass screen, being careful not to scratch the glass. Once it’s straight make a mark on the wall for where the arm bracket will need to go. Once again drill your holes for the bracket and screw them into place.
All that’s left to do is slot the arm into the bracket and secure it to the shower screen. Your screen might come with a rubber or plastic protector that fits in between the arm and the glass itself.
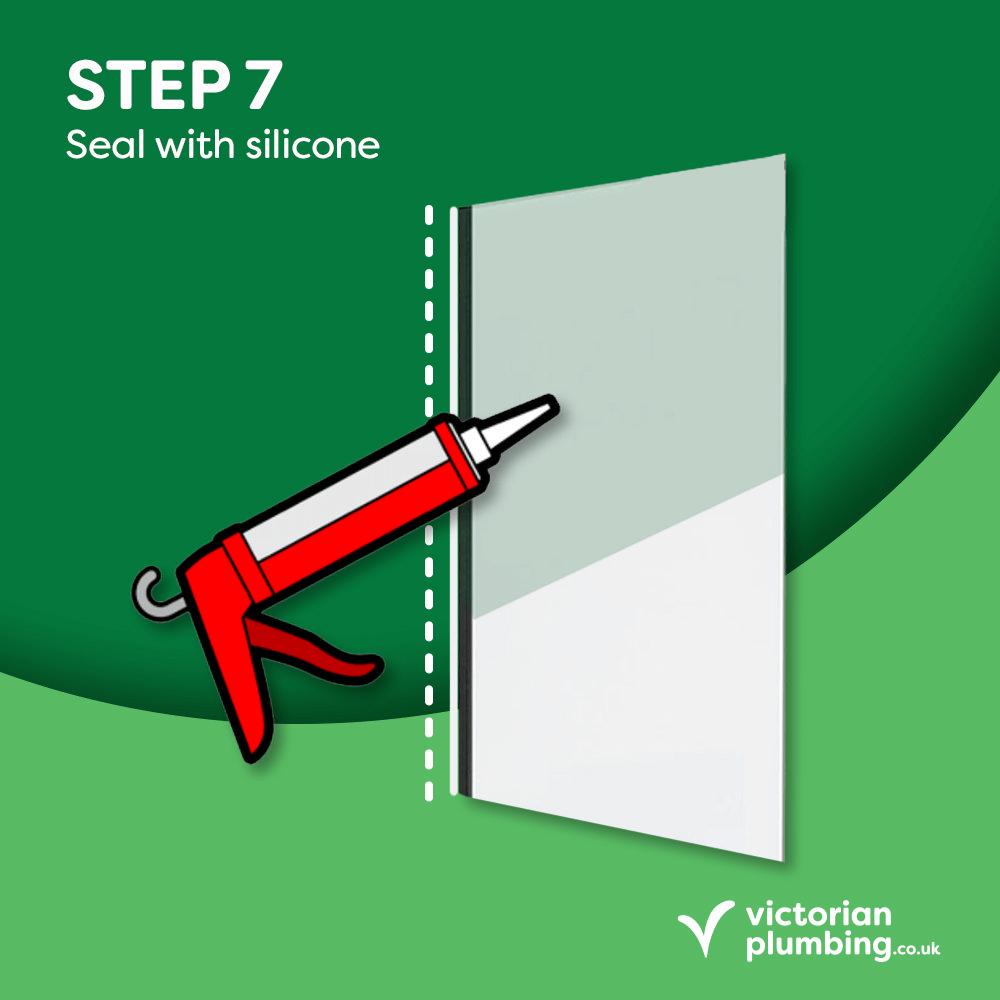
Step 7: Seal with silicone
With a silicone sealant and applicator, run a layer of sealant across the bottom of your wet screen where it meets the floor or shower tray. You may also want to run a layer between your wall bracket and shower screen if your installation kit didn’t come with a glass seal.
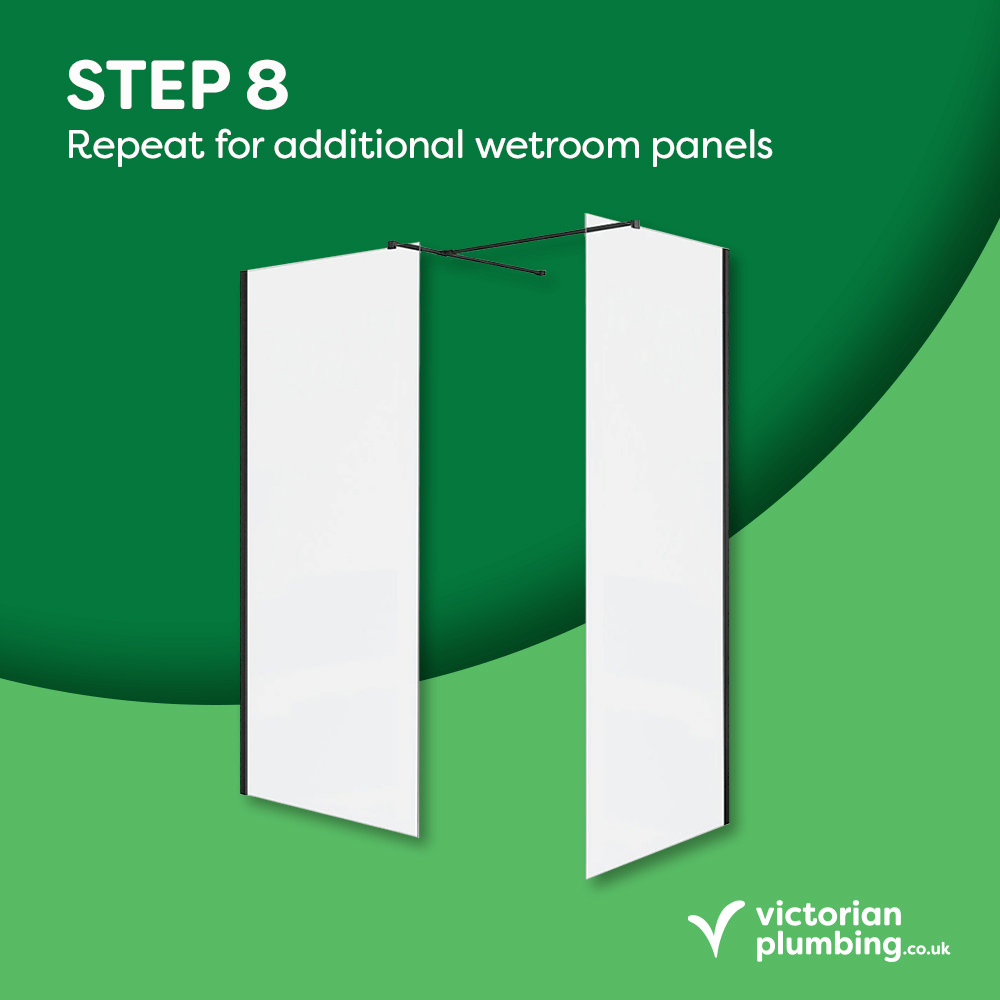
Step 8: Repeat for additional wet room panels
Some wet rooms feature two or three glass panels depending on your personal preferences. If this is the case, simply repeat the previous steps as the process remains the same.
How to install a shower screen on a bath
Step 1: Check your bath is level
Using a spirit level double check that the side of the bath you will be securing your screen to is nice and straight.
Step 2: Prepare your wall bracket
Your Bracket might come pre-drilled or you might have to drill the holes for installation screws yourself. If you do need to do this step yourself, simply count how many wall bracket screws have come in your installation kit, which is typically three or four. Then drill as many screw holes as you need making sure they are evenly spaced across the bracket.
Step 3: Fit your wall bracket
Mark your screw holes on the wall using the holes you drilled into the bracket as a guide. Drill into the wall and place a screw plug into each hole. Next, line your wall bracket up with the newly drilled holes and screw it into place.
Step 4: Install your bath shower screen
Slide your glass screen into the wall bracket and secure it into place. Some bath shower screens only need a glass seal to keep it secure. Others might require being screwed into place. Be sure to check your installation manual to find out which method you need!
Step Five: Seal your screen
All you need is a silicone sealant and applicator to run a thin layer of sealant along the bottom of the glass screen where it meets your bath. Skip this step if it’s a moving or hinged bath screen! You may also need to add some sealant between the wall and the bracket.
This should be a helpful bit of extra support if your instruction manual doesn’t make how to fit a shower screen clear! For more step-by-step guides visit the Victorian Plumbing Blog.

