EXTRA 10% OFF AREZZO WITH CODE: AREZZO10
Free Delivery on Orders Over £499**
how to install a boiling water tap
How to Install a Boiling Water Tap
Forever waiting for the kettle to boil? Want instant boiling water to speed up your cooking? Boiling water tap installation is the only answer.
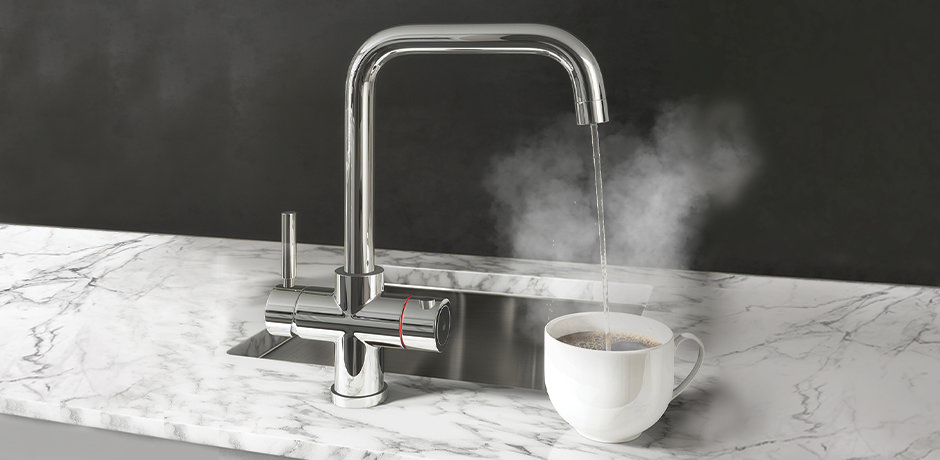
The average kettle takes between 3-5 minutes to reach boiling point. This doesn’t sound like much, right?
However, if your household gets through half as much tea and coffee as we do at VP HQ, this could easily add up to several hours a week! Yes, you read that correctly.
Not one for hot drinks? Whether you’re boiling vegetables or cooking pasta, it takes between 10-15 mins for the average hob to boil a single litre of water. Ever find yourself wondering “where did all the time go?”. Well, now you know!
Luckily, in the last few years, we’ve seen the introduction of brilliant instant boiling water taps. Once reserved for restaurant kitchens and the homes of superstars, we’ve seen their prices fall dramatically recently to make them increasingly affordable.
When not in use, these modern boiling water taps function in the same way as a standard kitchen tap. They are normally activated using either a dedicated control for the tap’s boiling water option or via the combination of a button and the tap’s standard control, for added safety.
So, if you like the idea of an instant brew or simply want to speed up your cooking, a boiling water tap could make a great addition to your kitchen. We’re here to teach you how to install one!
How to Install a Boiling Water Tap in 6 Simple Steps
*Please note: the following installation instructions are based on the Palma Instant Boiling Water Tap. Taps from other manufacturers may vary, so be sure to follow your respective tap’s user manual.
- Turn Off Your Water Supply
- Find a Space for Your Tap’s Boiler
- Fitting Your Boiling Water Tap
- Connecting Your Boiler
- Priming the Boiler and Checking for Leaks
- Turn On Your Boiler
1. Turn Off Your Water Supply
Turn off your home’s mains hot and cold water supply. Then, run both the hot and cold taps in your home for a short while to drain the system of any remaining water. Make sure all of your taps remain open.
2. Find a Space for Your Tap’s Boiler
Once you’ve settled on which sink you’re fixing your tap to, completely clear out the cupboard beneath it to give you ample room to work with. Remove your old kitchen mixer tap, placing a bucket underneath your system to catch any leftover water in the hot and cold feeds. Ensuring the area under your sink is clean and dry, position your tap’s boiler so that it is within reaching distance of the hot and cold water feeds (no stretching!) as well as a safe plug socket. Don’t attach the feeds or plug it in just yet!
3. Fitting Your Boiling Water Tap
Feed your new tap’s hot and cold feeds and any additional wiring through your sink’s tap hole. Next, using your specific tap manufacturer’s instructions, secure it to your sink. This can vary from tap to tap but usually only requires a good spanner and a bit of elbow grease!
4. Connecting Your Boiler
Connect your boiler to your tap, again following your manufacturer’s instructions. Be wary of your cold water pressure too: if this exceeds your tap’s maximum pressure, you will need to fit a pressure reducing valve to avoid voiding your warranty.
5. Priming the Boiler & Checking for Leaks
Hold up! Before you plug in and switch on your exciting new boiler, it is essential that your prime it and check it for leaks. In the case of the Palma Instant Hot Water Tap, with the device unplugged, you must switch your water supply back on and open all valves and allow water to flow to your instant boiling water tap. Then, turn the instant hot water handle on your tap and hold it in order to fill your boiler. This will take about 90 seconds. When the boiler is full, water will begin to flow from your tap. Next, turn off/let go of your tap and carefully check the boiler for any leaks or loose connections.
6. Turn On Your Boiler
Once you are certain your system is watertight, it is safe to plug in and turn on your boiler. Now it’s just a case of following your tap’s specific operating instructions to get that freshly installed instant boiling water tap flowing in no time!
Our Top Boiling Water Tap Picks
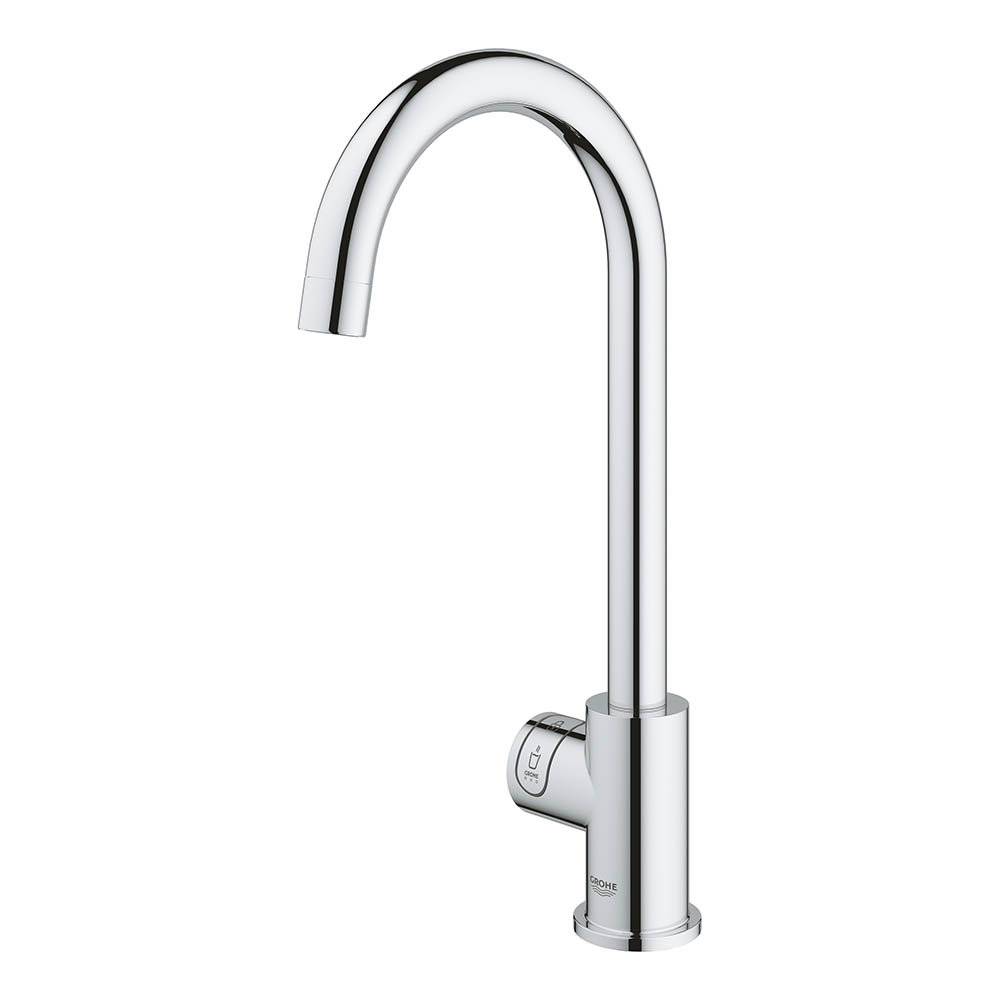
The Grohe RED Mono Instant Boiling Water Tap - This premium instant boiling water tap is quite literally the hottest of the bunch, providing water at a staggering 99° in seconds. The tap also boasts a Grohe SilkMove cartridge for smooth and effortless lever operation, even after years of use. On top of this, its sleek polished chrome finish makes it easy to keep your kitchen looking pristine.
The Palma Instant Boiling Water Tap - An incredibly cost-effective option that doesn’t scrimp on quality, the Palma instant boiling tap is one of our most popular options. A sleek and modern chrome kitchen tap, its lengthy spout can spin 360° allowing you to fill tall pots and jugs with ease.
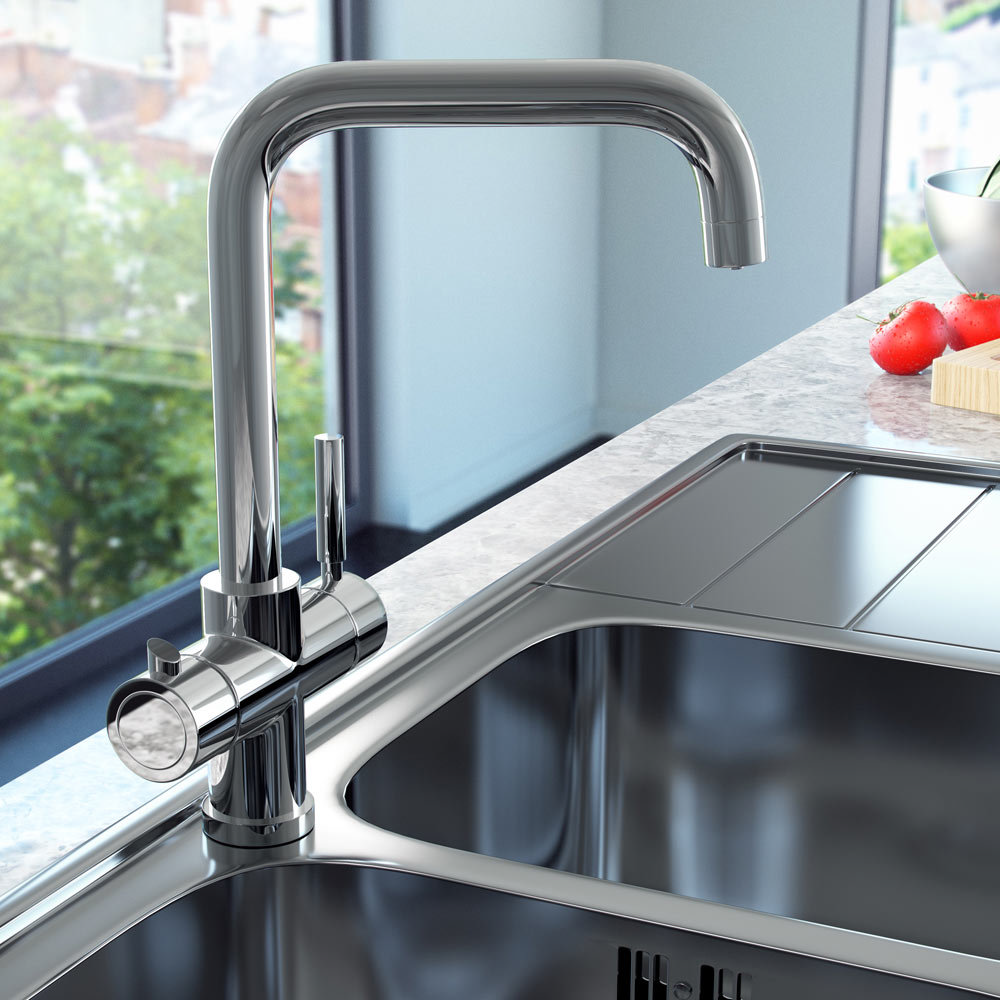
For added peace of mind, the unit boasts a child-safe spring lock, preventing any accidents. In the comprehensive package, you’ll get a touch-activated boiler, a filter (these last between 3-6 months) and the tap itself. A great introductory package to the world of instant boiling water taps!
The Marple Chrome Instant Boiling Water Tap - Considering a boiling water tap but think it’s modern style would clash with your kitchen’s traditional aesthetic? The Marple is the one for you. An elegant polished chrome tap featuring subtly curved white mixer handles, there is absolutely nothing about its appearance to suggest that this instant boiling water tap didn’t originate from the Edwardian era.
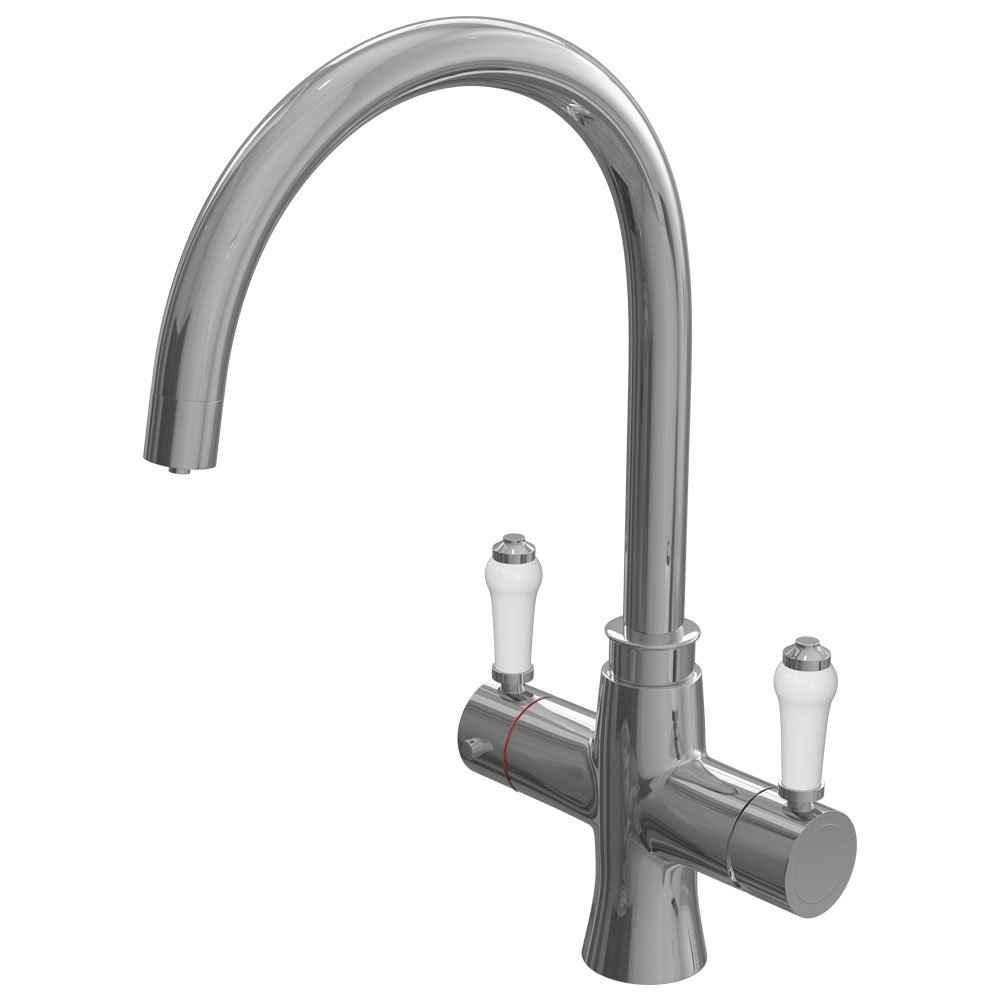
Its retro look, however, hides a plethora of modern features, including the same child-safe spring lock as seen in the Palma. You’ll also get an impressive touchscreen boiler (don’t worry, this will be tucked away under the sink) and a filter that will last between 3-6 months.

