OUR WINTER SALE ENDS SOON!
*Boxing Day deals coming soon. Free delivery on orders over £499
How to Measure for a New Bathroom Suite
How to Measure for a New Bathroom Suite
Getting your measurements right is an essential part of planning your new bathroom. Here's everything you need to know!
● First Things First
● Taking The Measurements
● Planning Your Layout
Jump to a section of this post by clicking a link above.
If you’re planning a complete bathroom renovation, it can often be all too easy to fall into the trap of getting carried away wondering what fixtures to go for before you’ve actually done any measuring. But we know that this sort of stuff can often seem a bit daunting so we thought we’d outline everything you need to be aware of when you measure for a new bathroom suite. This guide is here to help you avoid any potential disasters!
First Things First
Before you start planning out your new bathroom you should take a moment to familiarise yourself with the actual basic shape of the space you’re working with as this will dictate the layout of your suite. You need to take into account things such as whether or not the room is an awkward shape, or if the ceiling has different heights as these areas will need measuring separately. If you have a large alcove for example, this will need to be measured if you plan to fit a shower screen across the opening.
Taking The Measurements
It’s a good idea to draw a basic outline of your bathroom on a piece of paper before starting to measure. This will allow you to make a note of each specific part of the room so you can refer back to it when needed. Include any windows and doors in the sketch as this is important (remember to note whether the doors swing inward or outward too!)
Next, use a tape measure (or a laser measuring tool if you’re feeling fancy!) and run it along the length of each wall, noting the size on the paper as you go along (don’t forget it’s best to use millimetres when measuring the room). You should then measure from the floor to the ceiling (remember to measure in different places as these heights may vary slightly!)
If you want to create something a little more detailed than a simple floor plan then you can use a programme such as Sketchup, which will enable you to produce a 3D representation of the room, giving you a much better feel for how everything will look.
Planning Your Layout
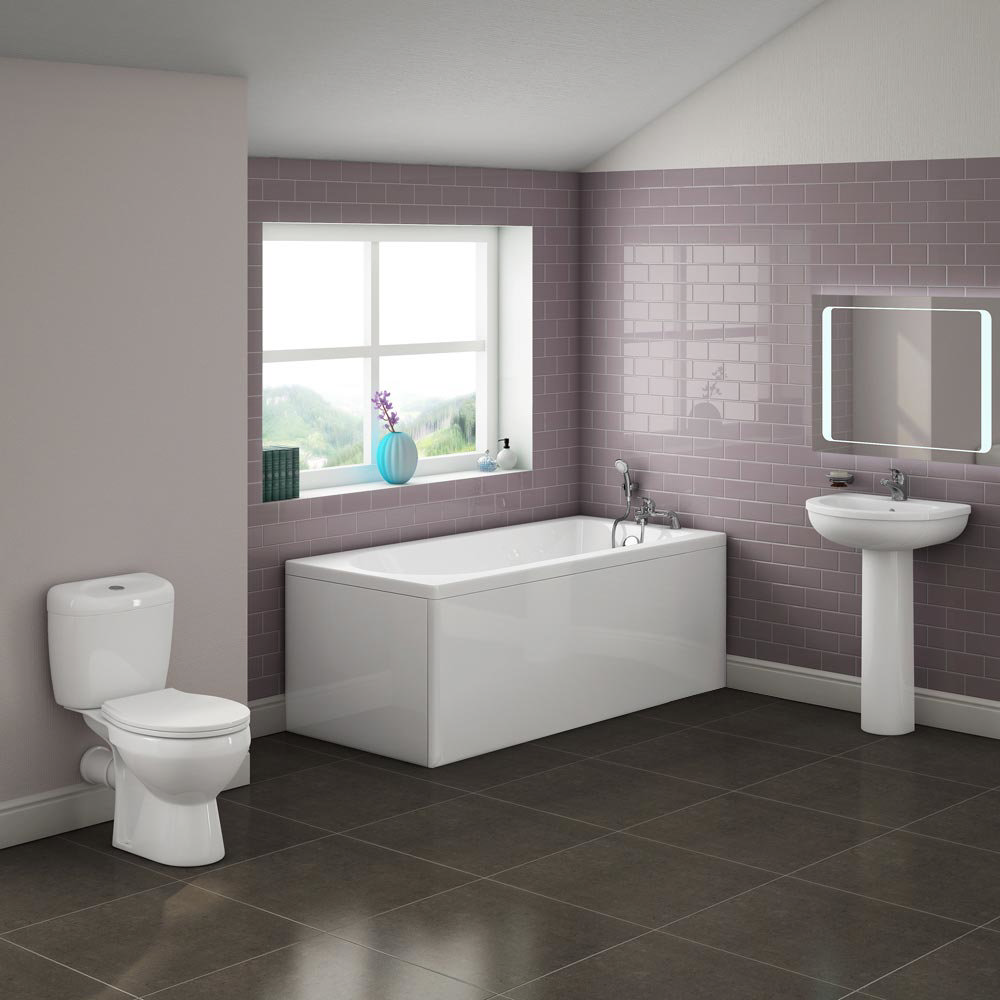
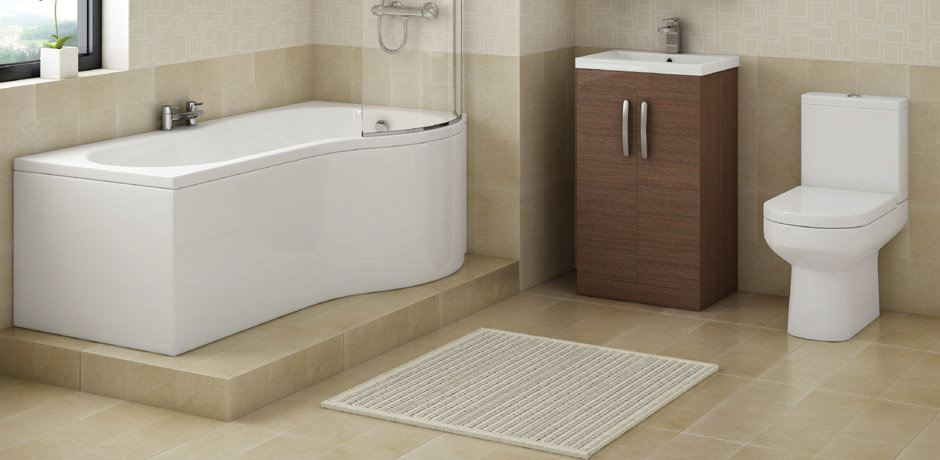
Once you’ve got all your measurements jotted down, it’s time to think about the layout for the room. You should consider the bulkier items first, so your bathtub, toilet and basin as well as any cupboards. You will find the dimensions of each fixture under its product description. It’s essential that your measurements from floor to ceiling are accurate if you are installing a shower enclosure or a tall cabinet of some kind to avoid any issues.
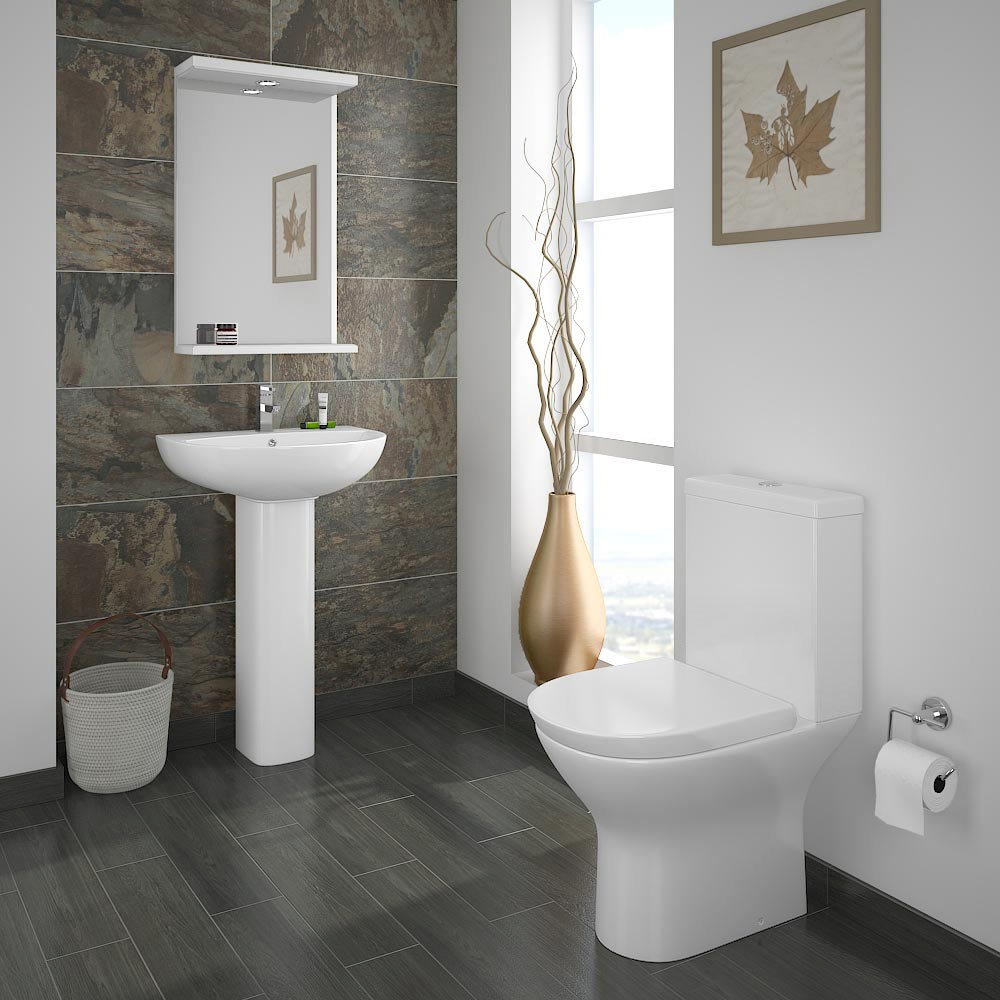
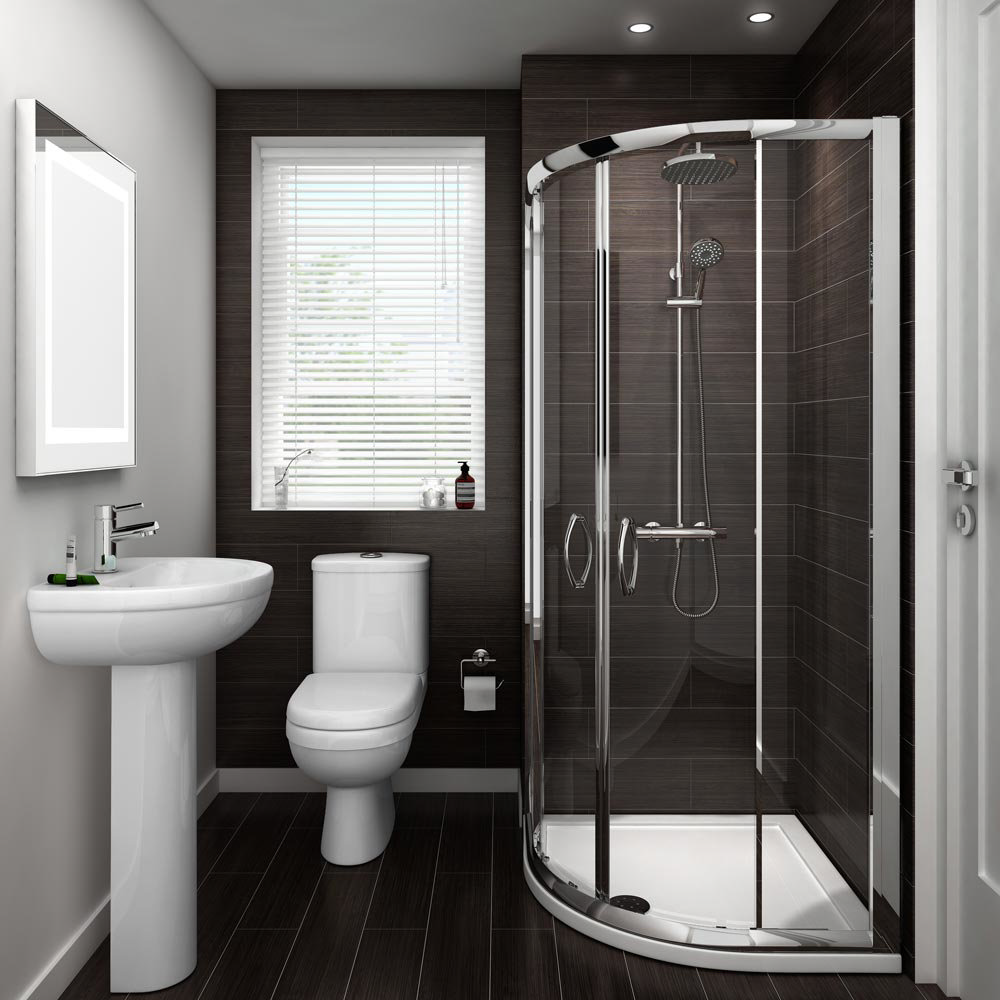
Ideally you want your toilet and basin to be placed reasonably close together, along the same wall. Be aware of where the doors and windows are here and make sure each fixture has a good amount of space to itself to avoid the room feeling cramped. A shower enclosure will usually be placed in a corner while your choice of bathtub will determine where the best place for it is (for example freestanding baths can be placed in the centre of rooms if there is enough space).
A lot of single ended baths are 1700 x 700mm in size; however there are loads of other sizes available depending on what your requirements are so don’t panic if your bathroom won’t accommodate one this big.
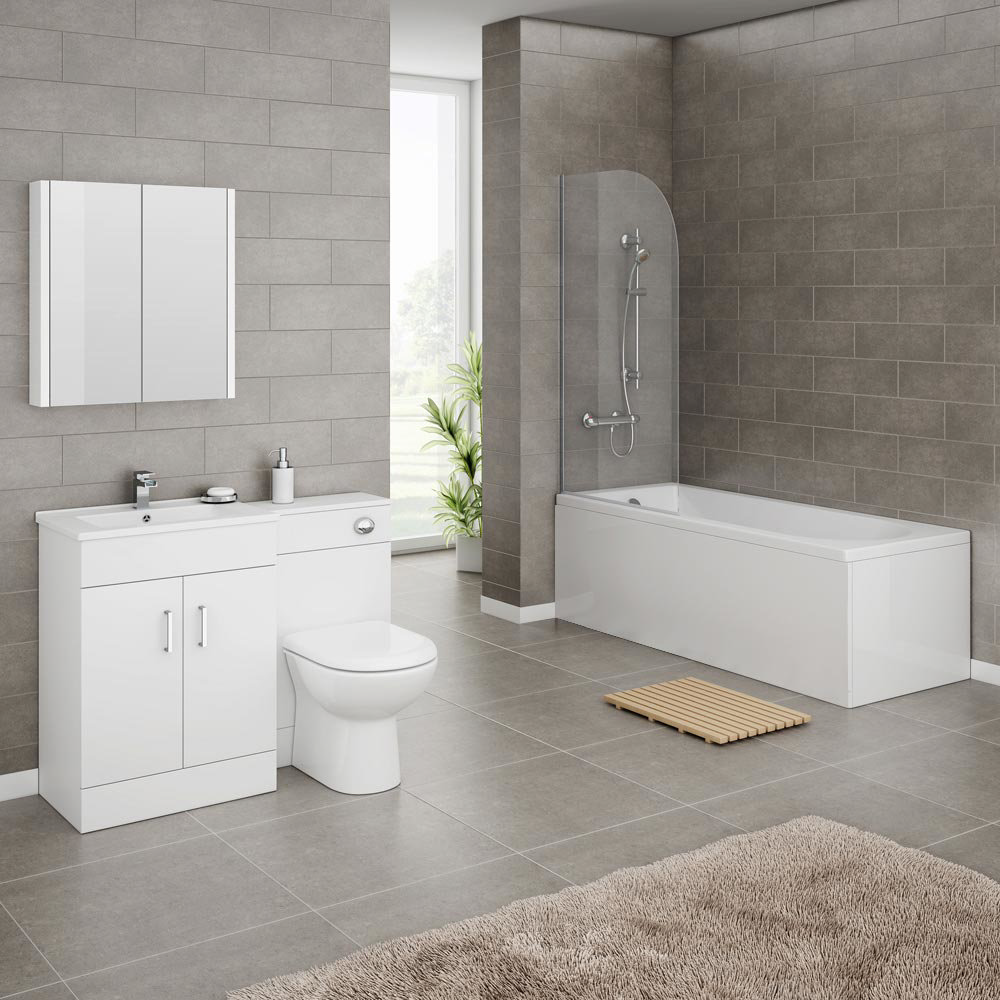
If your bathroom is a bit on the small side then there are various products out there which are designed to be as compact and practical as possible. Short projection toilets are a great idea, as are wall hung basins. If you still need room for storage, then a vanity unit is ideal as it combines the basin with a place to keep all your toiletries. You should also be cautious if you intend to use wall hung toilets or basins. Some of these products can be heavy as you’d imagine and certain walls will not be able to support them which may affect your ideal layout.
So that pretty much covers everything. The only real keys to success here are to measure everything twice (just to make sure) before making any purchases and to use a little common sense; that’s it!
I hope you've got lots of good advice from my guide to measuring up for a new bathroom. Please leave any comments at the bottom of this post and don't forget to share this guide with your friends and family on Facebook, Twitter and Google+. Thanks for reading.

Rob
Rob is part of the resident bathroom bloggers team here at Victorian Plumbing. Rob loves writing in depth bathroom buying guides and is renowned for his expert 'how to' step-by-step DIY guides. He can also be found posting about the latest bathroom trends and ideas and also hunting out bargains and savings for our customers.
