UP TO 60% OFF SPRING SALE!
Free Delivery on Orders Over £499**
how to install a shower enclosure
How to Install a Shower Enclosure
We have put together a handy step-by-step guide to installing a shower enclosure in your own home.
Installing A Solid Resin Or Ceramic Shower Tray
Installing An Acrylic Shower Tray
Fitting The Shower Enclosure
Jump to a section of this post by clicking a link above.
There is nothing quite like the sense of peace and quiet that a shower enclosure gives you. A chance to shut out the world for a short while and escape all worries beyond achieving the perfect temperature shower to soothe your body and mind.
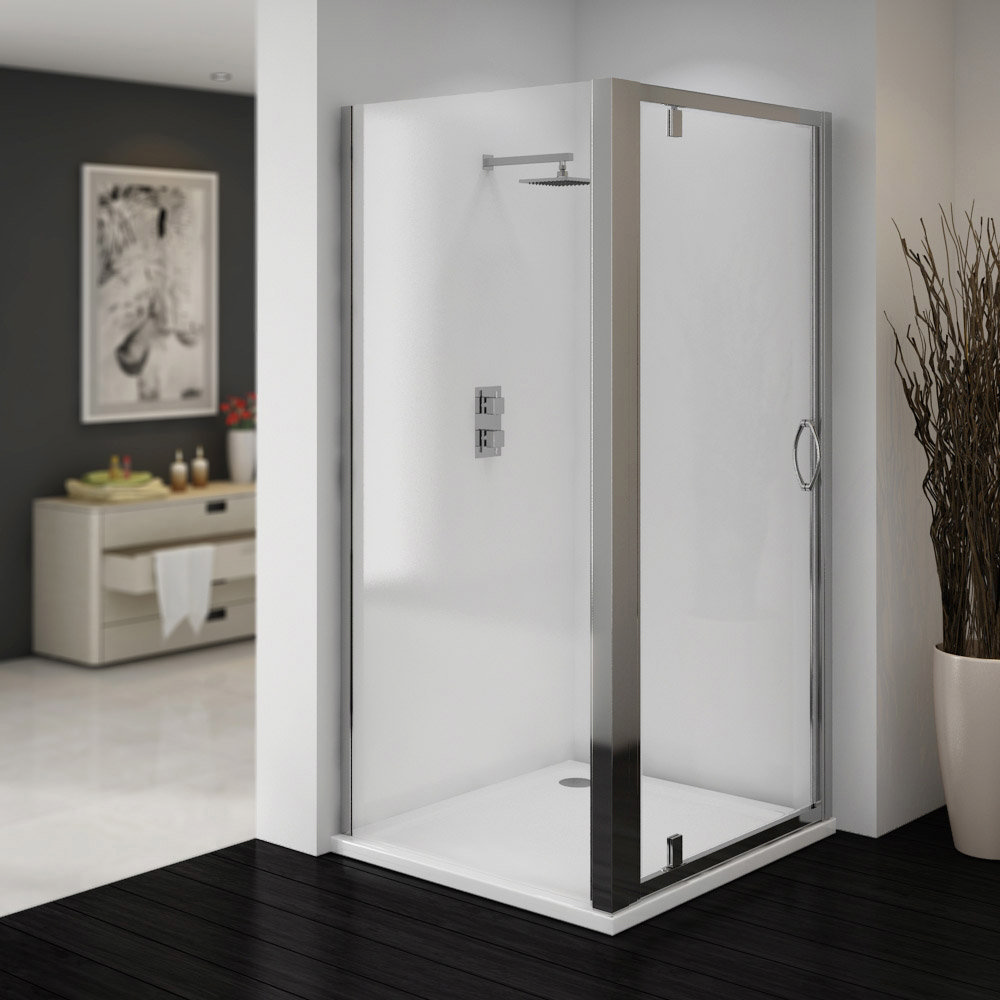
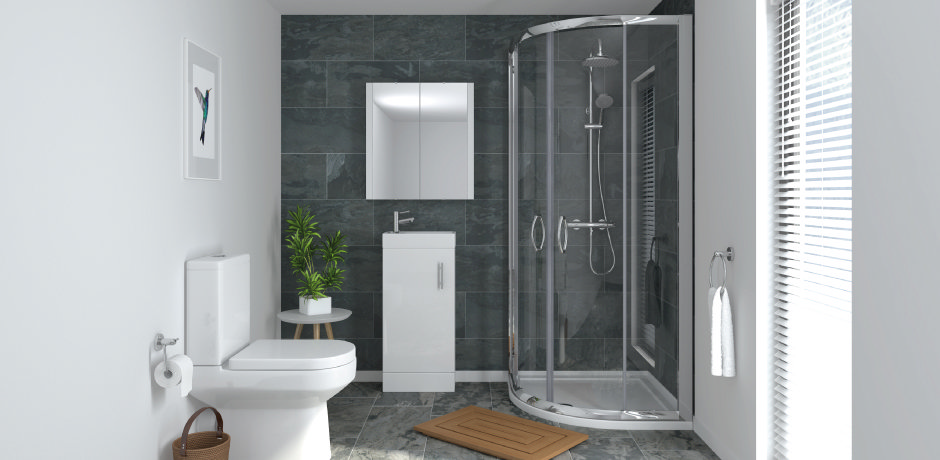
Shower enclosures are stylish, modern fittings that can be installed in any home. Enclosures are also a great choice if you're looking to save space in an en suite or small family bathroom. In this step-by-step guide, we are going to show you what it takes to fit a shower enclosure in your bathroom.
This task can be undertaken by any keen DIY’er with a good sense of how the plumbing of a home goes together and how to use the tools required. If you are concerned about how this job will work out, we recommend contacting your local plumber who can ensure your shower cabin is installed perfectly.
Installing A Solid Resin Or Ceramic Shower Tray
A solid resin or ceramic shower tray is a little more complicated to install than an acrylic shower tray, however the resin or ceramic option does provide you with a greater assurance of strength and durability.
Step 1.
When you have decided on where your shower enclosure will stand, you can lay your shower tray in place and mark the floor with a pencil - be sure to mark the location of the shower trap and waste outlet.
Step 2.
Use a jigsaw to make a hole in the hardwood floor large enough for the shower trap and waste pipe. This will house your plumbing and is vital for the smooth-function of your shower enclosure.
Step 3.
Also, remember that once the shower enclosure is in place, you will need to be able to reach your shower trap and waste pipe from the outside, so make a hole on the other side large enough for you to fit an arm in and under, to where the waste and trap are. It is recommended that screw wooden battens into place beneath the hole to support the floor in that area.
Step 4.
Next, you should attach the waste to the shower tray - this is usually straightforward, and your waste should come with manufacturers instructions on how to do this. It will be a case of screwing the correct bits into place and popping a waste into the middle. Make sure you pay particular attention to the the washers that come with your waste, these are round rubber seals that help make your plumbing water-tight.
Step 5.
Next up, mix a PVA solution of 1:5 water/PVA solution. You should then spread this diluted solution around the area where you shower tray is going to sit, and allow to dry.
Step 6.
Next, mix your mortar solution until firm, we suggest four parts sand to one part cement. Spread this thinly over the area your shower tray is going to go.
Step 7.
Fit the shower tray into position, making sure to use a spirit level to ensure the tray is level and flat. You may have to remove the tray and adjust the mortar before you get it perfect. Smooth out the mortar to a nice neat finish before leaving to dry fully for approx. 24 hours.
Step 8.
You can then use a sealant gun to put a bead of sealant around the outside of your tray - this helps keep your shower water tight, so remember to use sealant that is OK for use in wet areas.
Installing An Acrylic Shower Tray
Step 1.
Sometimes, acrylic shower trays need assembly before you can install them. This is simply a case of screwing the feet into place and inserting the waste outlet and waste trap. Again, be sure to follow the manufacturer’s instructions to make sure you get these jobs right.
Step 2.
Put your shower tray into position and use your spirit level to check that it is perfectly level, if not - you can adjust the feet until level. Connect your tray to your existing plumbing - this includes the waste trap and shower tray.
Step 3.
Acrylic trays tend to come with side panels to help discretely hide away the plumbing beneath. These need attaching at this point - often simply a case of clipping them into place.
Step 4.
Finally, seal the edges of the tray and the areas where the side panels meet the floor and tray with a high quality sealant that is appropriate for use in wet environments - this will keep your shower tray nice and watertight and protect your bathroom floor.
Fitting The Shower Enclosure
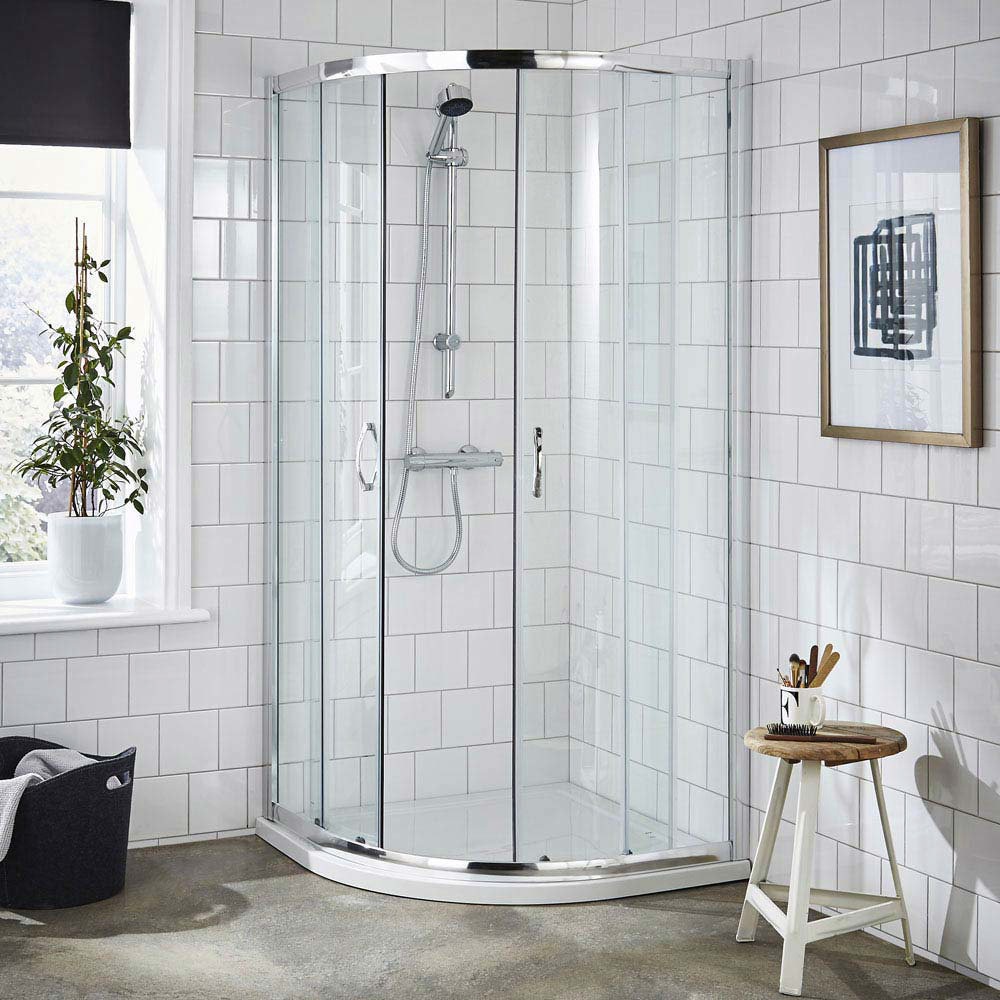
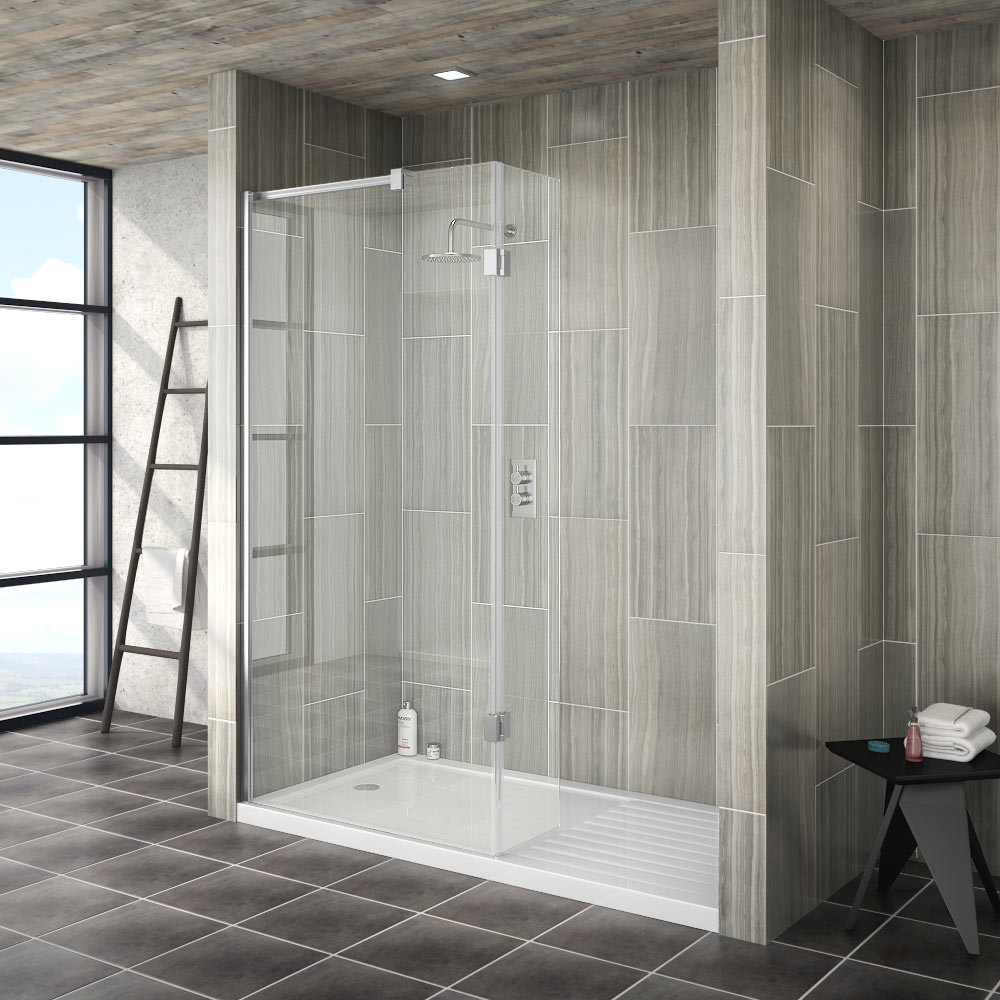
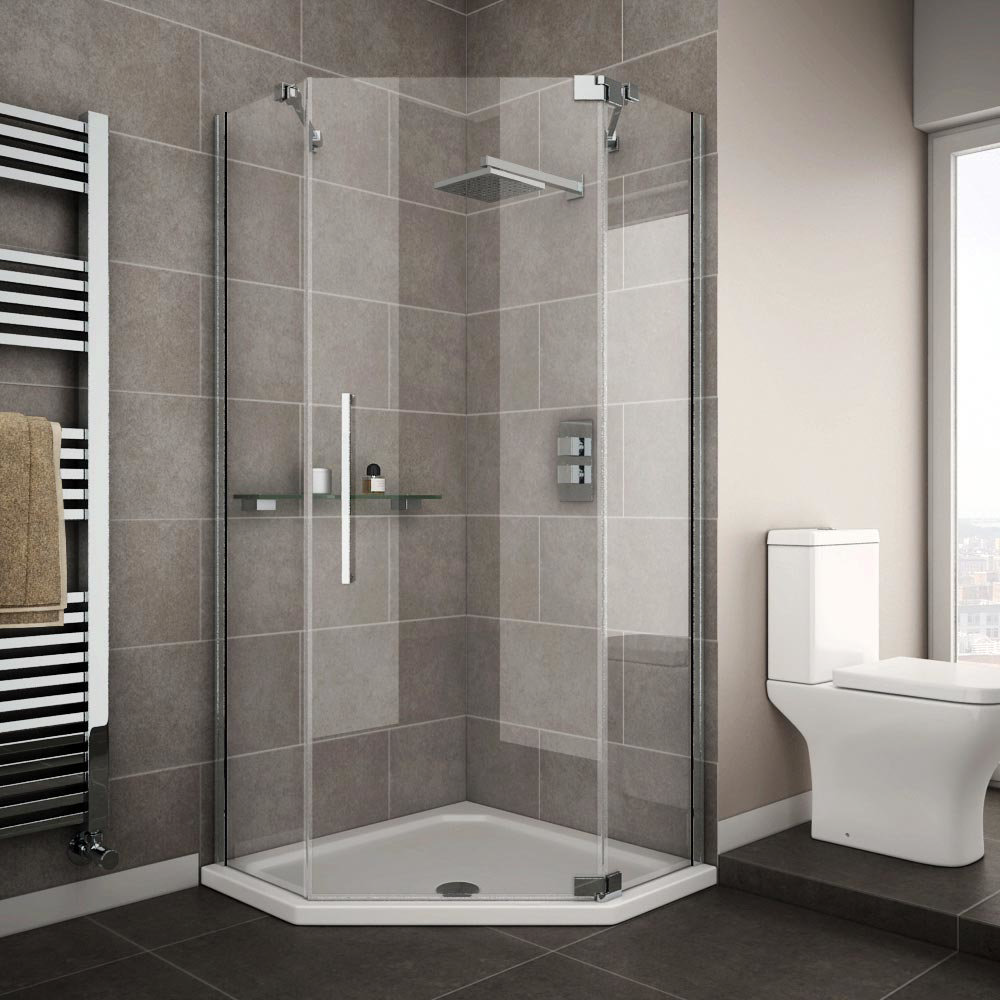
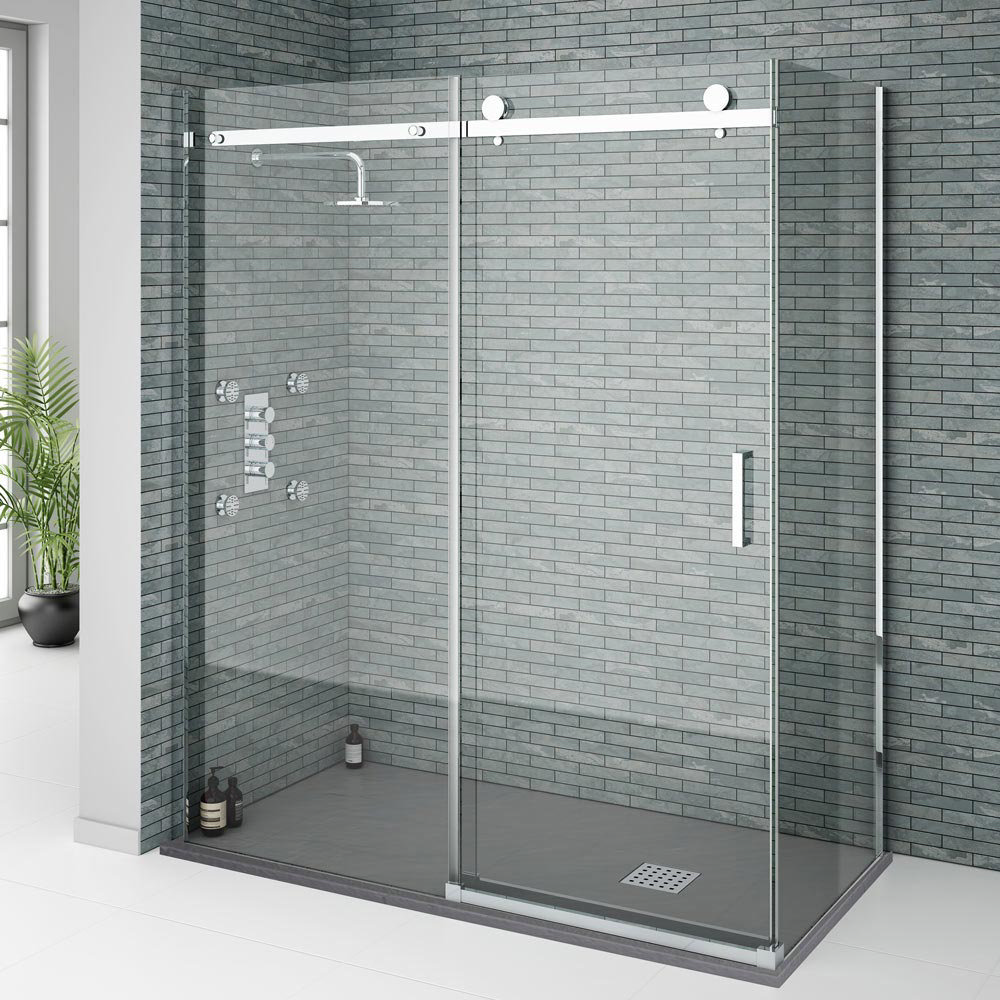
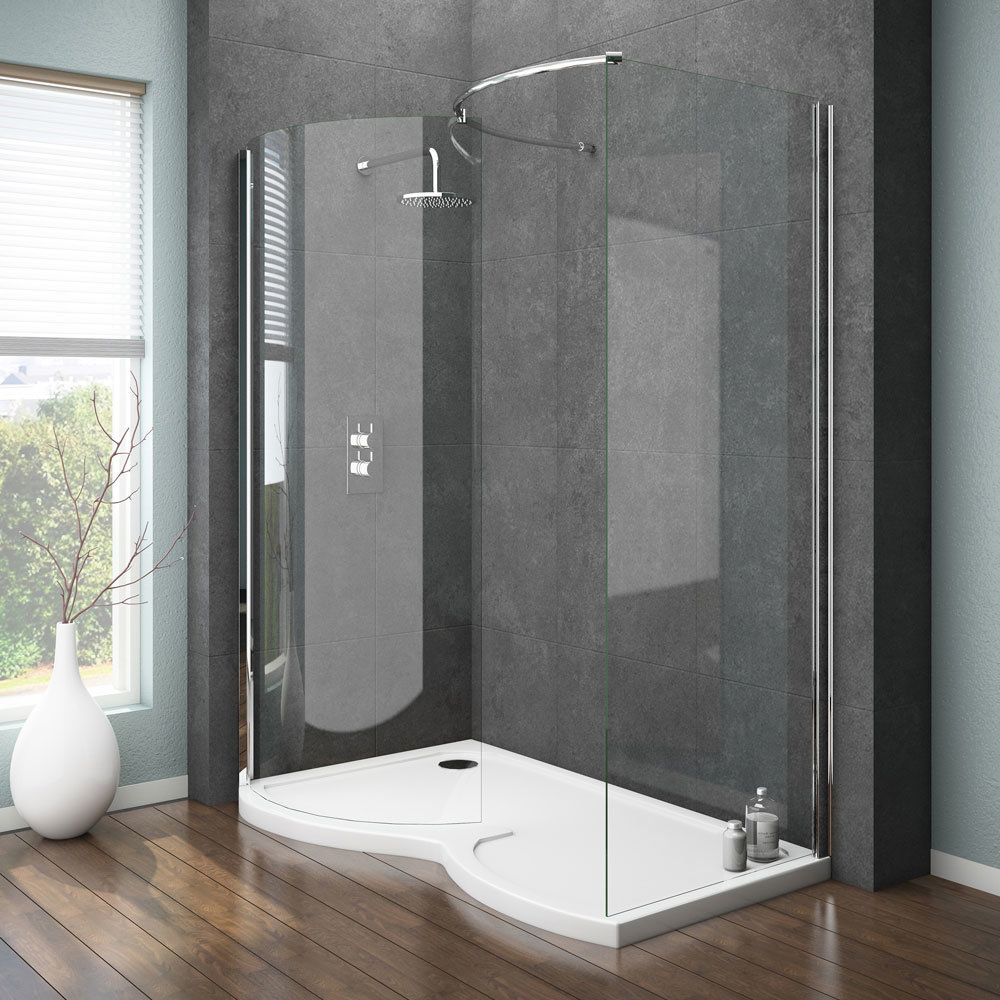
Shower enclosures come in lots of different shapes and sizes. Most commonly, they are placed in the corner of a bathroom.
Step 1.
First, align your channels against your wall to find the positions of fixing holes - mark these so you have a guide for where to drill your pilot holes. Remember to ensure everything is straight and level - a spirit level comes in handy here once again.
Step 2.
You can now drill pilot holes - be careful to not drill into any existing pipe or electrical work, this can be dangerous and expensive. If you are drilling into tile, we recommend using a special drill bit known as a masonry bit, this should allow you to drill into tile without shattering it.
Step 3.
Just to be on the safe side however, remember to cover up any mirrors or taps or anything else that could potentially be scratched by flying tile chips.
Bonus Tip: Make an ‘X’ in masking tape on the tile, with the place to drill in the centre. This gives your drill bit a little more grip and prevents it from slipping against the tile.
Step 4.
Once you have drilled your pilot holes, insert rawl plugs and fix the shower enclosure channels on to the wall.
Step 5.
The side panel and door panel rest on the tray, and should be fixed in place as per the manufacturer’s instructions. Then, make sure all panels and the door panel are fixed firmly into place with screws, consult your manufacturer’s instructions for any final finishing touches such as a handle for the door and then seal the shower with silicone along the external edges and joints.
You now have a stylish centrepiece for your bathroom that provides a warm, peaceful place for you to shower.
If you are renovating your bathroom or installing a shower enclosure, we would love to see the before and after shots! Send in your pictures in to our X account over at @victorianplumb and we will even retweet our favourites for all our followers to see!
