EASTER OFFER: FREE DELIVERY ON ORDERS OVER £99!**
Delivery Offer Must End Soon!
how to remove silicone sealant
How to Remove Silicone Sealant
Learn how to effectively remove silicone sealant from your bathroom surfaces with this step-by-step guide, ensuring a clean and smooth finish.
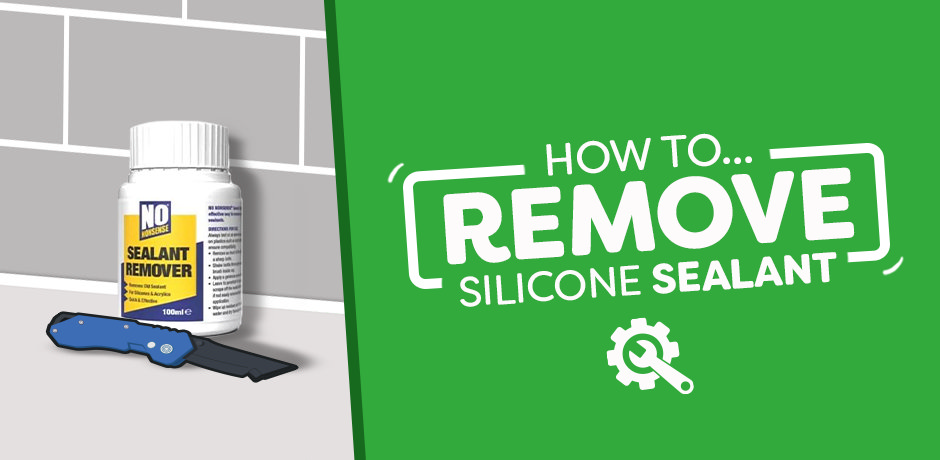
Removing silicone sealant is an essential task in maintaining a clean and functional bathroom. Whether you need to replace mouldy sealant or simply prepare a surface for a new application. This may seem daunting if you’re not used to DIY tasks, but don’t worry! Our silicone sealant removal guide will walk you through the process step-by-step. As always we advise you seek professional help first.
The method is the same whether you are removing sealant from a bathtub, shower tray, or basin.
Here’s a detailed guide to help you through it.
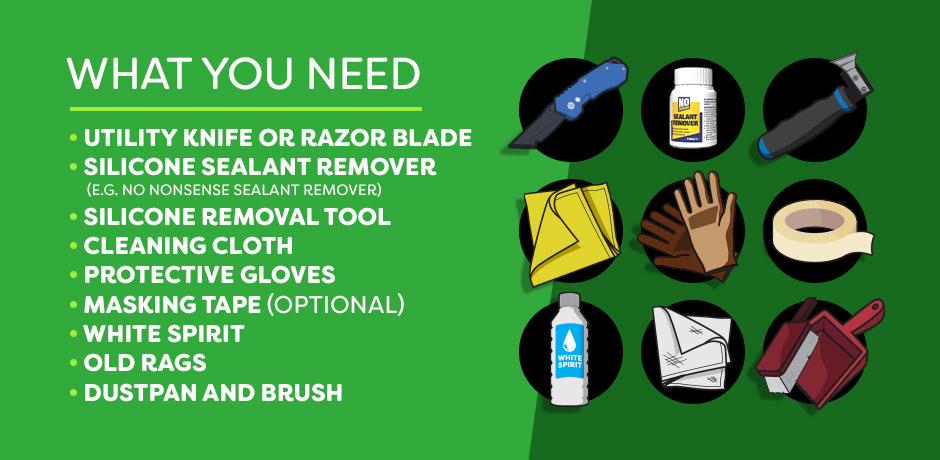
Step 1: Prepare the Area
Remove Items
Before you begin, clear the area of any items that might get dirty or damaged during the process. This includes toiletries, decorative items, and anything breakable.
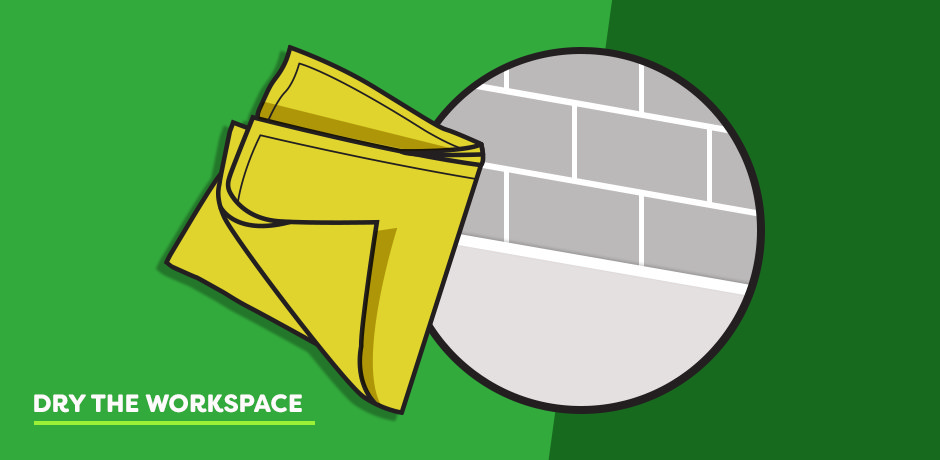
Dry the Workspace
Ensure the workspace and the silicone are completely dry. Use a cleaning cloth to pat down any wet surfaces or allow them to air dry.
Step 2: Cut the Sealant
Use a Knife
Carefully cut along both edges of the silicone sealant with a utility knife. This helps to break the sealant away from the wall before applying the silicone sealant removal product. Wipe down the area, removing the surplus silicone sealant and debris. Repeat this process of scraping and cleaning until you’ve removed all loose sealant.
With most bathtubs, for example, you’ll come across obstacles like taps – if your knife fits behind, just move it along at a different angle (whether it be over the top or underneath).
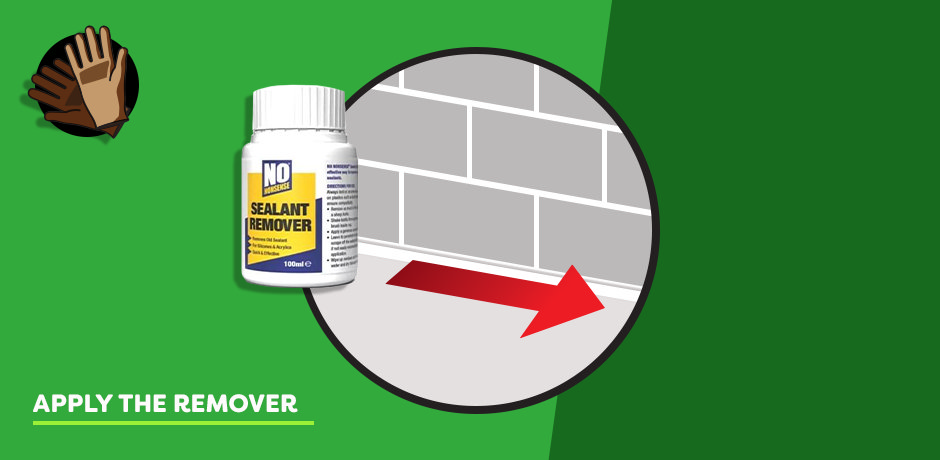
Step 3: Apply Sealant Remover
Apply a generous amount of silicone sealant remover to the area. Avoid spreading it too thinly, for effective results. Follow the product instructions and always apply it to a small area first to check for any adverse reactions with your surfaces.
Avoid applying the remover on taps as it might damage the chrome finish. Allow the remover to sit for the recommended time to soften the sealant. Generally, the longer you let the product sit, the easier it will be to remove the sealant.
Step 4: Scrape Off the Sealant
Use a Scraper
Use the flat plastic scraper of your silicone sealant removal tool to reach corners and the sharper end to pick out any remaining sealant. A decorator’s knife can also be useful, particularly after we`ve applied our removal product to gently scrape any remaining sealant off the tiles or for getting under tile expansion gaps - be careful not to scratch your tiles.
Although this would be hidden under the bead of sealant, any physical damage could contribute to a leak at a later date
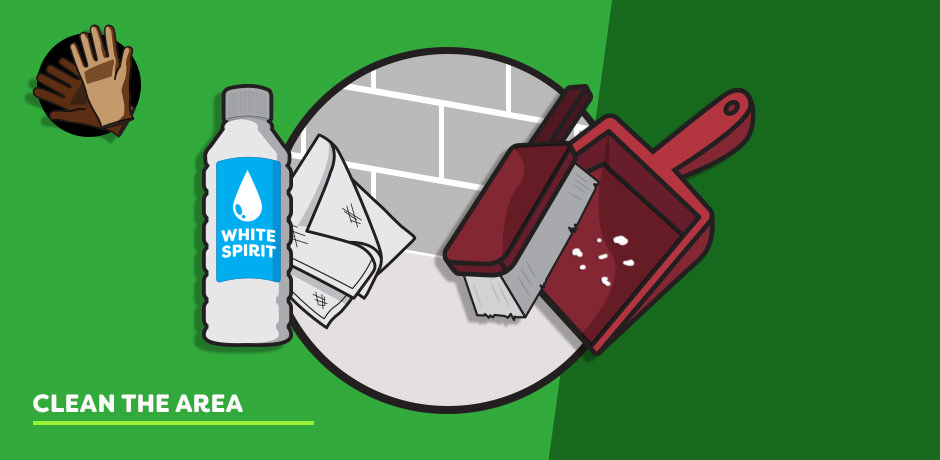
Step 5: Clean the Area
Use a cloth to clean the area, removing all surplus debris and sealant. Collect the debris in a dustpan to reduce the mess.
Hold your bottle of white spirit on a rag, holding it upside down for a few seconds so that your rag is damp. Wipe your damp cloth across the area where the sealant once was; this will help remove any last residues, adhesive or sealant.
Step 6: Inspect and Repeat if Necessary
Check for Residue
Once your surface is clean and dry, run your hand along it carefully. If you feel any bumps, repeat the scraping and cleaning process until all sealant is removed. Any slight rough surface will interfere with your new sealant - you should be aiming for a very smooth finish.
Avoid Soapy Water
Do not use soapy water to clean the area, as residual soap can prevent the new sealant from adhering properly.
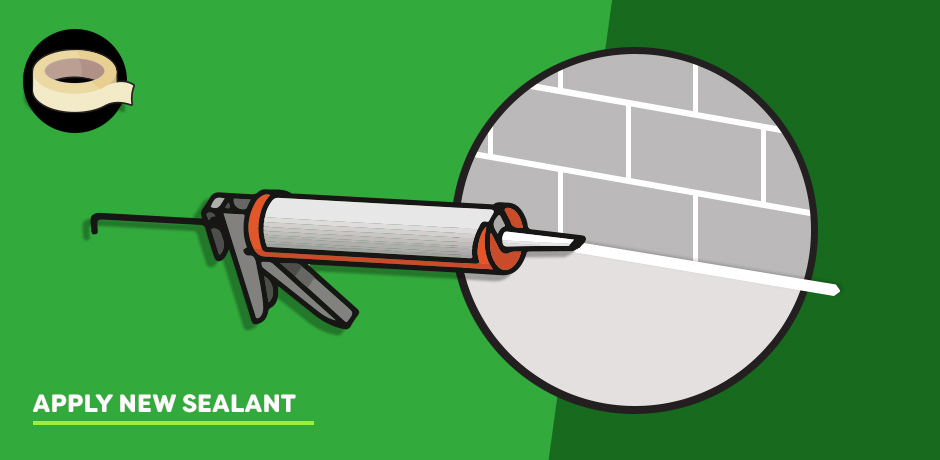
Step 7: Apply New Sealant
Once the area is clean and dry, you can start to apply the new silicone sealant. Follow the application instructions for a smooth and effective seal.
Tips for Success
• Safety First: Always wear protective gloves when handling sharp tools and chemicals.
• Take Your Time: Rushing can lead to mistakes and potential damage to surfaces.
• Proper Ventilation: Use sealant removers in well-ventilated areas to avoid inhaling fumes.
Frequently Asked Questions
What if the sealant doesn’t come off easily? If the sealant is stubborn, try applying heat using a hair dryer or heat gun to soften it before scraping. Be patient and apply more remover if necessary.
Can I use any type of silicone sealant remover? Not all removers are the same. Ensure you use a remover that is safe for your specific surface to avoid damage.
By following these steps, you can effectively remove old silicone sealant and prepare your surfaces for a fresh, clean seal. For more detailed guides and bathroom tips, visit our blog.


