UP TO 60% OFF SPRING SALE!
Free Delivery on Orders Over £499**
how to cut tiles safely
How to Cut Tiles Safely
Almost every tiling job will require a little bit of adjustment in order to perfectly fit your space. We've looked into how to cut tiles safely while minimising the risk of wastage.

Although we’d all love tiling to be as simple as picking your favourite tiles and applying adhesive, nine times out of ten you’ll need to cut tiles down to size in order for them to fit properly.
Though this may sound tricky, with the right tools and know-how it can actually be quite a simple process.
To help you better understand this process, we’ve looked into how to cut tiles and picked out our two favoured methods based on how accurate, efficient and safe they are.
We’ve also detailed the safest method of cutting bathroom tiles on walls - an essential skill for those who need access to pipes and cables behind walls that have already been tiled.
Safely Cutting Tiles With Tile Cutters
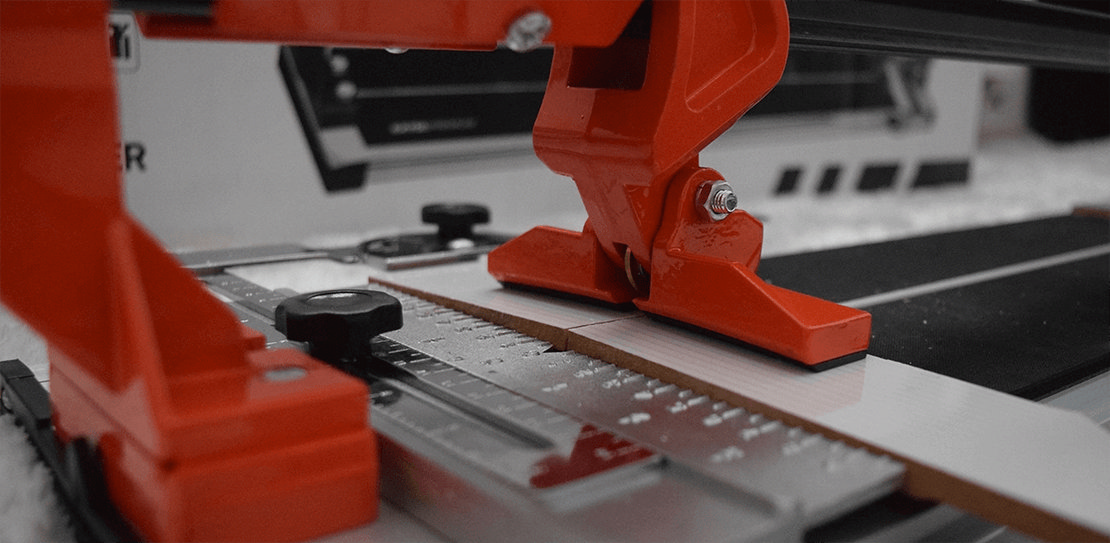
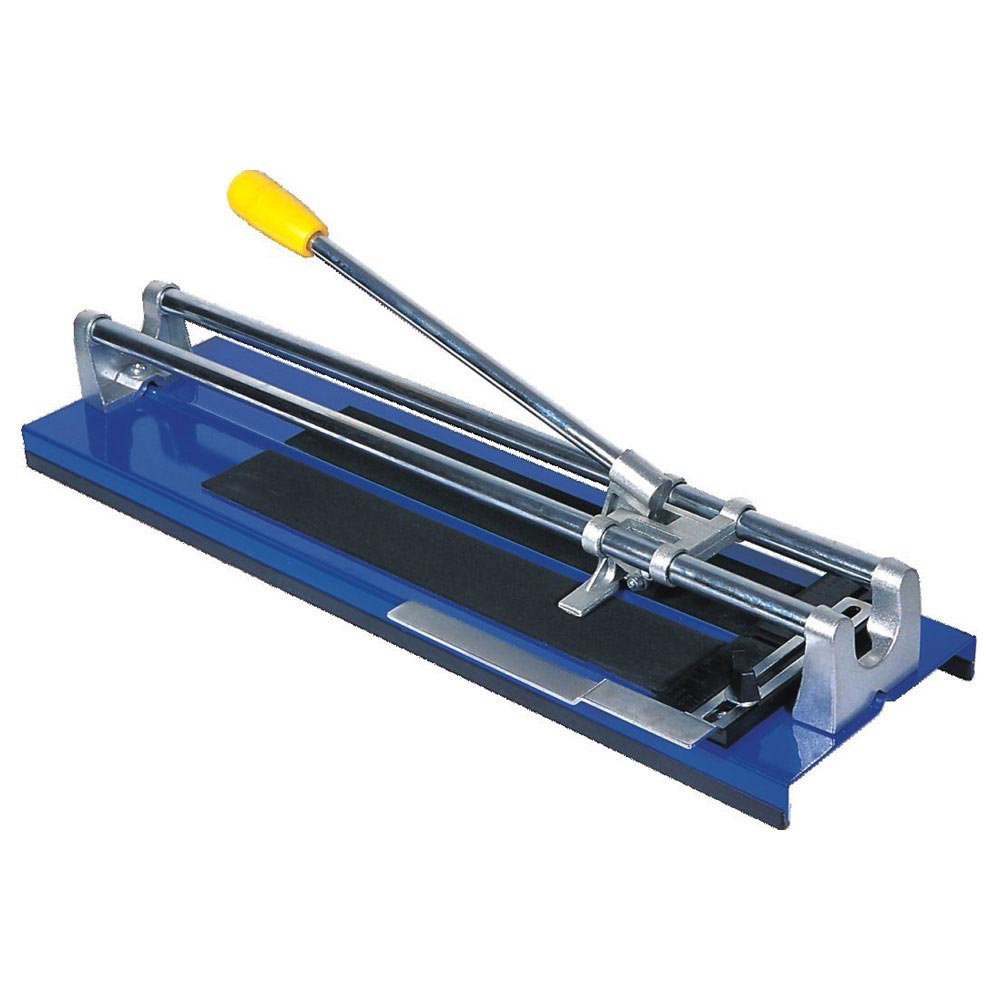
Cutting tiles with tile cutters, also known as manual tile cutters, can be an efficient, safe and highly accurate way to make straight cuts. While it is true that straight cuts can be made by scoring alone, a manual tile cutter will decrease the likelihood of you making any costly mistakes. Using a manual cutter to score along your tile will also reduce the risk of you injuring yourself by doing it all by hand.
- Protect Yourself - As with any cutting tool, it’s strongly advised that you wear suitable safety glasses and a pair of cut-resistant work gloves prior to getting started. Failing to protect yourself could result in injury even if you follow the next steps to a T - so it’s certainly not worth risking starting the job without taking these precautions!
- Make Your Mark - Using a suitable ruler and a pencil, make an accurate mark of exactly where you wish to make your cut. Line Up - Grab your marked-up tile and place it in the cutter. Check that your cutter is on a stable, level surface. Take time to make sure that the line you have marked is lined up perfectly with the blade of the tile cutter.
- Score Your Line - Firmly pull down the handle of your manual tile cutter until its blade meets the tile and then score your line in one smooth motion. Check that your scored line is clean and in line with your markings.
- Snap! - Here comes the fun part. Cutting tiles with tile cutters is way easier than you’d expect! Now that you’ve scored a clear line, apply equal pressure at both sides of the line (by hand or using your cutter’s built-in tile snapper) and your tile should simply snap into two parts.
- Check Those Edges - Now all you need to do is check that the edges of your freshly cut tile are smooth and ready for the wall. If not, take some fine sandpaper and smooth until satisfied.
Our Recommended Manual Tile Cutter
If you’re considering cutting tiles with a tile cutter, we’d recommend opting for the Tile Rite 600mm Economy Manual Tile Cutter. Well made and simple to use, this option from Tile Rite has an adjustable ruler and a handy cutting guide to help ensure clean and accurate cuts. It’s capable of cutting wall and floor tiles up to 600mm wide and 12mm in thickness, which should be plenty for the majority of bathroom tiles.

It's also available in a much more compact 400mm variant, for those who only need to tackle smaller jobs with smaller tiles. This could be your best bet if you’re only planning on tiling one area as it’s notably cheaper. Be wary if your tiles are on the thick side though as this can only handle tiles up to 10mm.

How to Cut Tiles Using A Wet Tile Cutter
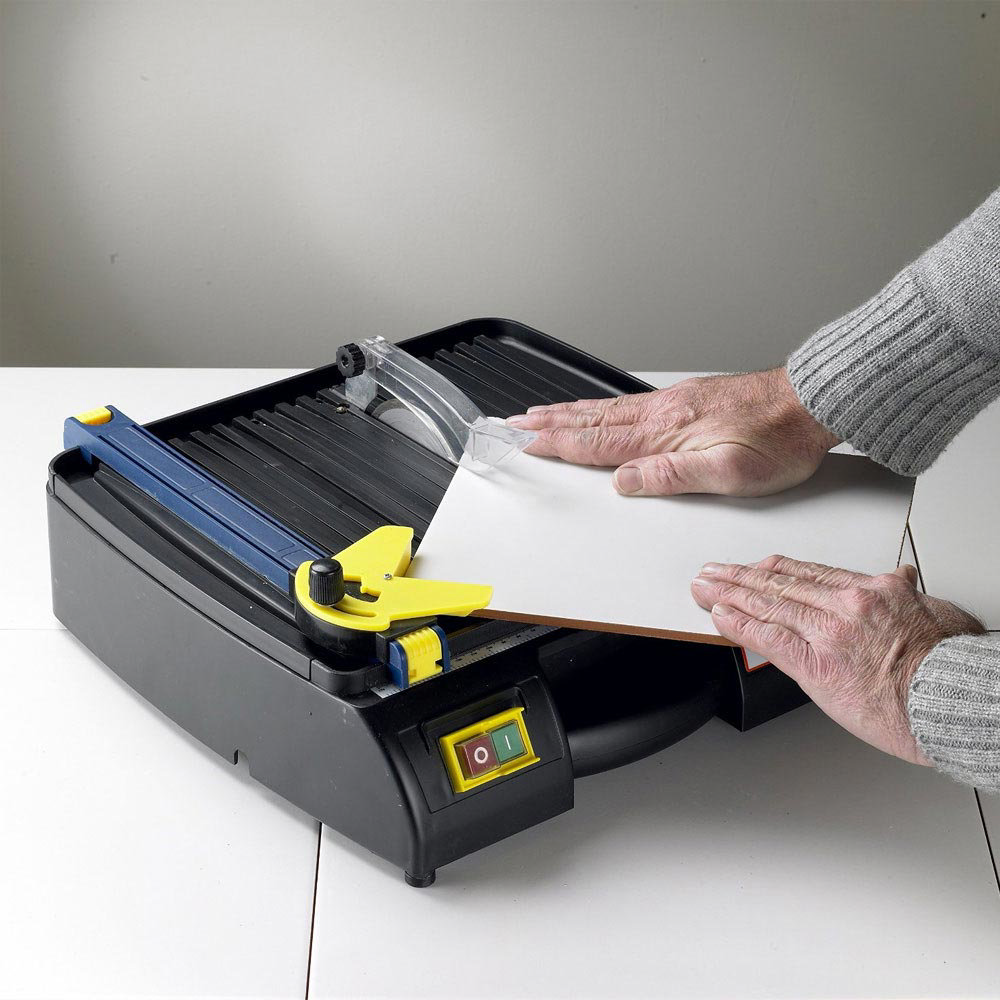
Wet tile cutters, also known as electric tile cutters are great for tiling jobs that require curved cuts and extremely precise angles. They’re also the preferred choice for those working with thicker materials such as natural stone. While they may look a little intimidating to use, we think you’ll be surprised at just how straightforward they are to operate.
- Safety First - Exactly as you would with a manual tile cutter, put on some suitable eye protection and protective work gloves. It’s also worth mentioning that it's doubly important that your cutter is placed on a secure, stable surface.
- Mark Up Your Cut - Here’s where things differ from manual cutters. For curved cuts, instead of drawing a simple line, you’ll need to carefully mark up your cut line with a pencil and then make several lines up to the cut line forming a sort of grid for you to cut away at. This is because you cannot simply follow curved lines with the cutter by turning the tile as you go.
- Slow & Steady - Prepare your wet tile cutter and check that its water reservoir is sufficiently filled. Once you’re happy, begin cutting along each of the lines you made until you reach the curved line. Keep doing this until each line meets the curved cut line.
- Score Away - Take a tile scribe and gently score along the curved line. This will work to weaken the tile, allowing you to carefully break off all of the small sections that you have cut one by one.
- Those Finishing Touches - Any imperfections with curved cuts can be problematic. To guarantee your curved cut is smooth, take some sandpaper and work away at any uneven or bumpy bits along the line. Once finished you will be presented with an expertly cut curved tile!
Our Recommended Wet Tile Cutter
The Tile Rite 450W Portable Wet Tile Cutter boasts a 110mm diamond cutting wheel that makes cutting even thick natural stone tiles quick and easy. The clever tool has a unique water recirculation system that works to keep the blade cool through heavy use. It even has a carrying handle and an adjustable angle guide to increase portability and allow you to make accurate cuts wherever you need to.

Cutting Bathroom Tiles On Walls
As you will already know, your bathroom’s walls can hide all manner of plumbing and wiring. Professional tilework can last decades, it’s likely that during that time you’ll need access to something behind them.
Whether you’re trying to locate a leak, fix a flickering light, or simply install something new, cutting bathroom tiles on walls may seem like a drastic thing to do.
Thankfully, with some quality tools and a steady hand, you can make clean cuts in tiles to provide you with access - all without damaging the entire wall.
Cutting bathroom tiles on walls, however, can be a tricky job for newcomers to DIY. If you’re uncertain about it we’d recommend hiring a professional. Making a big mistake here could wind up being even costlier than replacing the entire tiled wall.
Found our guide on how to cut tiles helpful? Looking for more advice on tiling a bathroom? Try our related guide on How to Drill Into Tile Safely. For a bunch of other articles on bathroom ideas and inspiration, stick with us here on the Victorian Plumbing blog.


