EXTRA 10% OFF SHOWERS WITH CODE: SHOWERS10
Free Delivery on Orders Over £499**
how to replace a shower head
How to Replace a Shower Head
A new shower head might be the simple upgrade that you need to elevate your showering experience. Replacing a shower head is much easier than you think, follow our step by step tutorial and you’ll have a shower upgrade in minutes!

Whether you're starting a full bathroom renovation or just looking to add more power in your shower, you will eventually need to replace your shower head. It is recommended that you upgrade your shower head every 5 to 8 years, but if you live in a hard water area or notice performance issues, you might need to upgrade sooner.
Is this a DIY Job?
For people with little to no DIY experience, the thought of upgrading a shower head might seem a little daunting. However, this process is quick and easy and almost anyone can do it! We recommend saving the extra cash and swapping out your shower head yourself. However, if you do not feel comfortable completing the upgrade yourself, you should hire a professional.
Before you Begin
The first and most important step is to choose your new shower head! Depending on your shower type, you will need to look for specific shower heads such as rainfall shower heads.

Before you begin, make sure that your shower is not running and it is switched off.
You might need to use an adjustable wrench to remove the old shower head, so make sure to have one handy, just in case.
Different shower heads will have slightly different methods when it comes to removing and replacing.
Jump to a section of this post by clicking a link above.
How to Replace a Shower Handset
Most standard showers will have a shower handset that is attached to a shower hose. These are very easy to replace and can be done in a matter of minutes.
How to Remove a Handheld Shower Head

First you will need to remove the old shower head. Do this by holding the connection between the shower hose and shower head with one hand, and use the other hand to turn the shower head anti-clockwise. If the shower head feels stuck, use an adjustable wrench to turn the shower head.
With the old shower head removed, you can use this time to check the shower hose for any damage to the washer or any mould and mildew growth. This is the perfect opportunity to replace or clean the hose to avoid any performance issues with your new shower head.
How to Install a Handheld Shower Head

With the old shower head out of the way, you can start to install the new one. Do this by holding the hose connection with one hand and screw the shower head clockwise into the connection until it won't turn any more.
One the shower head is attached, turn the shower on to a low setting to check for any leaks. If you notice a leak, there might be a fault with the shower head or hose. Make sure to thoroughly check any leaks to avoid any further damage.
If there are no leaks and your new shower head is working as it should, you’re all set! You can now enjoy your new handheld shower head that will elevate your showering experience.
How to Replace a Rainfall Shower Head
Rainfall shower heads are usually attached to a shower hose or a mounted arm. Replacing these is a slightly different process, but luckily it is just as easy.
How to Remove a Rainfall Shower Head

Similarly to the handheld shower head, you will need to use one hand to hold on to the connection at the hose or arm and use your other hand to turn the rainfall shower head anti-clockwise. This can be a bit more difficult due to the shape of a rainfall shower head, and if you notice that it is not turning, use an adjustable wrench to help you turn the shower head.
Again, with the old shower head removed, use this time to check the shower hose or arm for any damage to the washer or any mould and mildew growth. This is the perfect opportunity to replace or clean the hose or arm to avoid any performance issues with your new rainfall shower head.
How to Install a Rainfall Shower Head

Once you have removed the shower head, you can install your new rainfall shower head by screwing it clockwise onto the connection point of the head or arm, again using one hand to keep the connection in place.
Once the new shower head is attached, you can switch the shower on at a low setting to check for any leaks. If you notice a leak, check that the shower head cannot be turned any more. Also make sure to check for any faults in the shower head or hose.
If you do not notice any leaks, you are good to go! You can enjoy the exhilarating experience of a high performing rainfall shower head.
How to Replace A fixed Shower Head
Similarly to a rainfall shower head, a fixed shower head is attached to an arm that is mounted on the wall or ceiling. Again, this process will be slightly different, but still quick and easy.
How to Remove a Fixed Shower Head

To remove your old fixed shower head, all you need to do is use both hands to turn the shower head anti-clockwise. You will notice when the shower head has started to unscrew from the shower arm. If the shower head won’t budge, use an adjustable wrench to turn the shower head. Take care when removing a fixed shower head as left over water in the shower arm might rush out onto you, make sure to take a step back to avoid an unwanted drenching!
Again, use this time to check the shower arm for any damage to the washer or any mould and mildew growth. This is the perfect opportunity to replace or clean the arm to avoid any issues with your new shower head.
When removing a fixed shower head, you might notice old PTFE tape on the shower arm. It is best to remove this and add new tape to avoid any unwanted leaks or damage. If you do not see any PTFE tape, we recommend that you use this opportunity to add some to the shower arm.
How to Install a Fixed Shower Head

With the old shower head removed and new PTFE tape added to the arm, you can install your new shower head by screwing it clockwise onto the shower arm. Make sure that the shower head cannot turn anymore and it is tightly connected to the shower arm.
Turn the shower onto a low setting and check for any leaks from the new shower head. Any leaks could be a sign of damage or faults to the new shower head or shower arm. Checking for these issues now will avoid any damage or performance issues later on.
How to Replace a Combo Shower Head
If you have a combo shower unit, you will need to follow the above steps for a handheld shower head and a fixed shower head to remove and replace both shower heads on the combination shower.
Maintain Your New Shower Head
Now that you have your new shower head installed, it’s important that you clean and maintain your shower head properly to avoid any performance issues and prevent mould and limescale build-up. This way, your shower head is less likely to fail or suffer performance issues which could result in a much sooner upgrade. Find out how to clean a shower head.

Related Stories
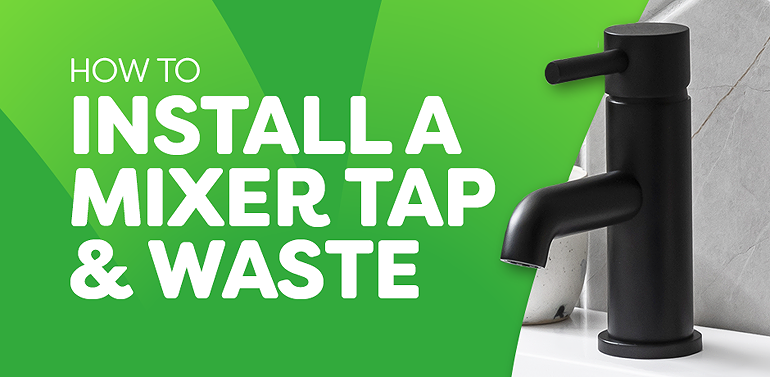 How to Install a Mixer Tap and Waste
By Jack
5 mins read
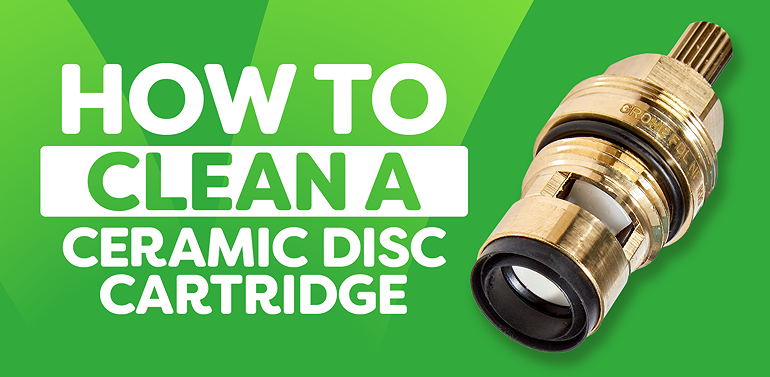 How to Clean Ceramic Disc Cartridge
By Megan
5 mins read
 How to Change a Shower Head
By Jack
3 mins read


