EASTER OFFER: FREE DELIVERY ON ORDERS OVER £99!**
Delivery Offer Must End Soon!
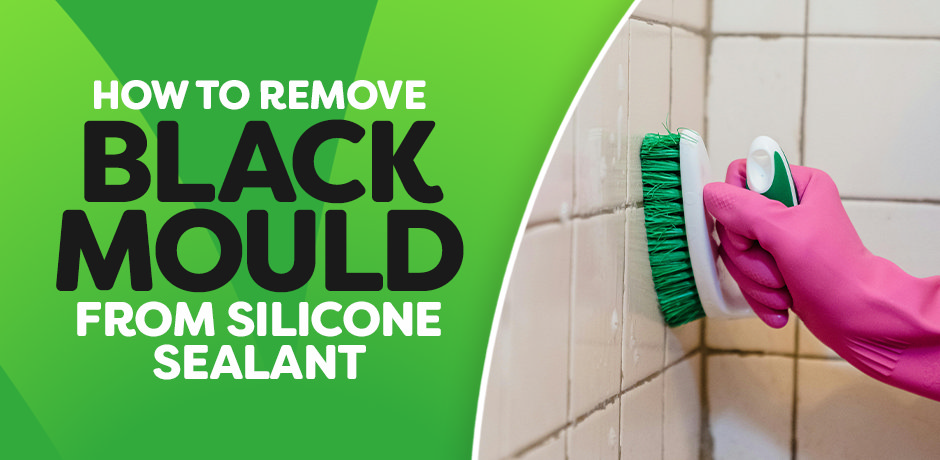
remove black mould from silicone
How to Remove Black Mould from Silicone Sealant
Black mould isn’t just unsightly — it’s a health hazard lurking on your bathroom sealant. Tackle it now with these simple steps for a mould-free, healthier home.
Contents
Click on a link below to jump to a section:
- Essential Tools & Materials
- Preparation Tips
- Natural Cleaning Method
- Using Bleach for Stubborn Mould
- Preventing Future Mould Growth
You’re midway through scrubbing the bathroom tiles in your shower when you catch it out of the corner of your eye — a dark, creeping shadow along the silicone sealant. Black mould has settled in like it’s paying rent. It’s unsightly, but more than that, it’s stubborn. And it’s not just bad for appearances (and musty smells) — it can be a health hazard, too.
Black mould thrives in damp, warm spaces, feeding on bacteria and organic particles like dust and dead skin in the air. Bathrooms, with their lingering steam and warm surfaces, make the perfect environment for mould to spread on your bath and shower sealant.
Just like that persistent houseguest who overstays their welcome, the trick with mould is to keep it from getting too comfortable in the first place. The good news? With the proper steps and tools, you can evict black mould from your sealant with ease.
Here’s your go-to guide for fresh, mould-free bathroom sealant.
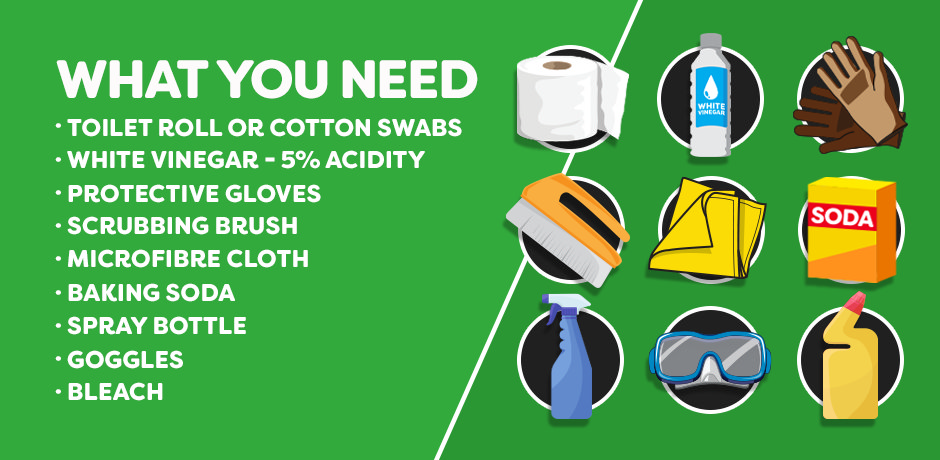
Tools and Materials You’ll Need To Tackle Black Mould On Your Bathroom Sealant:
- Protective gloves and goggles (safety first!)
- Scrubbing brush or old toothbrush
- Microfibre cloth
- White vinegar (5% acidity)
- Baking soda
- Bleach
- Spray bottle
- Old rags or paper towels
- Toilet roll or cotton swabs
- Cling film (optional)
Note: White vinegar is effective for black mould removal but is not suitable for everyday cleaning as it can damage the finish on bathroom fixtures.
Preparing Your Bathroom For Mould Removal
Ventilate Properly
Always work in a well-ventilated area, especially when using bleach. Open a window or turn on the bathroom fan to help disperse mould spores and any cleaning fumes.

Protect Yourself
Mould removal can release spores into the air, so don your gloves and goggles before getting started. This simple precaution will help protect your skin, eyes, and respiratory system from potential irritation.

Natural Cleaning Method For Black Mould On Bathroom Sealant
Using DIY mould removal methods like natural vinegar and baking soda mixtures offers a straightforward, effective solution for tackling minor infestations:
Step 1: Create a Vinegar and Baking Soda Paste
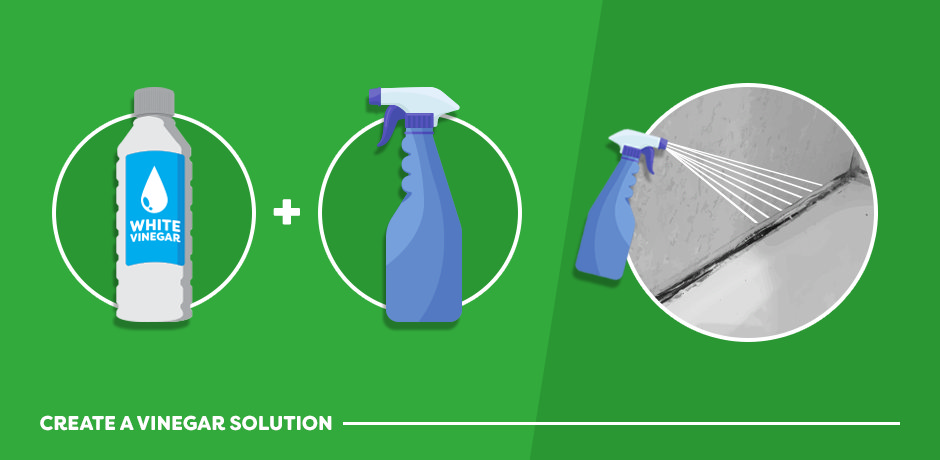
Mix 1 cup of white vinegar with 2–3 teaspoons of baking soda to form a thick paste. Vinegar is a natural mould killer, and baking soda adds mild abrasiveness for scrubbing.
Step 2: Apply the Paste
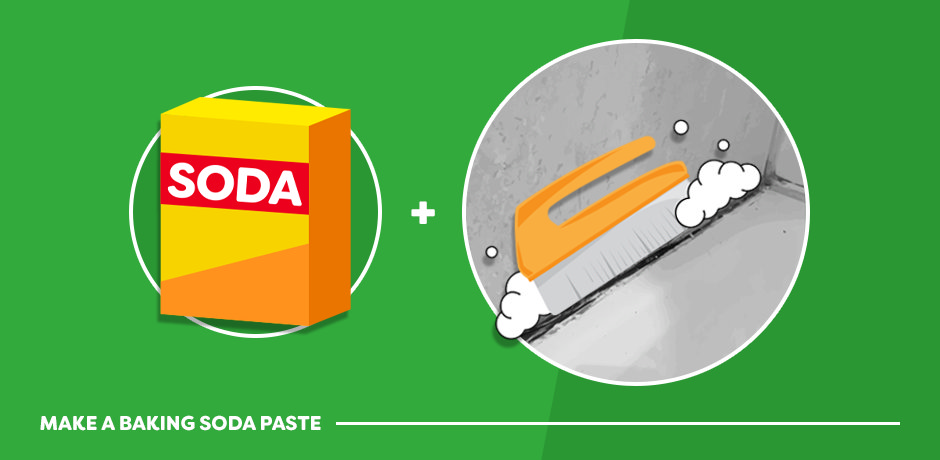
Use a damp cloth to scoop the paste and spread a generous layer over the mouldy areas of the silicone.
Step 3: Let It Sit
Leave the paste on the mould for at least 5–10 minutes – longer if the mould is stubborn. This will give it time to break down the mould.
Step 4: Scrub Away

Scrub the paste in circular motions using a stiff-bristled brush or an old toothbrush. Be thorough, especially in tight spots where mould tends to cling.
Step 5: Rinse and Dry

Rinse using a sponge or cloth with cool water, then dry the area thoroughly with a microfibre cloth. Remember, mould loves moisture – so keep it dry!
Using Bleach for Stubborn Mould On Your Silicone Sealant
Bleach can be your next option for tougher mould stains that just won’t budge from your bathroom sealant.
Step 1: Make a Bleach Solution
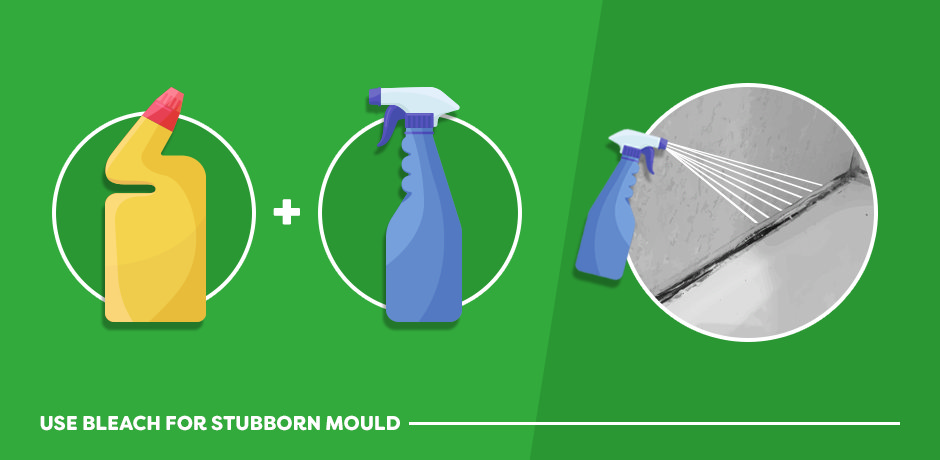
Mix 1 part bleach to 4 parts water in a spray bottle and shake well.
Step 2: Apply the Solution
Spray the bleach solution generously over the mould and leave it to sit for 15–30 minutes. The bleach will kill any lingering mould spores.
Step 3: Scrub and Rinse
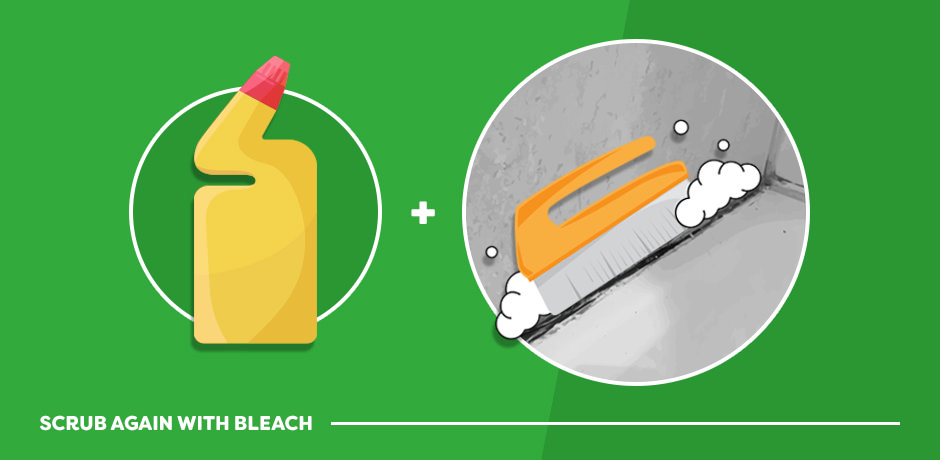
Scrub the area again with a brush, rinse with cool water, and dry with a microfibre cloth. Make sure all bleach is removed to protect your silicone.
Tip: For especially stubborn mould, apply the cleaning solution (whether vinegar or bleach-based), cover it with cling film to keep the solution from drying out, and leave it overnight. Rinse and scrub in the morning.
Alternative Tips for Stubborn Mould On Your Silicone Sealant
Cling Film Method: Cover the area with cling film after applying your cleaning solution. This keeps the solution from evaporating too quickly, allowing it to work on stubborn stains overnight.
Commercial Mould Removers: Products like HG mould spray or other specialty cleaners can be effective. Always follow manufacturer instructions and safety advice.
Reapplication: Repeat these steps for any lingering stains, or consider replacing the sealant if the mould won’t budge.
Keeping Your Bathroom Mould-Free: Final Tips for Long-Lasting Clean Sealant
Causes of Black Mould on Silicone Sealant
- High Humidity: Mould loves moisture and warmth, making bathrooms with poor ventilation a perfect environment.
- Lack of Airflow: Without proper ventilation, moisture builds up, encouraging mould growth.
- Organic Waste Buildup: Products like body oils, soaps, and shampoos contribute to mould growth by providing organic material for it to thrive on.
- Water Leaks: Leaks behind walls or tiles provide a hidden water source, creating a damp environment that mould loves.
- Infrequent Cleaning: Regular cleaning removes spores and dirt, helping prevent mould buildup.
Black Mould Prevention Tips
Ensure Good Ventilation
- Use an Extractor Fan: Fans with humidity sensors automatically manage moisture, making them ideal for bathrooms.
- Open Windows: After showering, open windows to let moisture escape.
- Dehumidifiers: Use a dehumidifier, especially in poorly ventilated spaces, to control humidity.
Regular Cleaning and Drying
- Wipe Down Surfaces: After each shower or bath, dry the sealant and surrounding areas with a cloth. This simple habit can significantly reduce moisture buildup.
- Routine Bathroom Cleaning: Regularly clean towels, shower curtains, and other bathroom furnishings.
- Avoid Clutter: Too many products can trap moisture. Keep only the essentials near the bath or shower.
Use Mould-Resistant Sealant
- When it’s time to replace the sealant, choose a mould-resistant product. These silicone sealants have additives and fungicides that discourage mould growth.
Add Humidity-Removing Plants
- Plants like peace lilies, reed palms, and English ivy naturally absorb moisture, helping maintain a drier environment.
Quickly Address Water Leaks
- Leaks create damp areas ideal for mould. Fix any leaks as soon as possible to keep the area dry.
When to Replace Silicone Sealant In Your Bathroom
If black mould keeps returning or has deeply embedded itself in the sealant, it might be time for a replacement:
Step 1: Remove the Old Sealant
- Carefully use a silicone remover tool or a utility knife to cut away the old sealant. Be thorough.
Step 2: Clean the Area
- Once the sealant is removed, clean the area with a mould and mildew remover and let it dry completely.
Step 3: Apply New Sealant
- Apply a fresh bead of silicone sealant with a caulking gun, smoothing it with a tool or damp finger.
Step 4: Let it Cure
- Follow the curing instructions on the product. Avoid getting it wet during the curing time.
Tip: Check our store for mould-resistant sealants and other bathroom products designed to keep mould away
When to Seek Professional Help For Your Sealant Cleaning
In cases of extensive or recurring mould, professional help may be necessary:
- Large Mould Coverage: If the mould has spread beyond the bathroom sealant, a professional service might be needed to ensure safe and thorough removal.
- Health Concerns: If anyone in your household has respiratory issues or allergies that worsen indoors, mould on your bathroom sealant may be the culprit. Professionals can address both mould and underlying causes.
- Persistent Mould Growth: Mould that keeps returning could signal a hidden issue, like damp walls or plumbing problems. Professionals can inspect and provide long-term solutions.
Frequently Asked Questions for Black Mould Removal In Your Bathroom
Will vinegar remove mould from silicone? Yes, white vinegar will remove mould from silicone sealant in your bathroom. Apply it directly or mix with baking soda for extra cleaning power on stubborn areas. Let it sit, scrub, rinse with cool water, and dry the area completely. Note: avoid regular use of vinegar on fixtures to prevent finish damage.
What is the best mould remover for silicone? The best mould remover for silicone is a paste made from white vinegar and baking soda or a diluted bleach solution. For convenience, commercial mould removers can also be effective. Follow all safety instructions and ventilate the area.
Does bleach damage silicone sealant? Overuse of bleach on silicone sealant may weaken the material. Bleach should be used sparingly to remove mould on silicone. Dilute bleach in a 1:4 ratio with water, apply carefully, and always ensure proper ventilation. Avoid prolonged exposure to preserve the integrity of the silicone.
How can I prevent mould from growing on silicone sealant? To prevent mould from growing on silicone sealant, good ventilation is key: use an exhaust fan, open windows, or use a dehumidifier after showers. Wipe down surfaces to keep them dry, and consider using mould-resistant silicone sealant to inhibit growth. Regular cleaning and maintenance help prevent mould build-up over time.
Explore More Tips to Keep Your Bathroom Sparkling
With these steps, you can effectively remove black mould and maintain clean, healthy bathroom sealant. Got mould removal handled but looking for more tips? Check out our other blogs on DIY tips and bathroom inspiration, share this guide with friends or family, and explore our buying guides to keep every inch of your bathroom at its best!

