EXTRA 10% OFF SHOWERS WITH CODE: SHOWERS10
Free Delivery on Orders Over £499**
fix your running toilet
How to Fix Your Running Toilet
If your toilet won't stop running after you flush it, your water bills could be increasing! There are 5 steps you can complete to try and solve the problem, it isn't as difficult to fix as you might think...
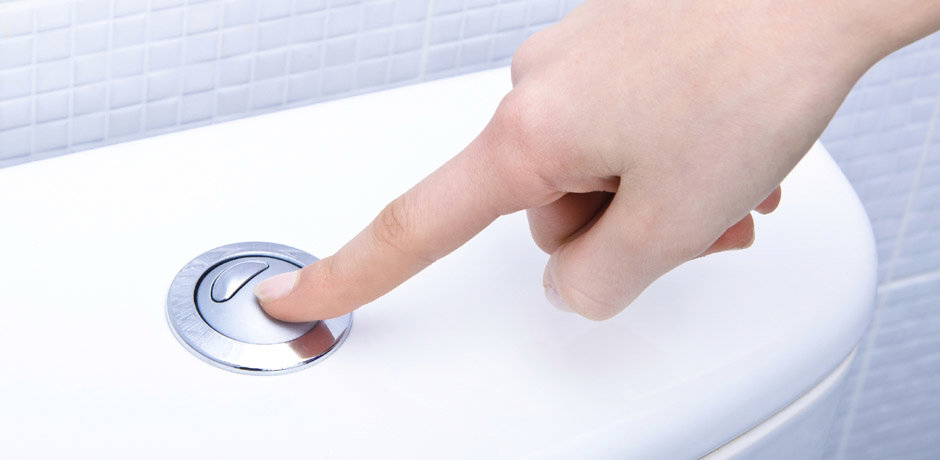
Have you noticed your toilet beginning to allow more water into the bowl than usual after it’s been flushed? If so you may have a problem with a running toilet; but don’t panic as this is often not as difficult to solve as you might think. In fact it’s a pretty simple task to tackle yourself, so we thought we’d detail exactly what steps you should take in order to fix the problem.
- Step 1. Assessing what’s wrong
- Step 2. Check the water level
- Step 3. Shutting the flapper
- Step 4. Lower the float
- Step 5. Try flushing the toilet again
Jump to any section of this post
Step 1. Assessing what’s wrong
The first thing you need to do if your toilet is taking a while to stop flushing is lift the lid off the cistern and have a good look inside to try and locate the problem area. Flush the toilet while the lid is off and carefully look over each component to see if anything becomes immediately obvious. There are a couple of things which may be causing the issue so we’ll cover them here.
Step 2. Check the water level
The easiest fix for a running toilet might just be the issue that you have. You need to check that the water in the cistern is actually at the water line. If it’s below the line then you need to check that the water valve is fully on. If it isn’t then adjust it and the water should begin to fill up in the tank. If it doesn’t then there may be another issue, which we’ll look at.
Step 3. Shutting the flapper
One of the most common causes of a running toilet is the flapper sticking open and not completely covering the valve. If this is the case, what you normally need to do is simply reach into the tank and close it yourself and this should fix the issue.
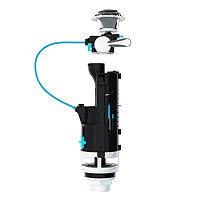
However, another problem may be that the flapper is prevented from closing because the chain which is attached to it has become tangled or twisted somehow. If you can see that it has been caught on something then simply free it using your hand. If the flapper still doesn’t close properly there may be an issue with the item itself so you should look into replacing this part.
Step 4. Lower the float
With the flapper fixed, if there’s still an issue; or if there was no problem with this particular area in the first place, you should locate the float and lower it. This will lower the water level in the cistern and stop it from rising too high, which could be what’s causing the running issue as a high water level could lead to water travelling through the overflow pipe and into the bowl. Make sure you keep an eye on the water level at all times, as it shouldn’t be more than around an inch or so below the overflow pipe.
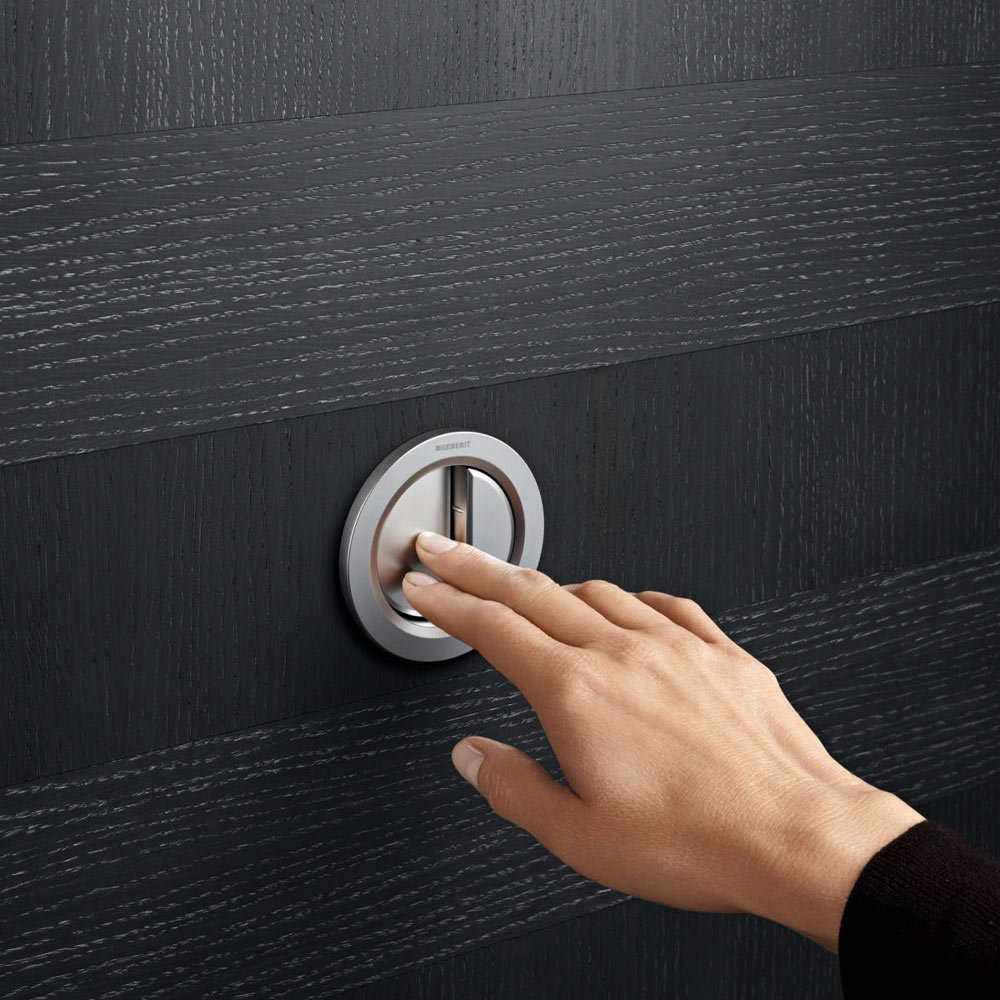
There are a couple of different types of float. Your toilet will have either a ball float or a float cup. If you have a ball float, you can bend it downward or alternatively tighten up the screw which is found at the other end of the arm which is connected to the ball. If you have a float cup, simply find the metal clip which is attached to it, pinch it and slide it so that it is beneath the water level.
However, another problem may be that the flapper is prevented from closing because the chain which is attached to it has become tangled or twisted somehow. If you can see that it has been caught on something then simply free it using your hand. If the flapper still doesn’t close properly there may be an issue with the item itself so you should look into replacing this part.
Of course it’s always worth just having a look at the float itself to make sure that it isn’t completely clogged up with water, as this will cause the overflowing issue. Unscrew it and gently shake the ball; if you hear water sloshing around inside then this aspect of the tank will need to be replaced.
Step 5. Try flushing the toilet again
With all these potential problems now looked at, leave the lid off the cistern and flush the toilet a couple of times. Allow a few minutes to make sure no more water leaks into the bowl. If it does then you may need to replace other internal parts such as the flush valve or flapper as they may have become cracked or worn. If no water continues to trickle through then your toilet is fixed!
We hope you've found fixing a running toilet easy with this guide, however we totally understand if you'd prefer to just get a new toilet. If you have decided to buy a new toilet and would like some help fitting it then check out our guide to installing a toilet!
